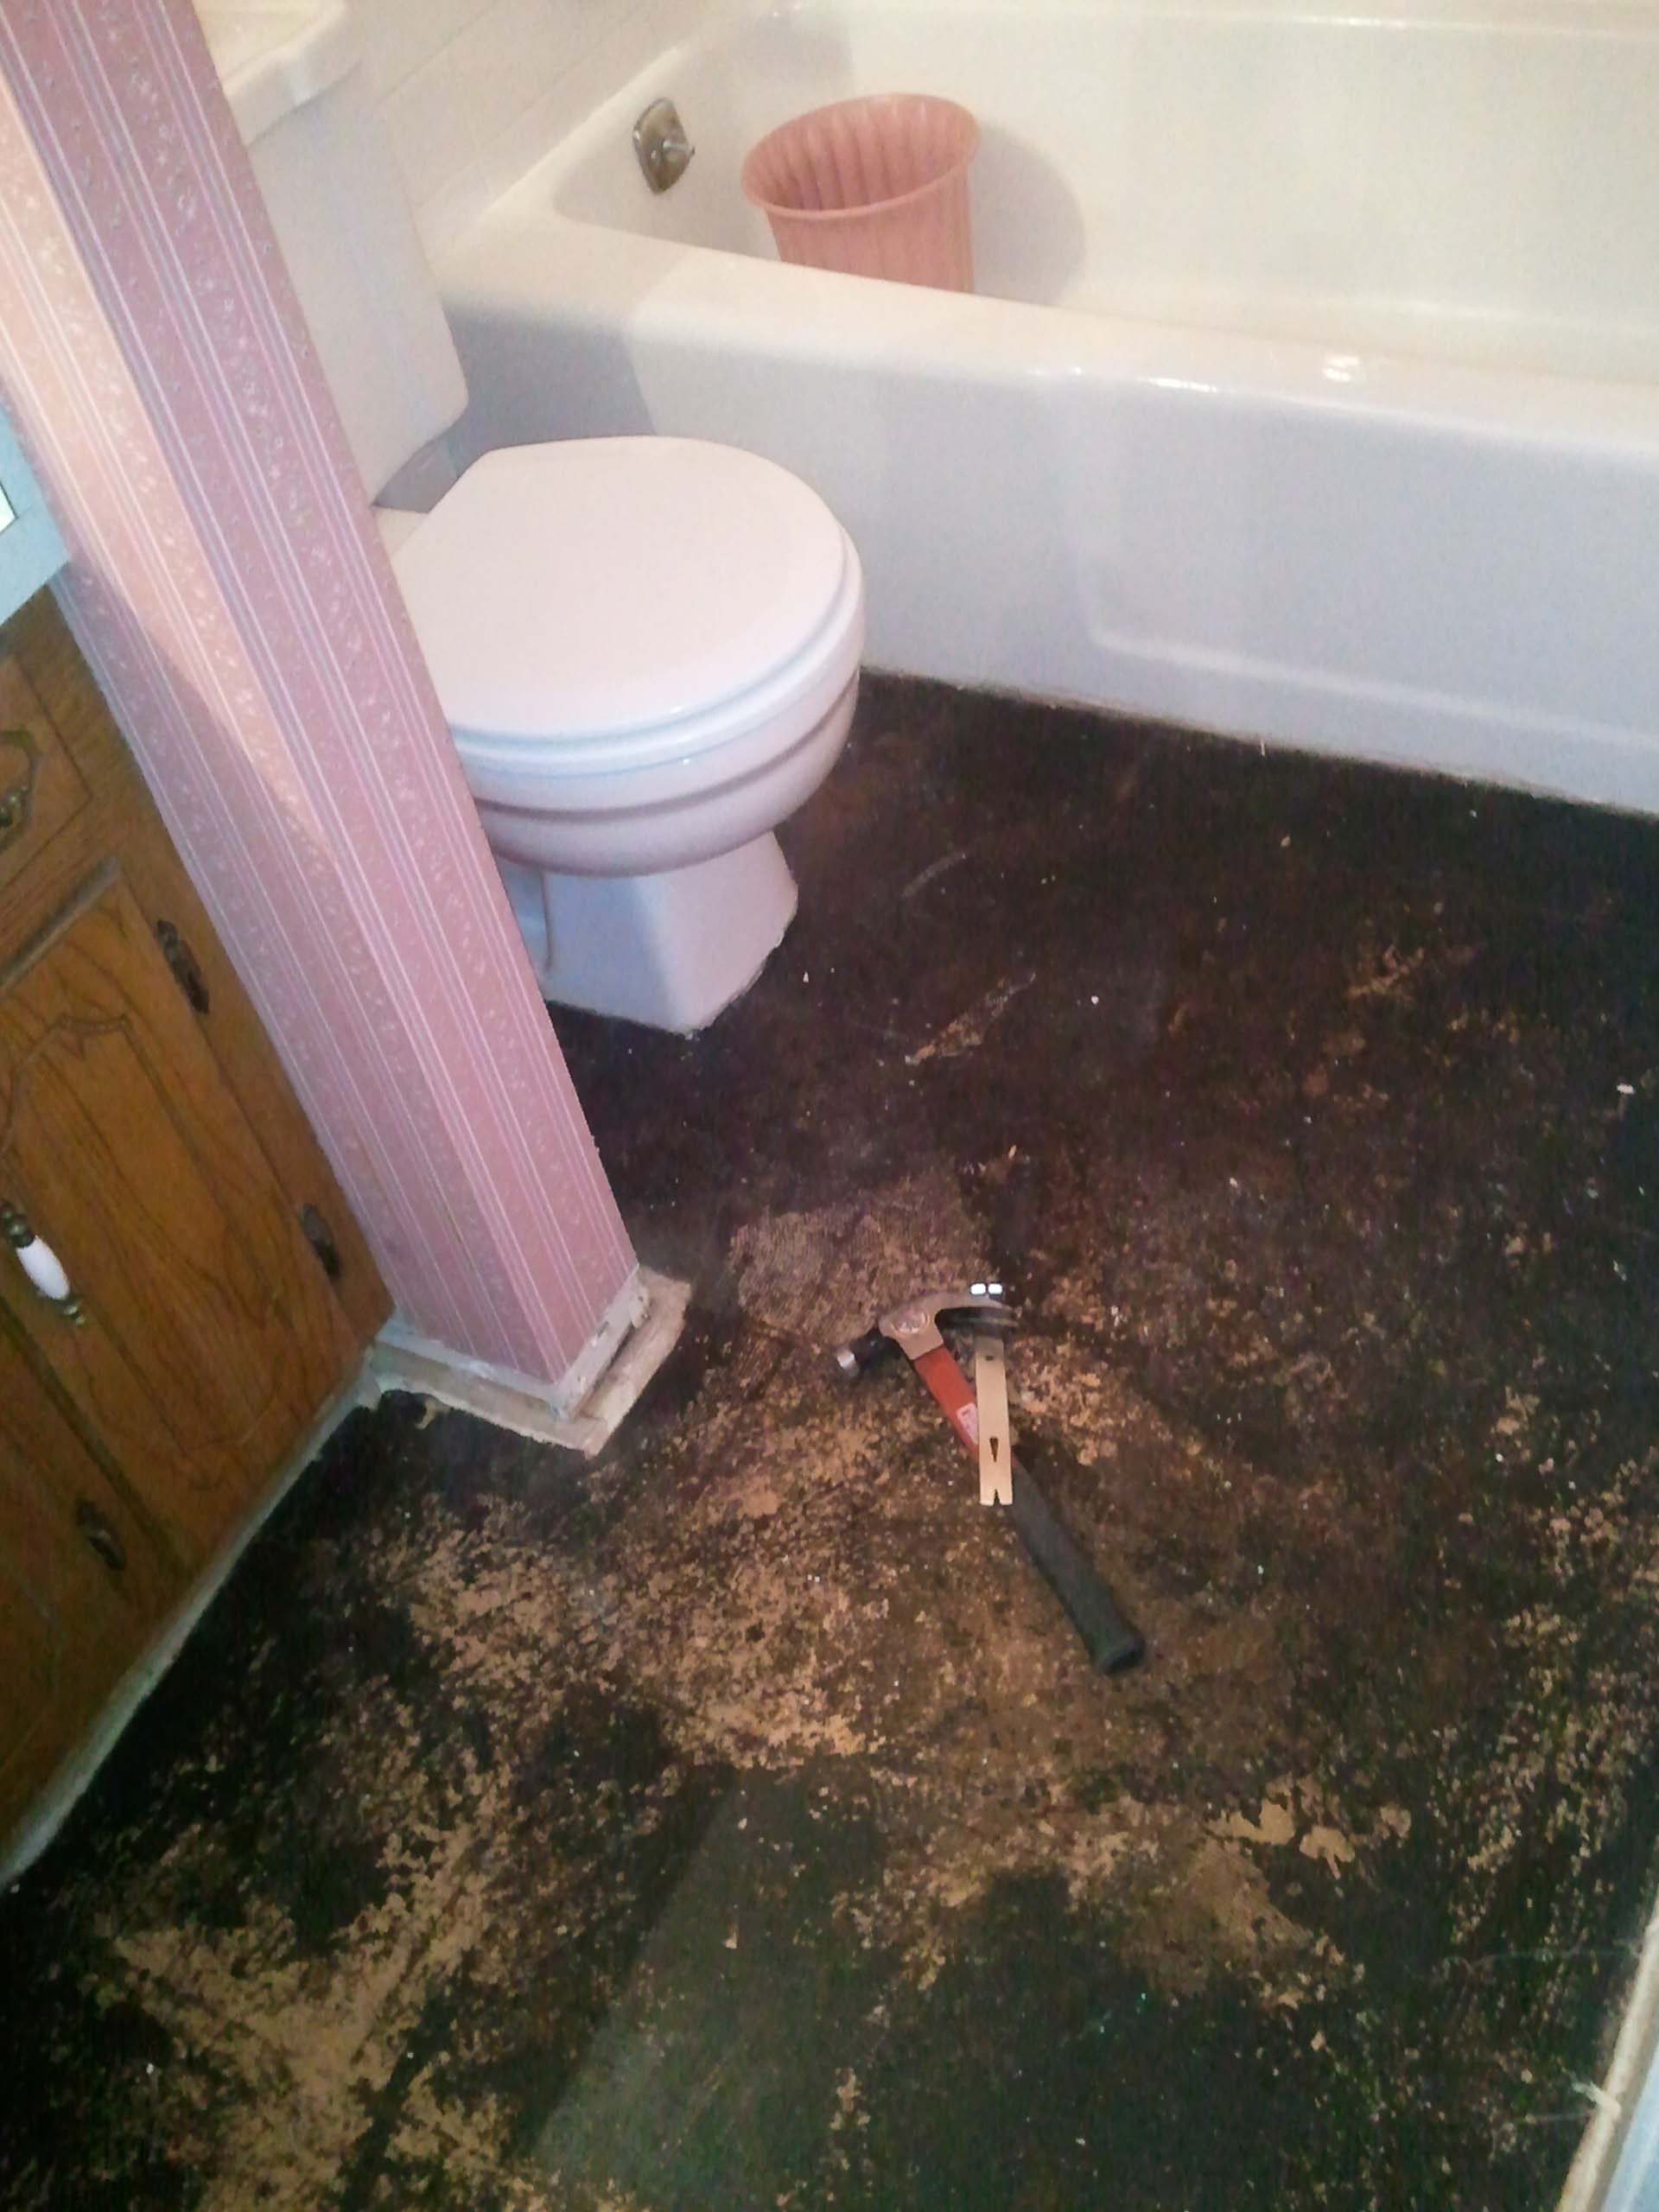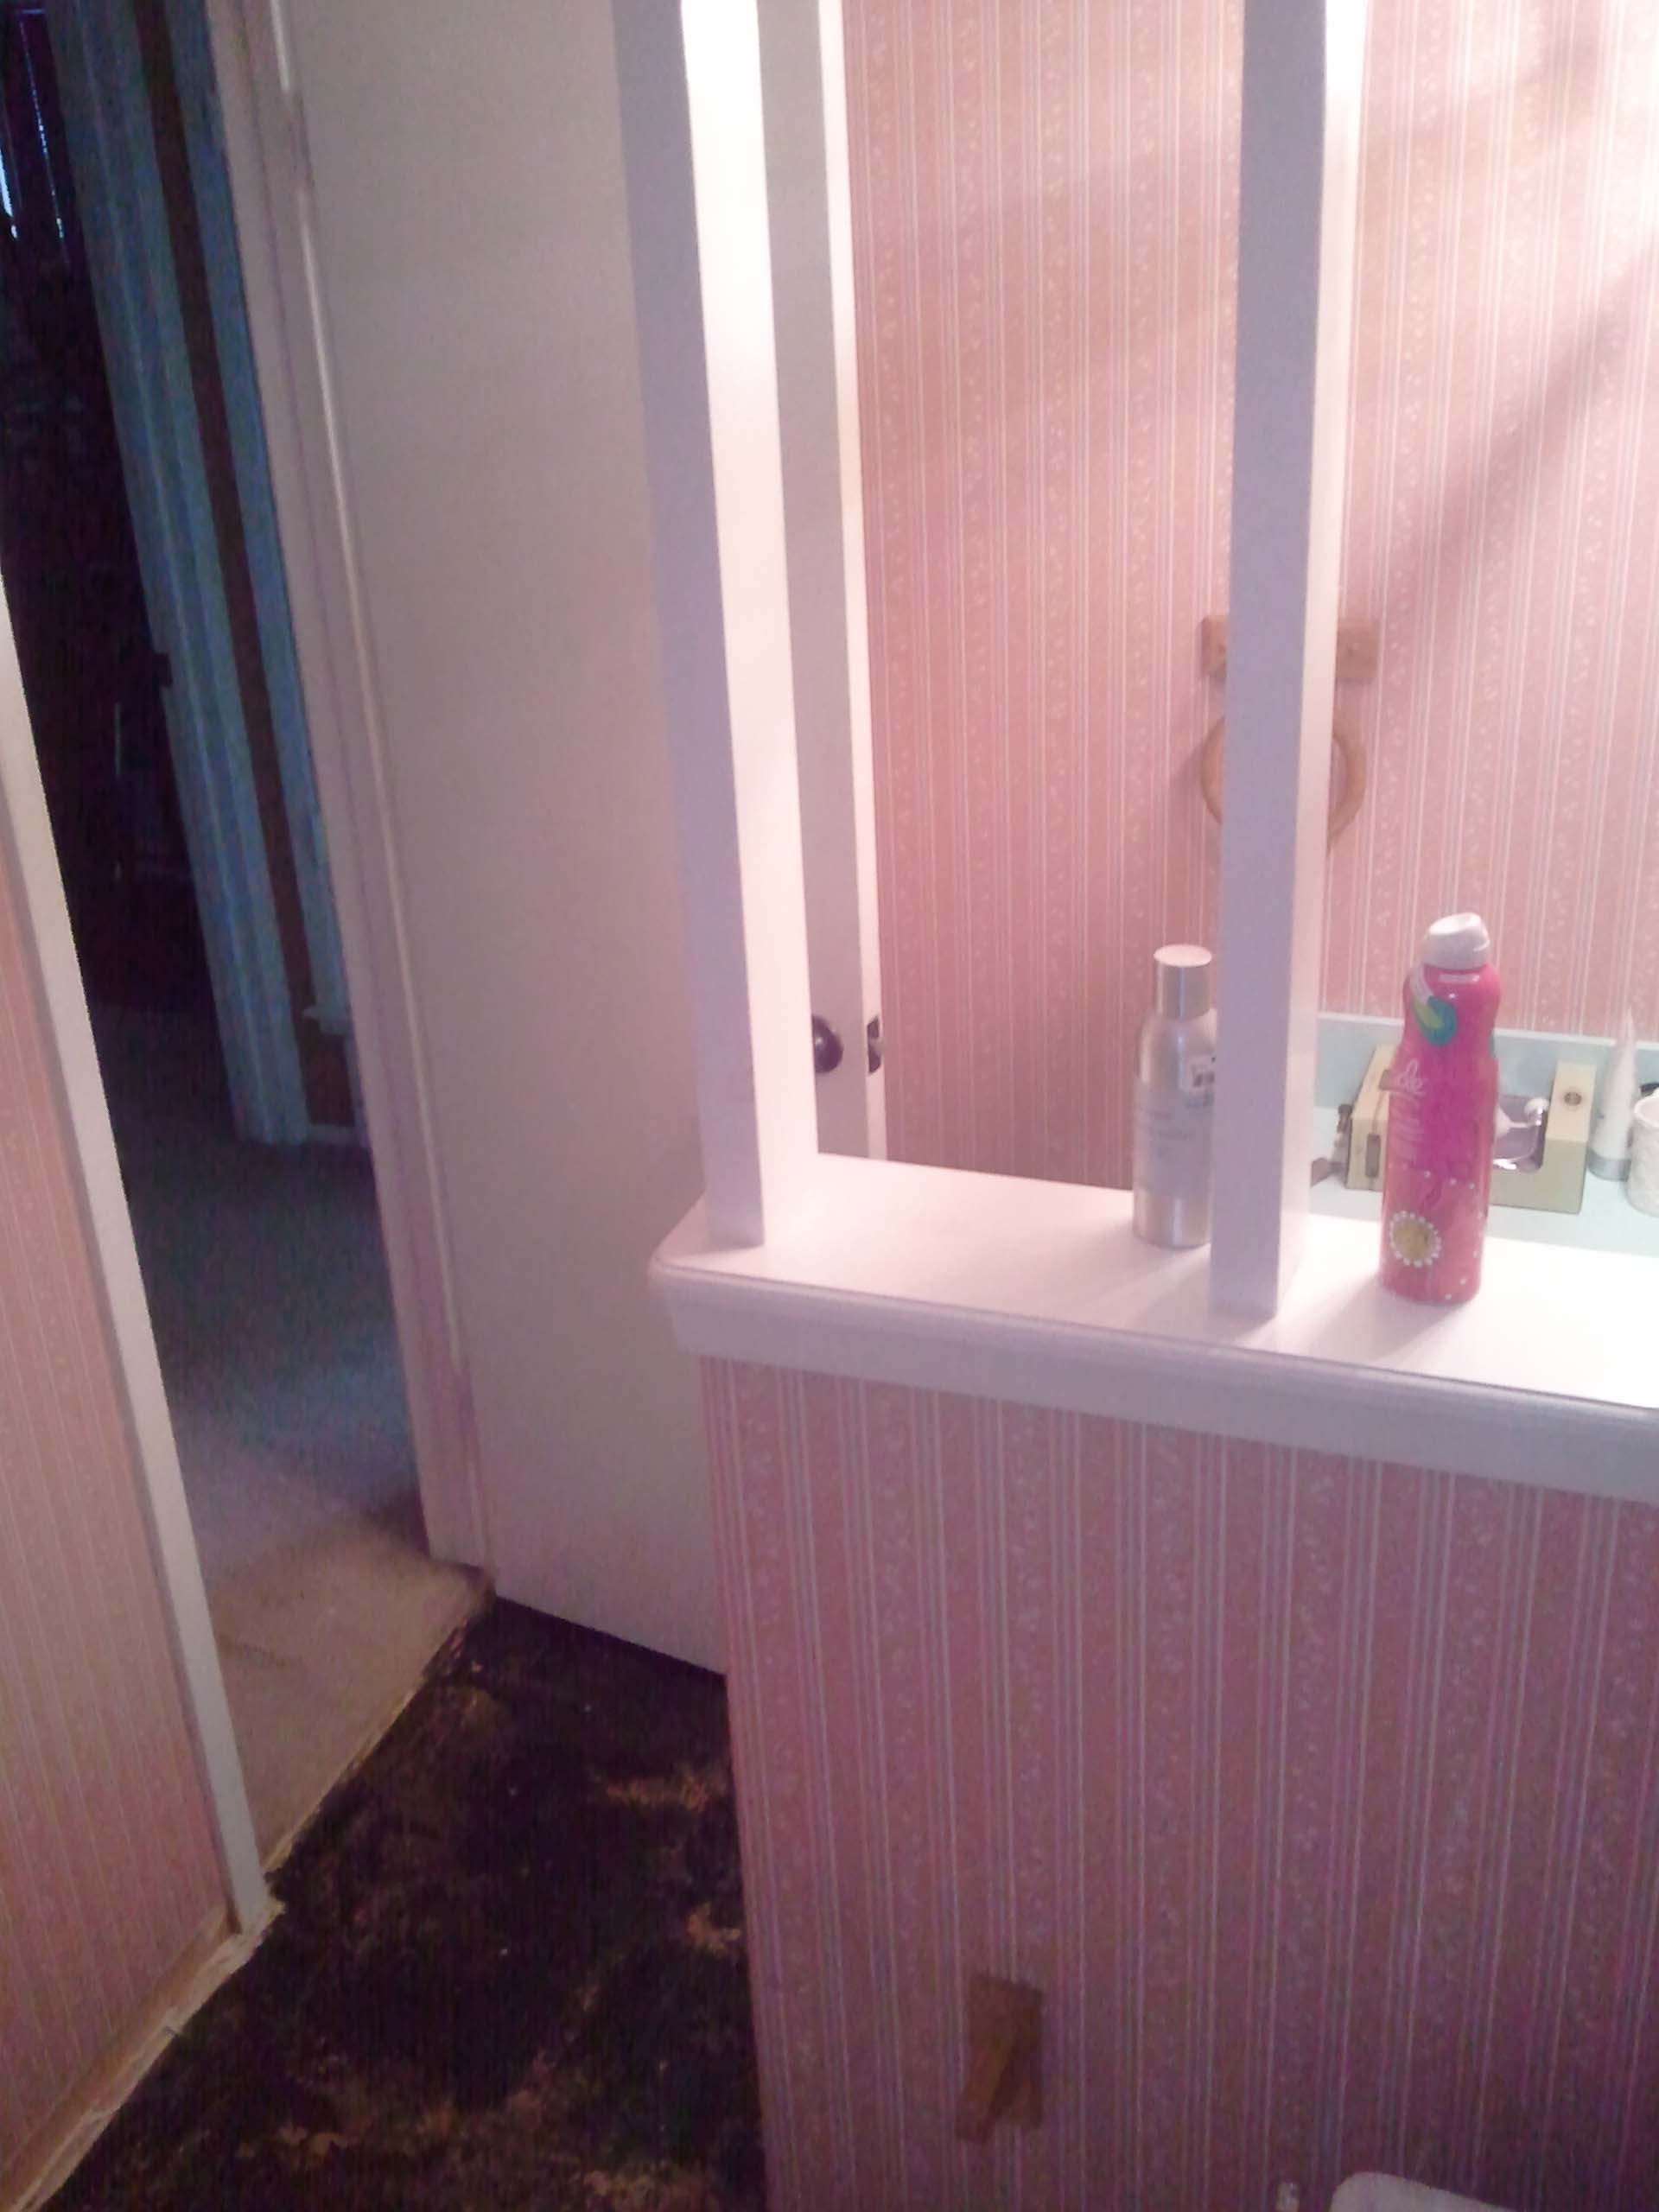

As luck would have it, the previous owners glued the wallpaper directly to the drywall. Not the best news. My choices were simple. Replace the drywall or paint over it.
I opted for the cheap choice, paint.
Before you even think about painting over wallpaper you must prep, prep and then prep again.
Below are the steps I followed before I painted my bathroom
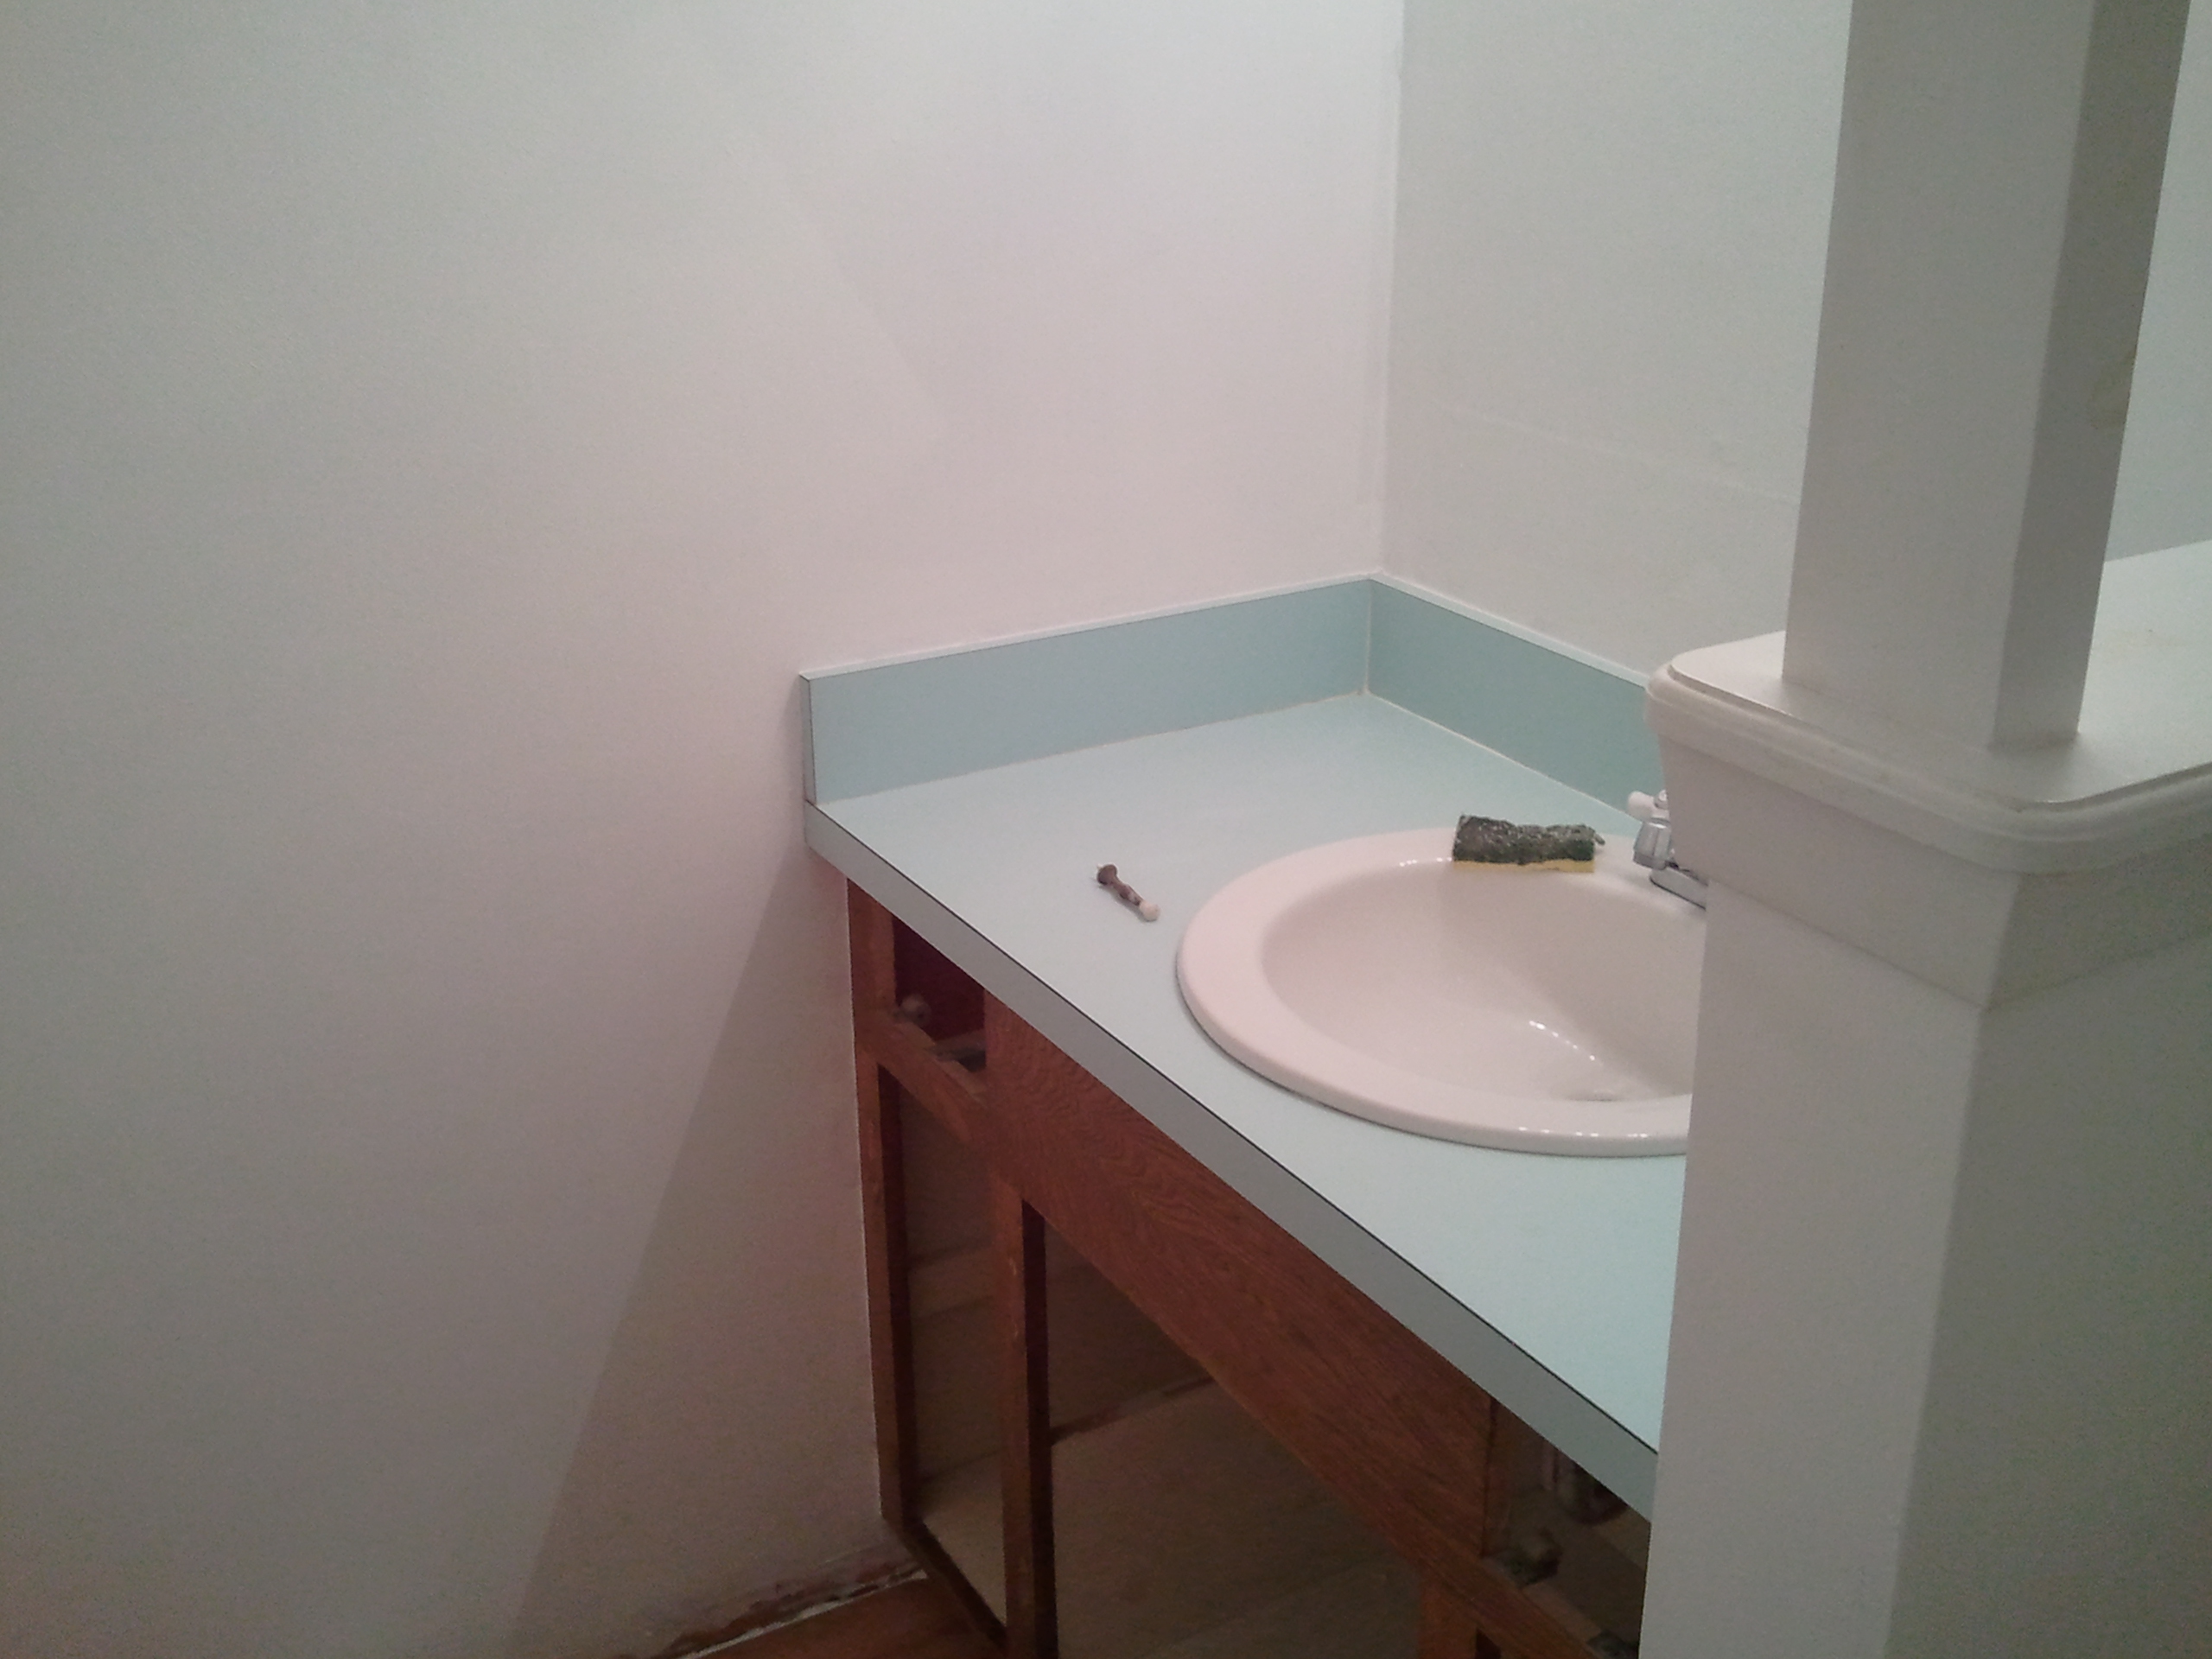
Step One: Remove everything from the walls. Including: pictures, toilet paper holders, towel bars, mirrors, lights and any other fixtures to make painting a breeze.
Step Two: Remove any loose paper edges or tears. If removing loose wallpaper sections are damaging the drywall, apply wallpaper paste to the section and re-adhere to the wall. Allow sections to dry properly.
Step Three: Spackle and sandpaper. Just like you would prep a basic wall for paint you must prep your wallpaper wall. There are several options for spackling paste, I grew up using Patch-n-Paint but any brand will work for this step. Inspect the walls, fill every hole and indention you come across. Keep in mind, all the imperfections will become more obvious once you paint a flat color over the wallpaper.
Step Four: Hide the seams. This can be achieved using spackling paste. Just like you fill the holes left by nails, you can fill the seams where the two sections of wallpaper meet. This not only hides the seams when you paint but it also seals out any moisture than may come in contact with the paper.
Step Five: Add a thin line of clear caulk around the perimeter of the walls, at the joint seam where the paper meets the floor and ceiling. This will help seal the edges and keep the paper from peeling after you’ve painted. Make sure the caulk lays flat, smooth out with a wet finger as you go along.
Step Six: Primer. Paint your walls with an oil-based primer. The moisture in latex primers and paint may cause the wallpaper to bubble or peel. Once the first coat of primer has dried you might notice new imperfections. This is the perfect time to fix. If needed, paint a second coat. Walls will typically need at least two coats of primer to hide the patterns completely.
Now you should be ready to paint your walls.

Check out these helpful links:
http://www.diynetwork.com/how-to/how-to-fix-common-wallpapering-problems/index.html#step1
http://www.benjaminmoore.com/en-us/for-your-home/painting-over-wallpaper