Day 9: in the trenches

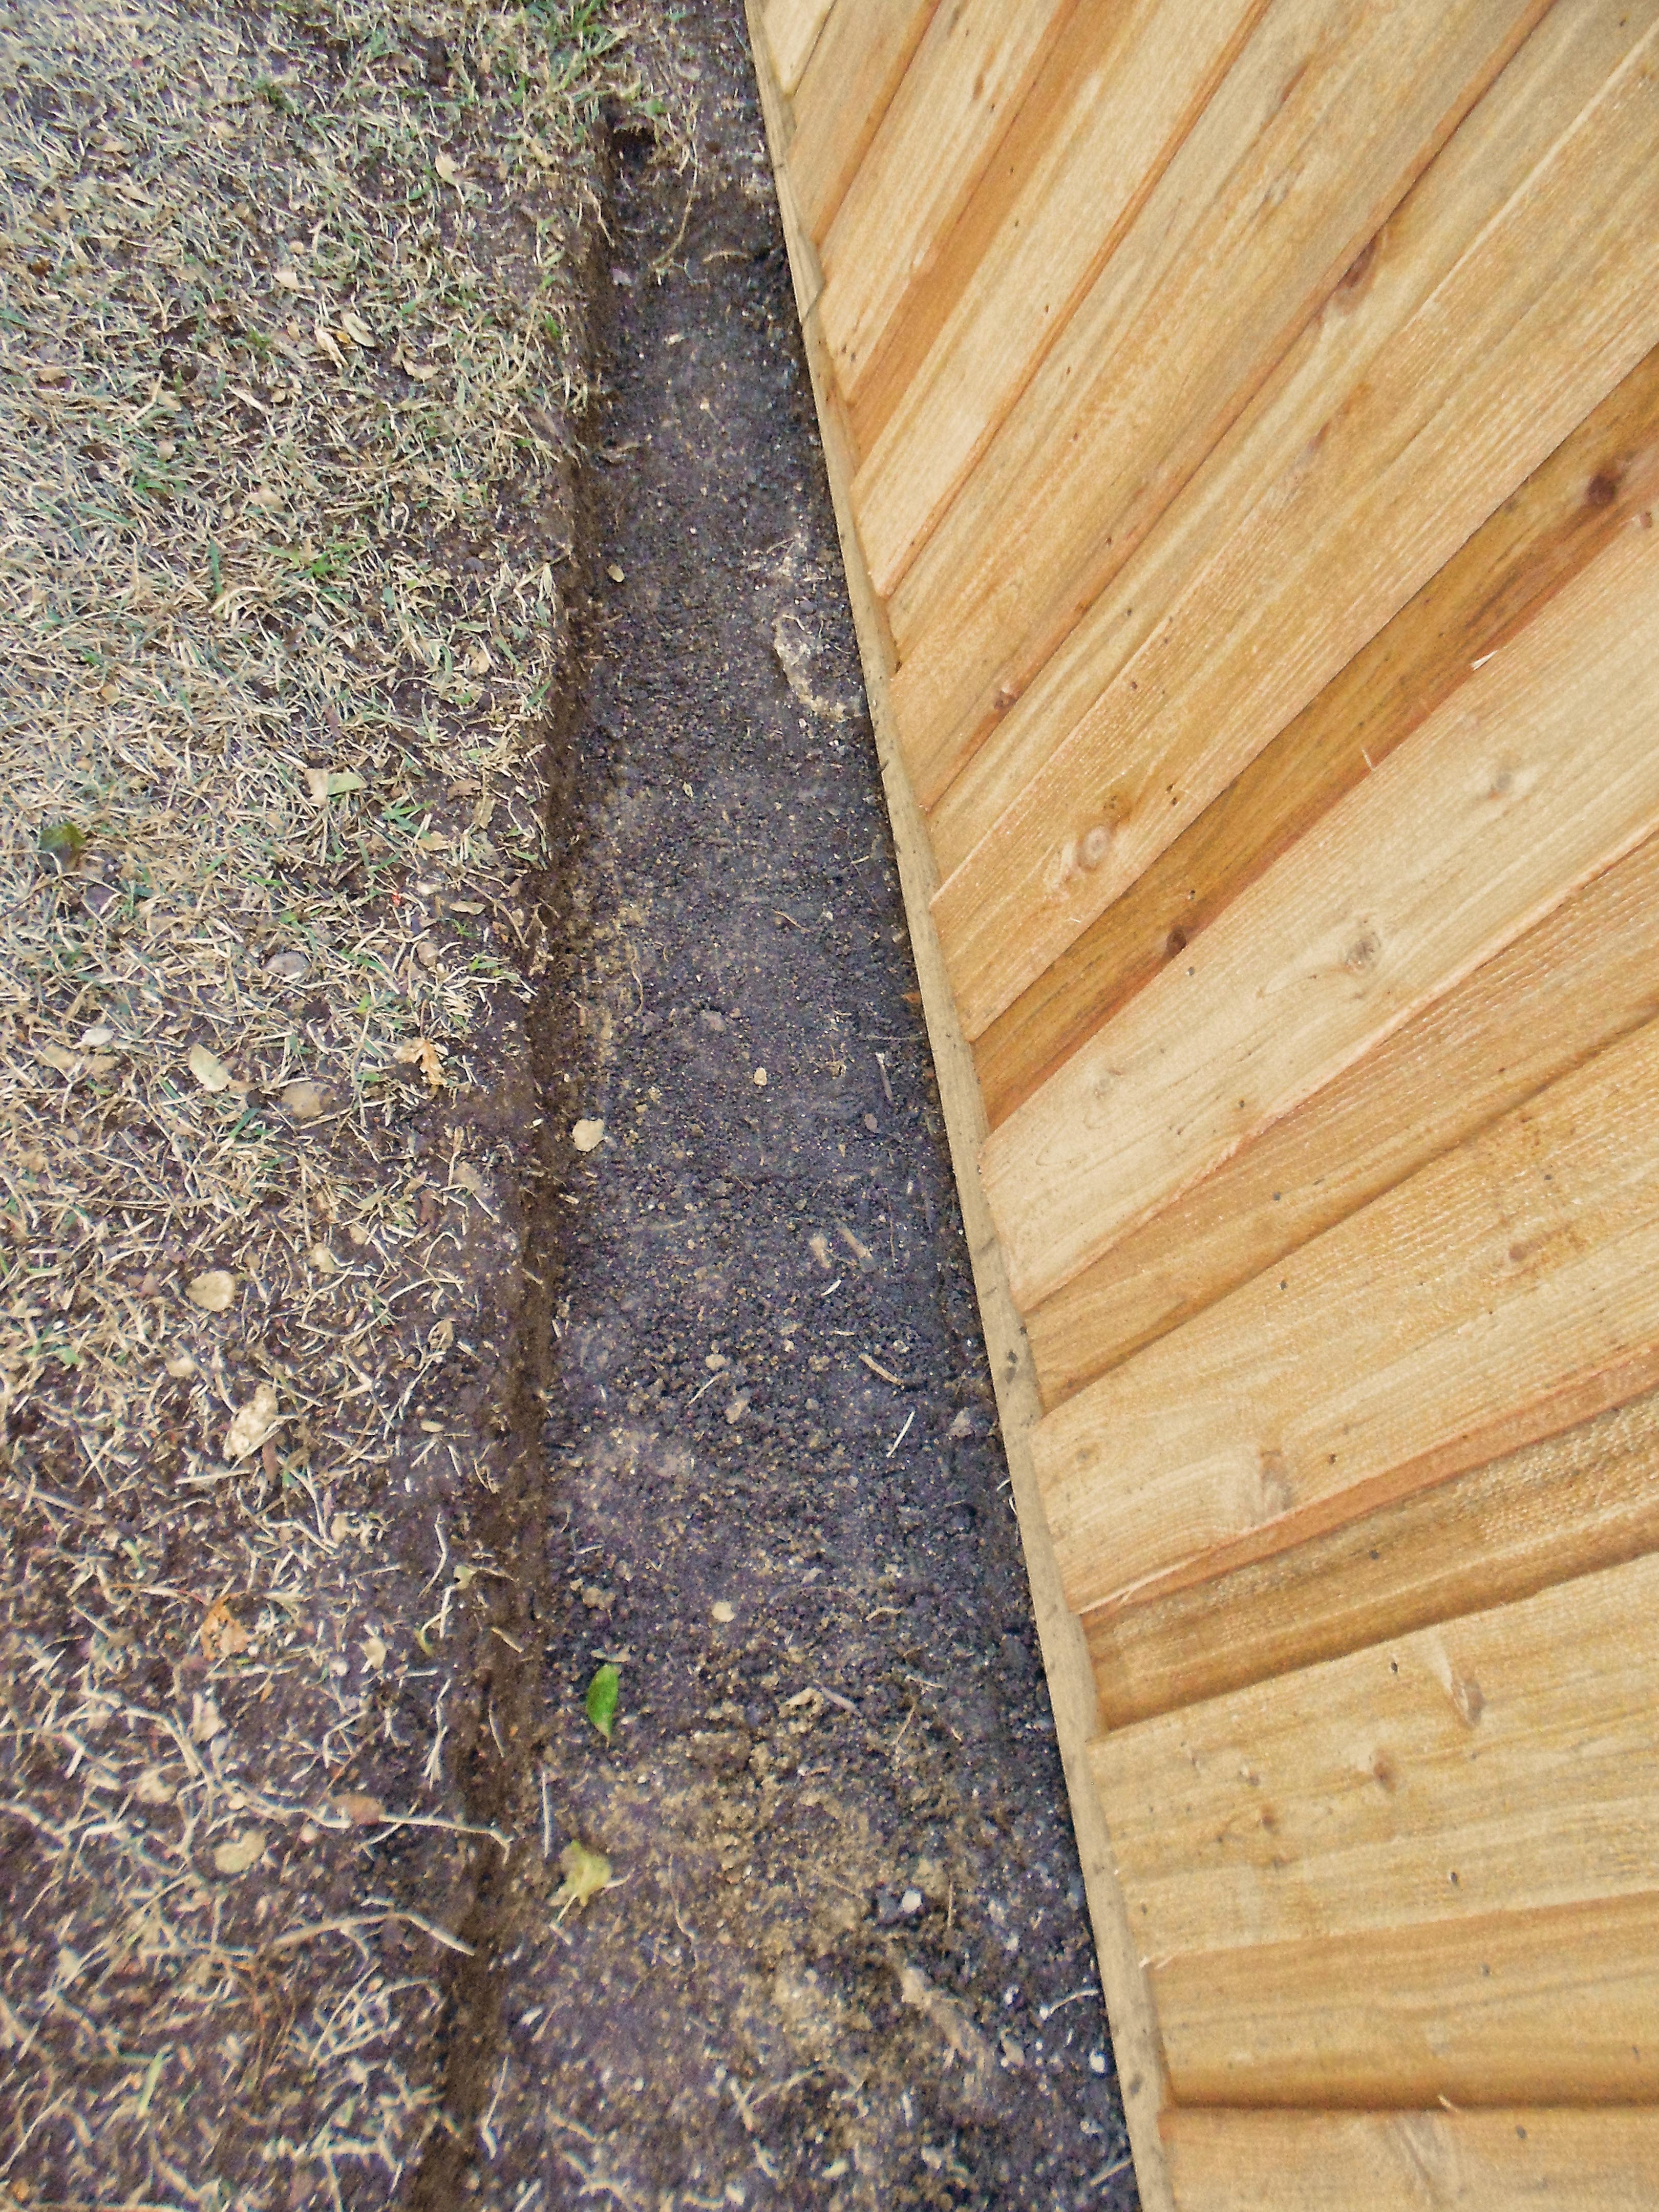
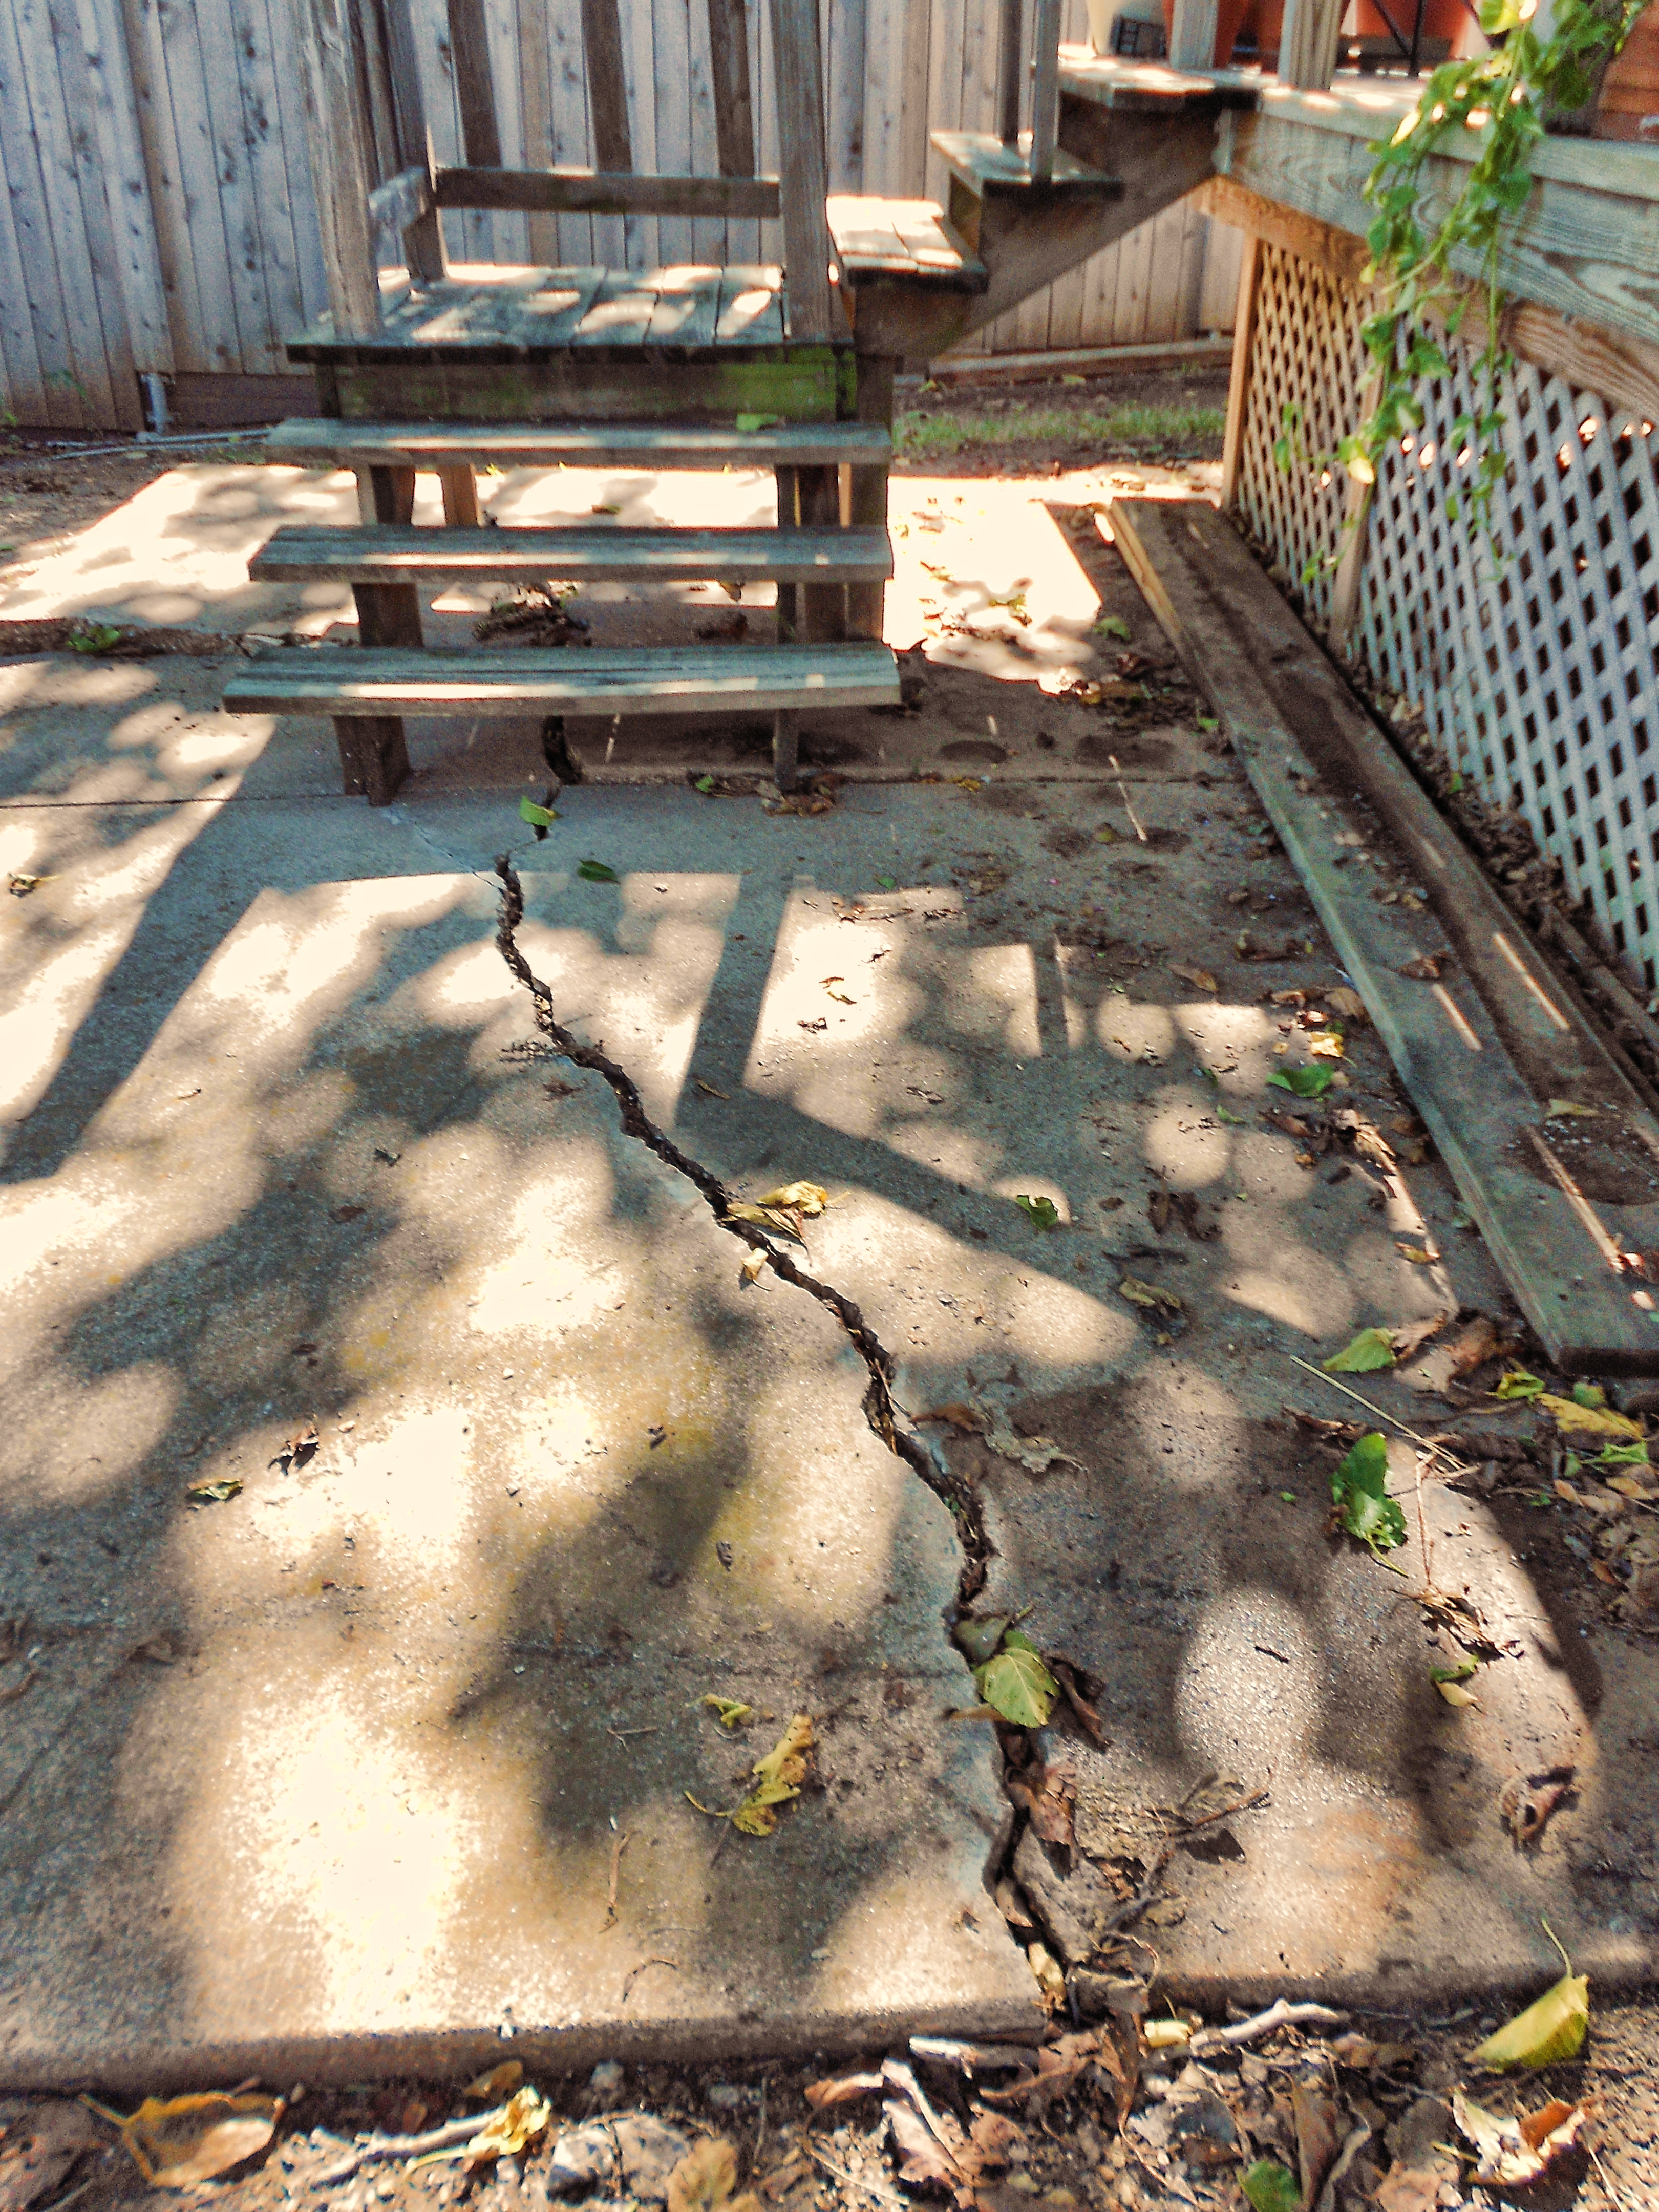
On a half-decent day, I began working on one of the trenches that will flank the side of my yard. The plan is to create a dry river rock bed which should allow the water to flow naturally. This is an easy form of erosion control. I’m not changing the direction of the flow, just adding rocks underneath so precious soil will not be lost. I’m working with nature not against it.

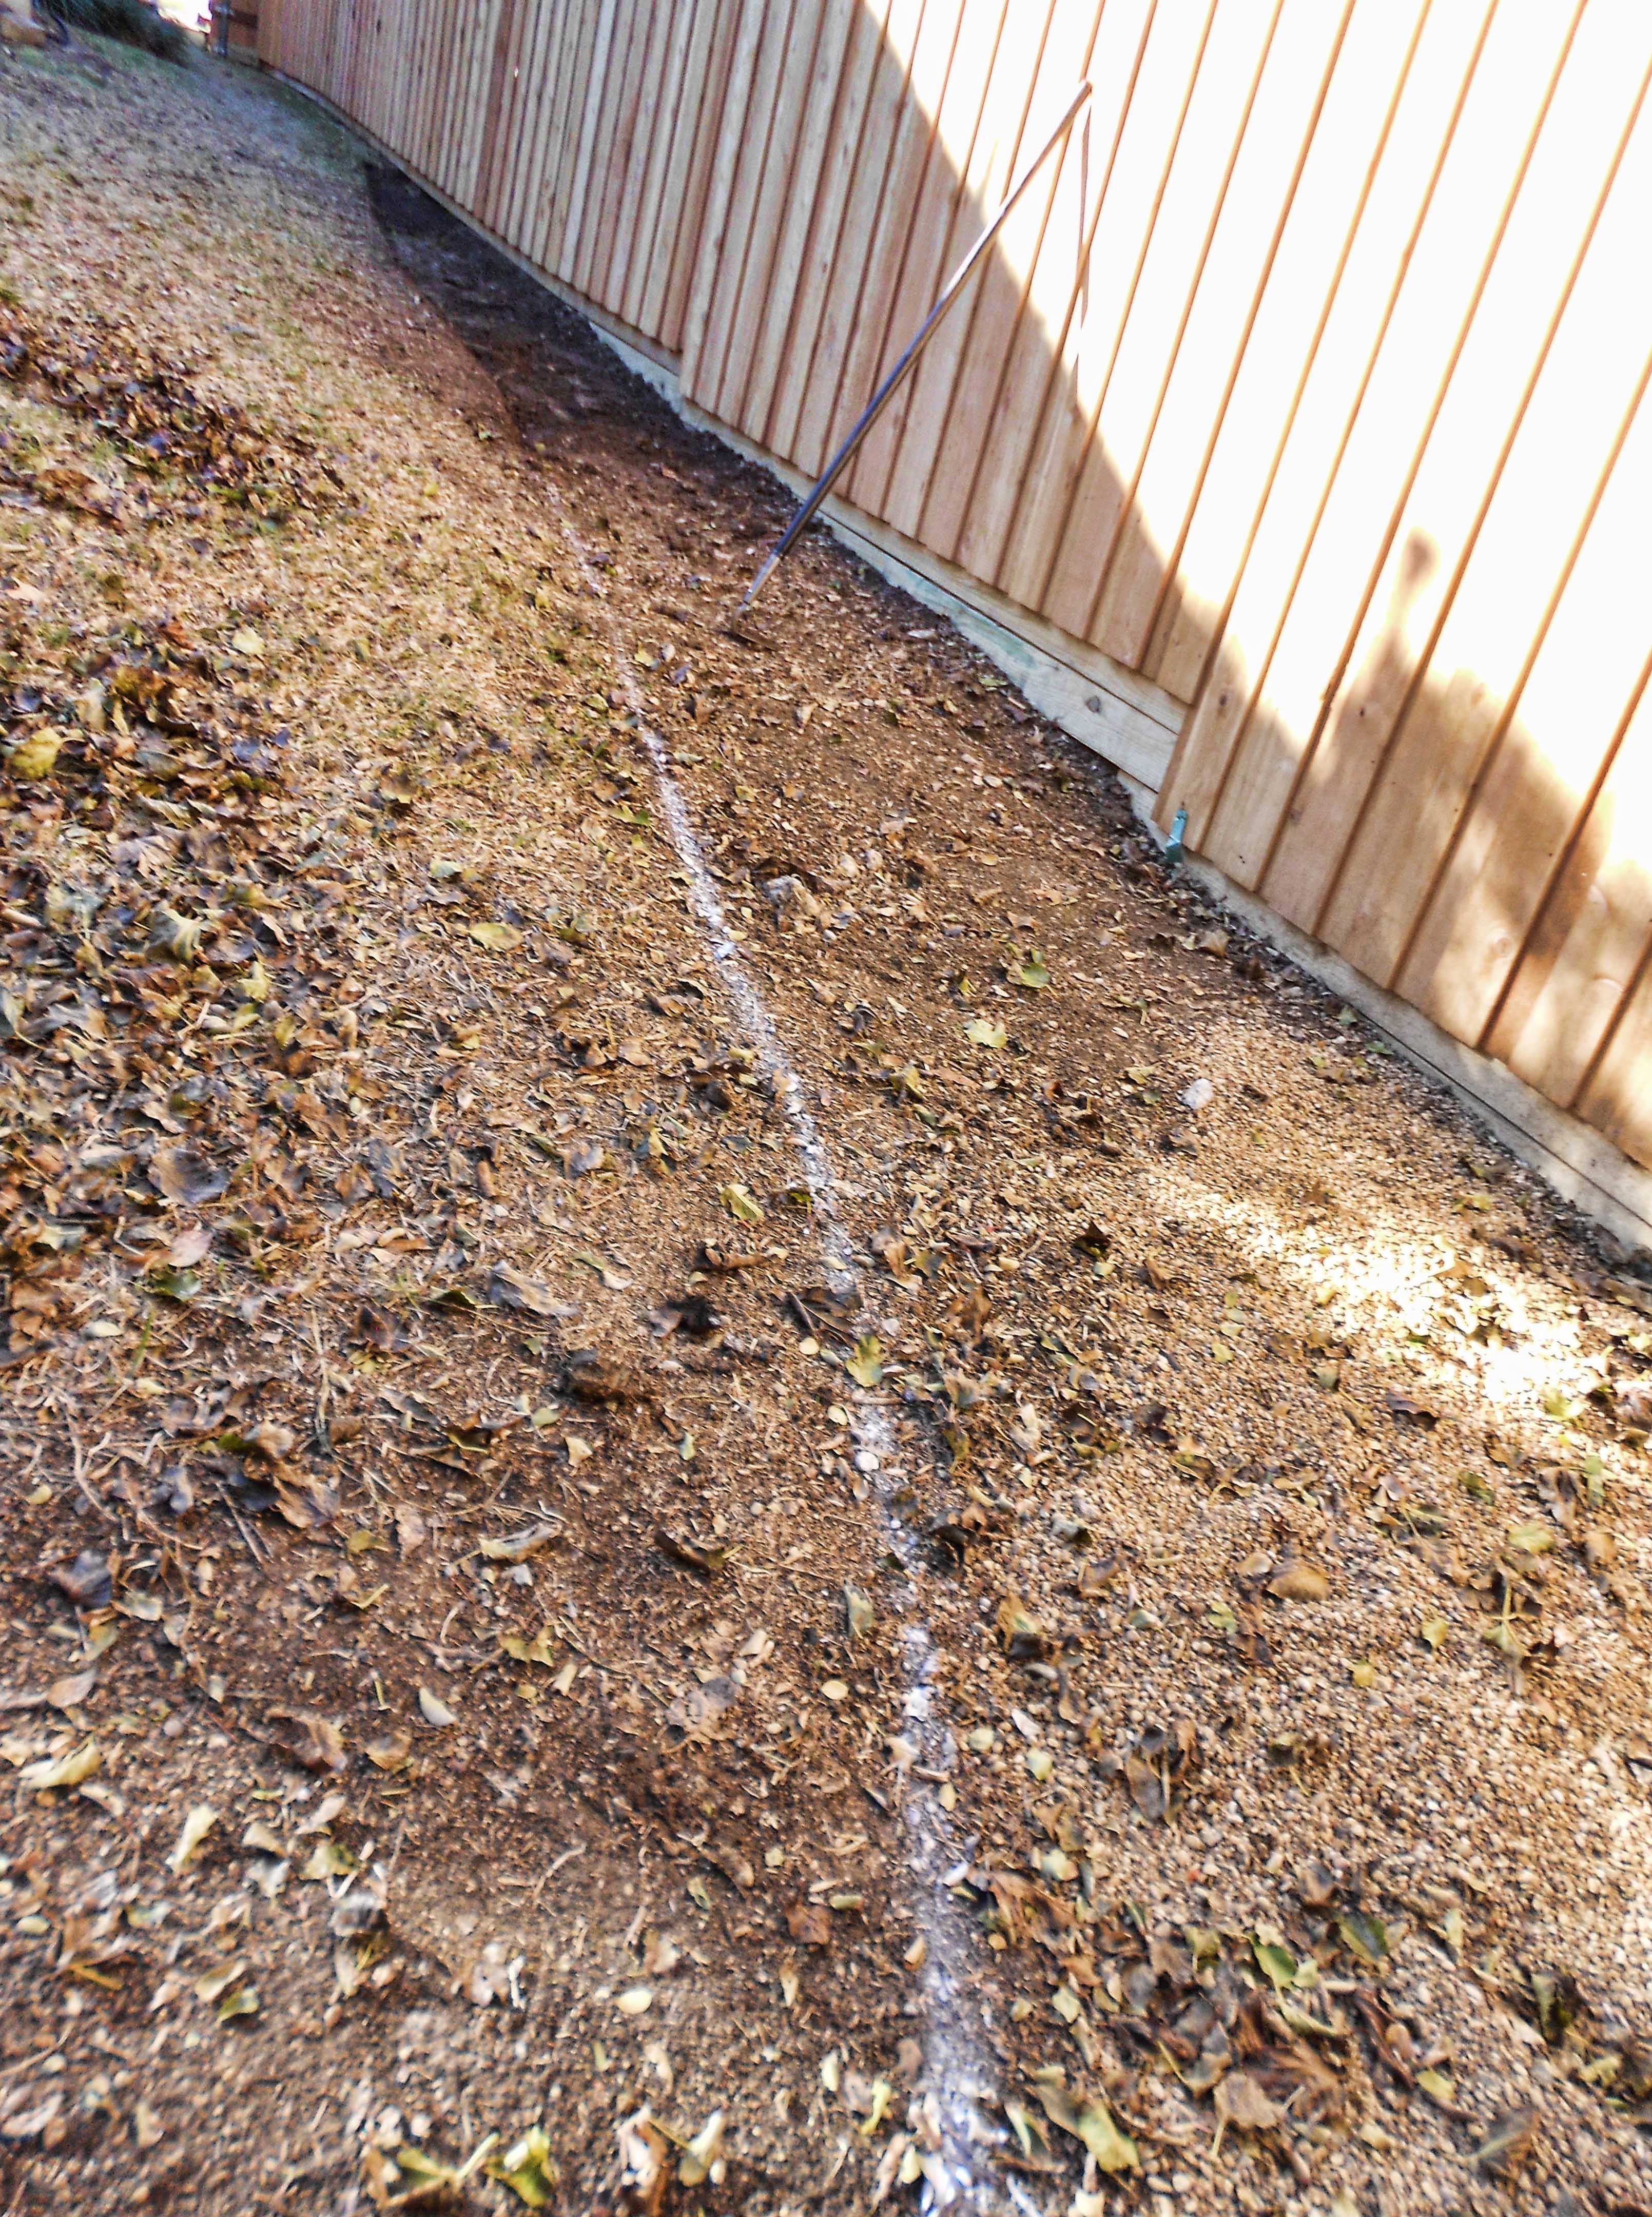
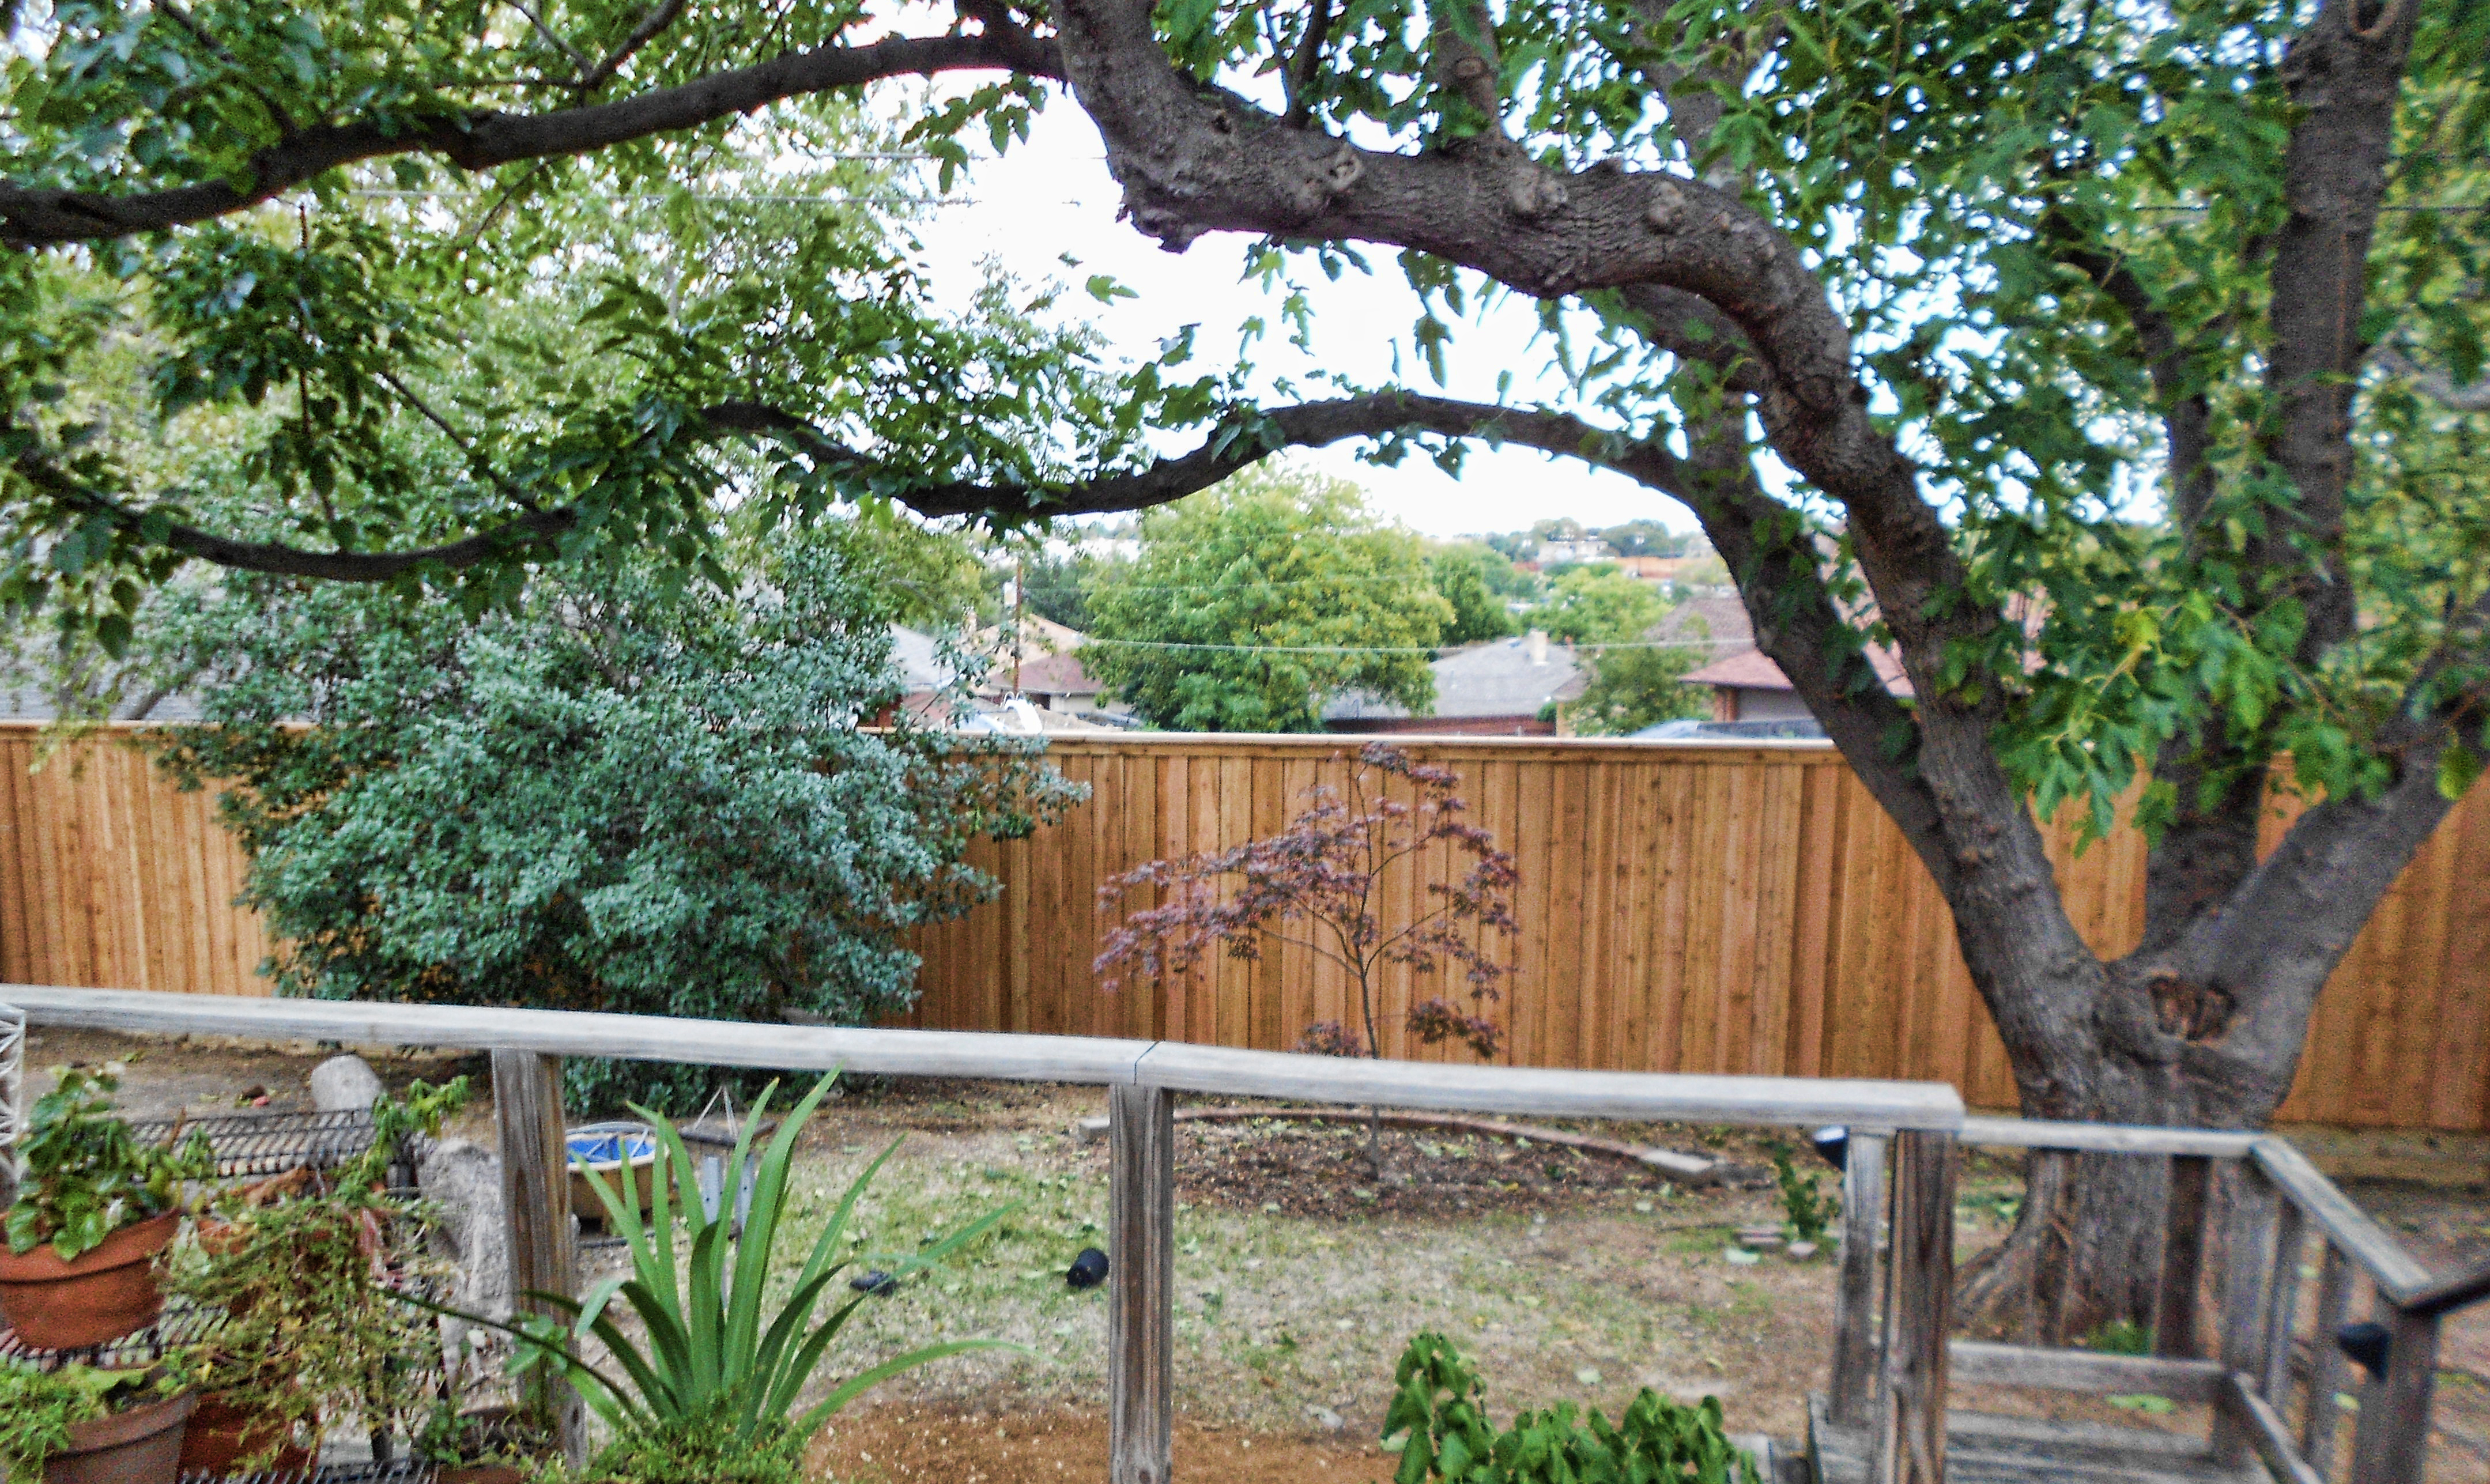
Before I began to dig the trench, I used my trusty garden hose to map out the natural erosion line. I marked the edge of the hose with spray paint so I could easily create a natural, smooth edge as I go.

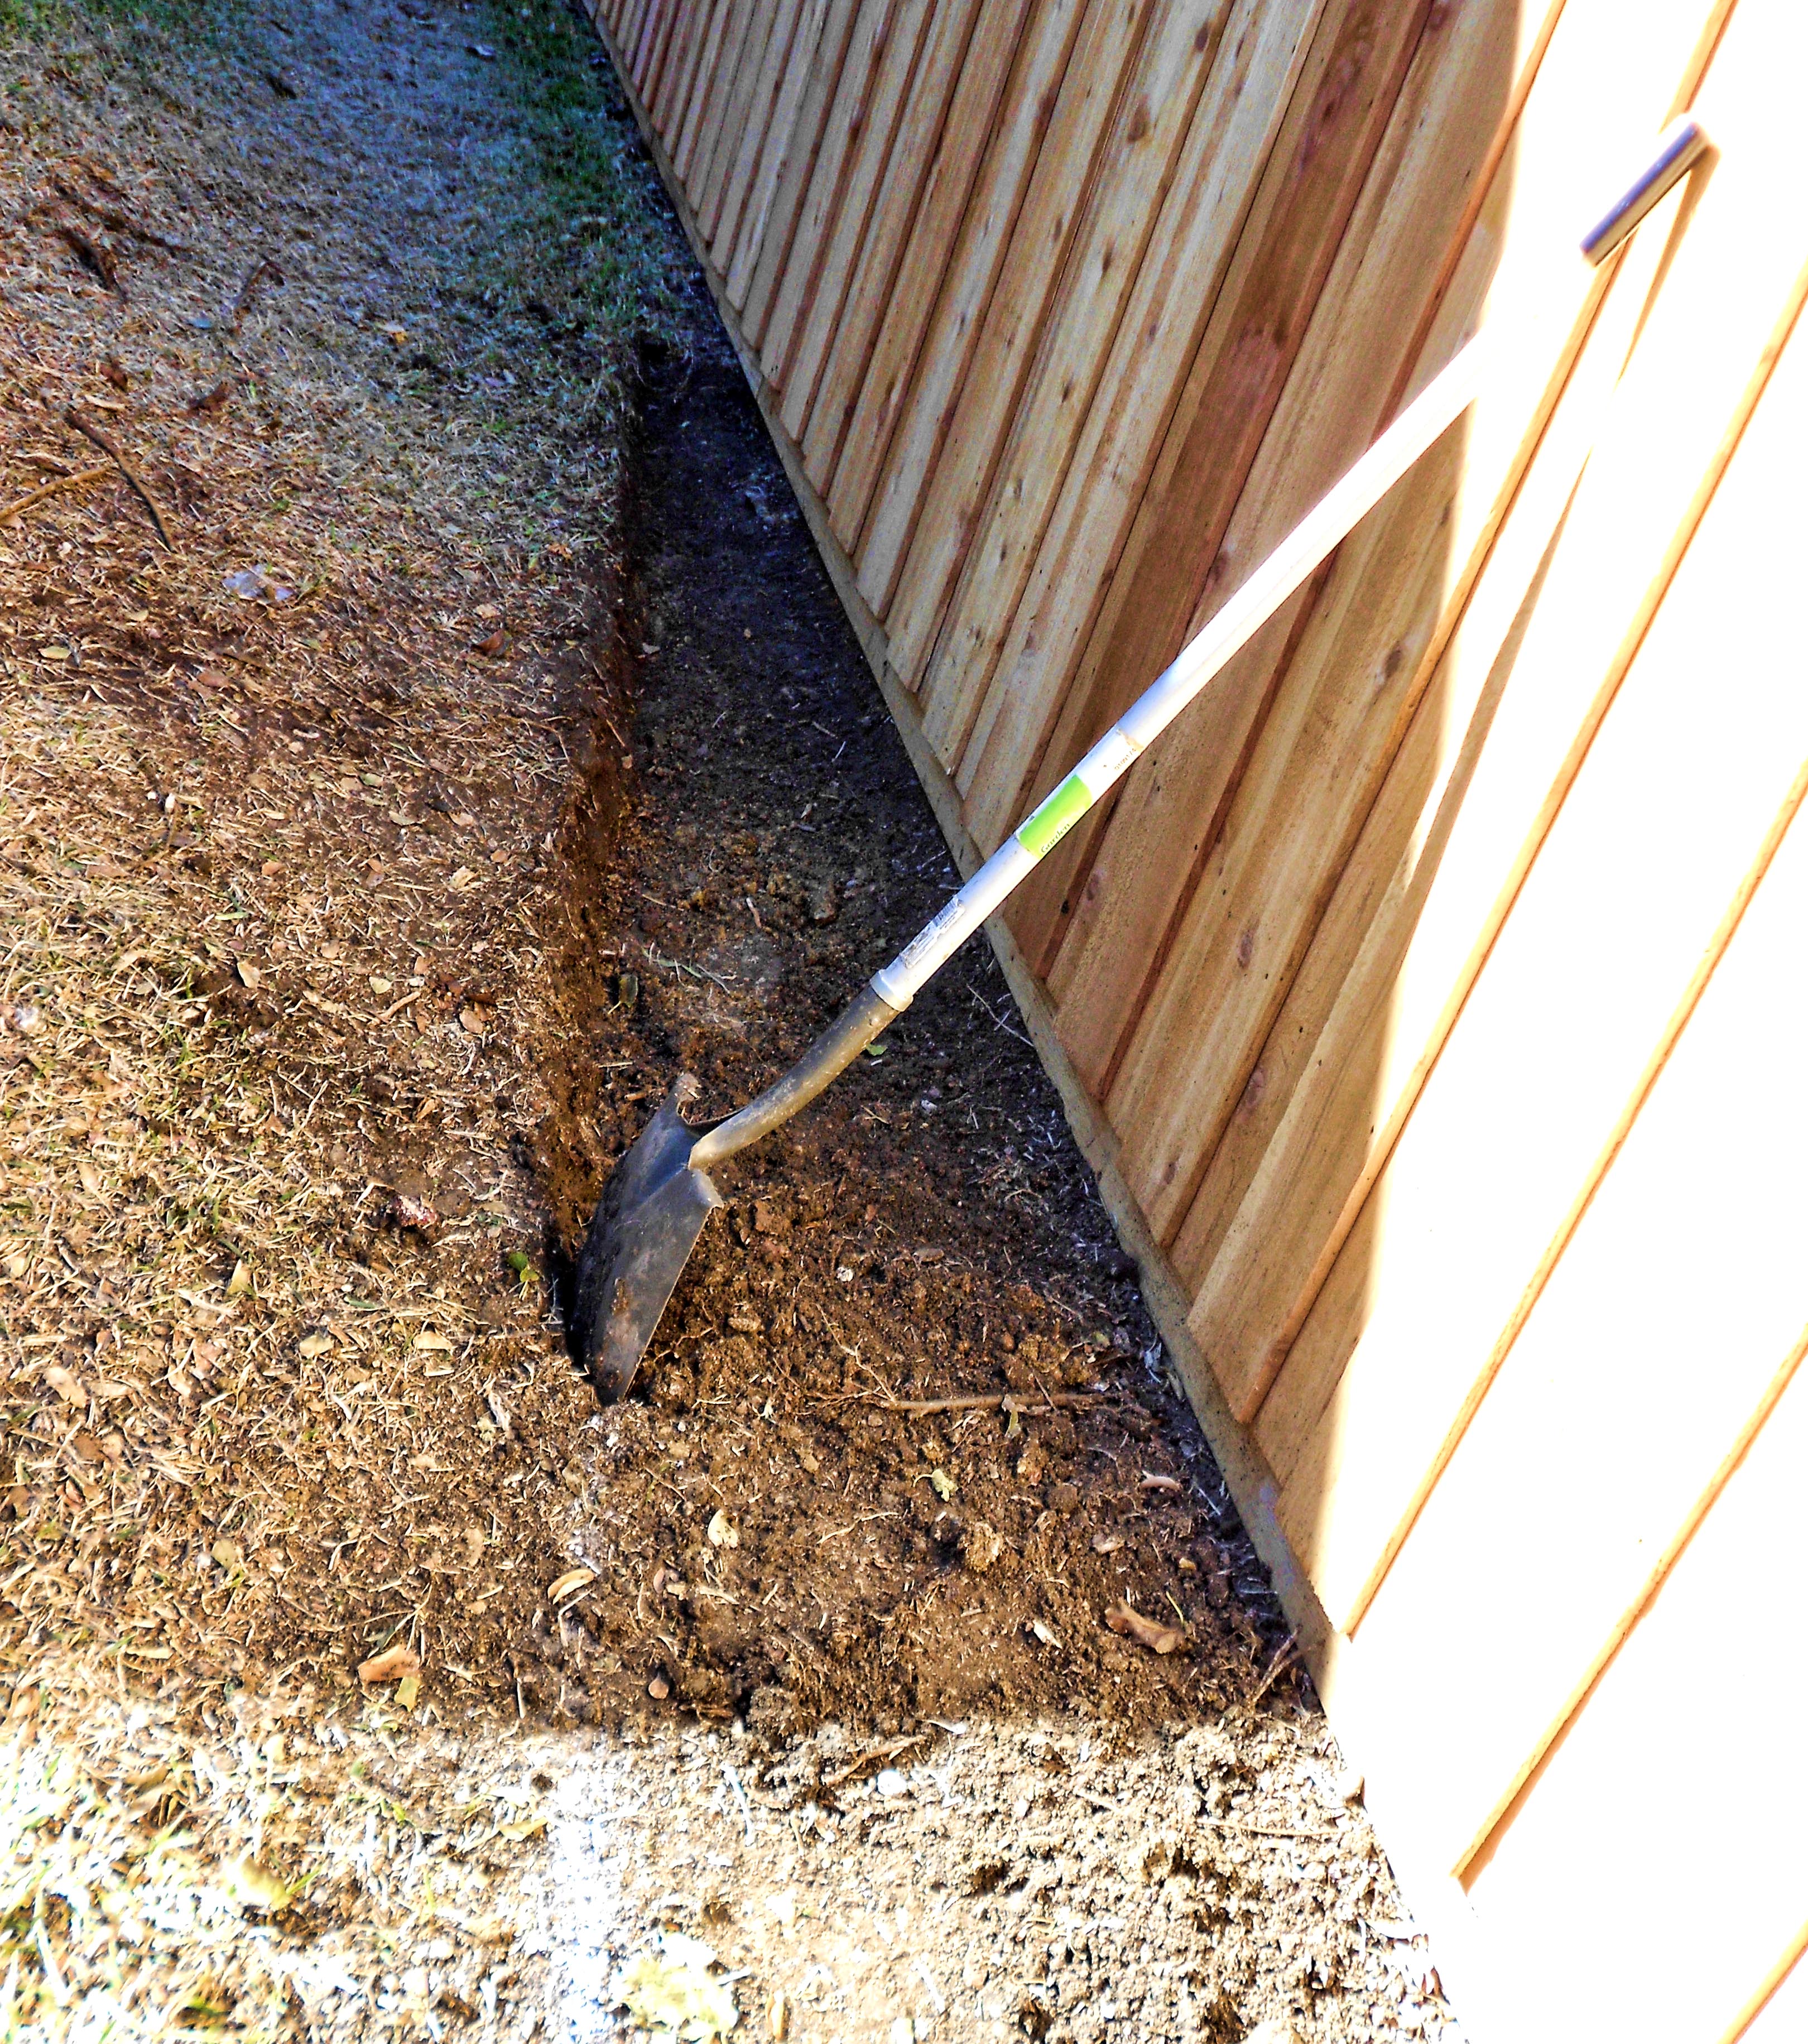
The digging of the trench is slow and I’m running into a lot of small roots. This is going to take longer than I had hoped. 🙂   I’ll keep you posted on the progress.

trench_linex

trench_line3

trench_line4

Day 8: parting of the patio

This was my final backyard project requiring a crew of strong, experienced men wielding jackhammers. The ask was simple. Remove existing concrete and replace with extra-thick slabs of flagstone.

The patio facelift turned out to be anything but easy. The homeowner before me covered the original 1964 patio with another layer of concrete. The removal was slow and extremely difficult. This “simple” project took 8 men, working in shifts for a total of six hours. When the project was completed, I was advised by Randy, he would have never bid so low, If he had known about the older concrete hidden underneath.

Randy honored his original bid. (thank you Randy)
I now have a wonderful space to work with.

Many thanks to Randy Johnson and his team.
Johnson’s Landscaping Services

Before photos:

before1

before3

before2

During photos:

during1during2

_

After Photos:

after2after3

_

after4

Day 7: The Fence

Three days, one broken auger, an irritated neighbor and a whole lot of cash later; my gorgeous new fence is complete. I’ve decided not to bore you with the blow by blow, since I can’t categorize this as a personal DIY project. I will however, share before and after photos.

rustedshed_gone

_

before_after_

newfence

Day 4: yelling timber

First item on the agenda: clearing the fence line.

Trees growing into the chain-link fence were removed along with a hackberry against the back. An old mulberry tree lying on it’s side was reduced to just the base. I plan to utilize the trunk for seating later in the renovation process. 🙂

I did not cut down the trees, this project was left to the professionals.

tree_bench


Day 3: the consult

Craving a backyard that was landscaped, I understood the importance of starting from scratch.

To say I was overwhelmed, is an understatement. I had NO idea where to begin.
I’ve never tackled such a large-scale project on my own.

I also realized it was in my best interest to hire a landscape design consultant.
Someone to help craft a plan that would solve my erosion issues, figure out the best native plants for for sunny and shady areas and most importantly create an organic space where I could entertain “al fresco”.

Bonnie was great. The consultation lasted 4 hours.
She allowed me to see my yard through a new lens.
The plan was extremely detailed and she walked me through EVERYTHING.
A couple of the items will require a contractor the others projects I plan to tackle myself.

I’m excited to get the Backyard 2.0 project started.
Are you with me?

http://www.beautifullandscapes.net   (Bonnie’s site)

Day 2: to the drawing board

In order to save time and money you will need an accurately scaled plot plan of your property.

You may already have a diagram from when you purchased your home. (lucky duck)
You could also request a property survey for a fee. As a self-professed DIYer, I had to tackle this on my own.

Tools that will help along the way:
1. Grid (drafting) paper, with each square measuring 1/8″.
One 1/8″ square = 1 foot on your plan.
2. A 50-ft or 100-ft measuring tape.
3. Sharp pencil – with a VERY good eraser
4. Clip board – to keep the paper from blowing away. It can get windy in Dallas
5. Long screw driver, for securing the measuring tape down.

You can plot the space any way you choose. Starting with the yard’s outer most measurements will make it easier.  So if the yard is 48-ft wide, then you need to draw a line the width of 48 grid squares.

Do a rough sketch of the property, listing measurements along the way. Final step is to go back and plot your space on the grid paper based on the measurements.

Label everything: fences, overhead power lines, windows, trees, bushes, electrical outlets, facets, low spots, walkways, decks, utility meters, sewer clean outs, dryer vents, downspout, existing plants, out buildings, etc…  You get the idea.

The process is slow and you might have to redraw areas a couple of times until the measurements match. Stay strong my DIYer friend. It’s worth doing right.

Day 1: the free landscape seminar

A good friend invited me to a free, 1-day seminar offered by Dallas County on “Common Sense Landscaping”. I had zero plans for Saturday so I foolishly tagged along.

Upon leaving the seminar my mind was buzzing with a million ideas.
What if?  What if I landscaped with native, drought-tolerant plants? What if I tried to solve the erosion along the sides of the yard? What if, what if, what if.

So here I am.
New to blogging.
Documenting my backyard revival.