Day 14: don’t be a drip

walkwaycvr3

My outdoor facet isn’t the most glamorous aspect of a yard, but it does play an essential role. Why not create a fun path for easy access? Why not, indeed!

Before I got underway, I had to determine the shape of the two neighboring flowerbeds. The path made more sense if it brought the two flowerbeds together in an eye-catching, inviting way. Once the flowerbed shape was determined, I was ready to dig in.

The “To-Do” list:
1. Figure out the final shape of the two flowerbeds
2. Dig the path about half a foot deep, incorporating a slope.
3. Add a thin layer of decomposed granite, for the base.
4. Insert chop rock along the edge of the path
5. Place the flagstone randomly along the path, until it “felt right”
6. Add more decomposed granite, between the stones until it is flush with the top edge.
7. Incorporate a small river rock section encasing the facet, to keep the mud to a minimum
8. Smile.

side note: The path was built on a slight slant to ensure excess water wouldn’t pool against the foundation – a huge no-no.

walkway_thedig

walkway3

walkway9

20150510_131924

facetpathway

Day 13: sod it to me

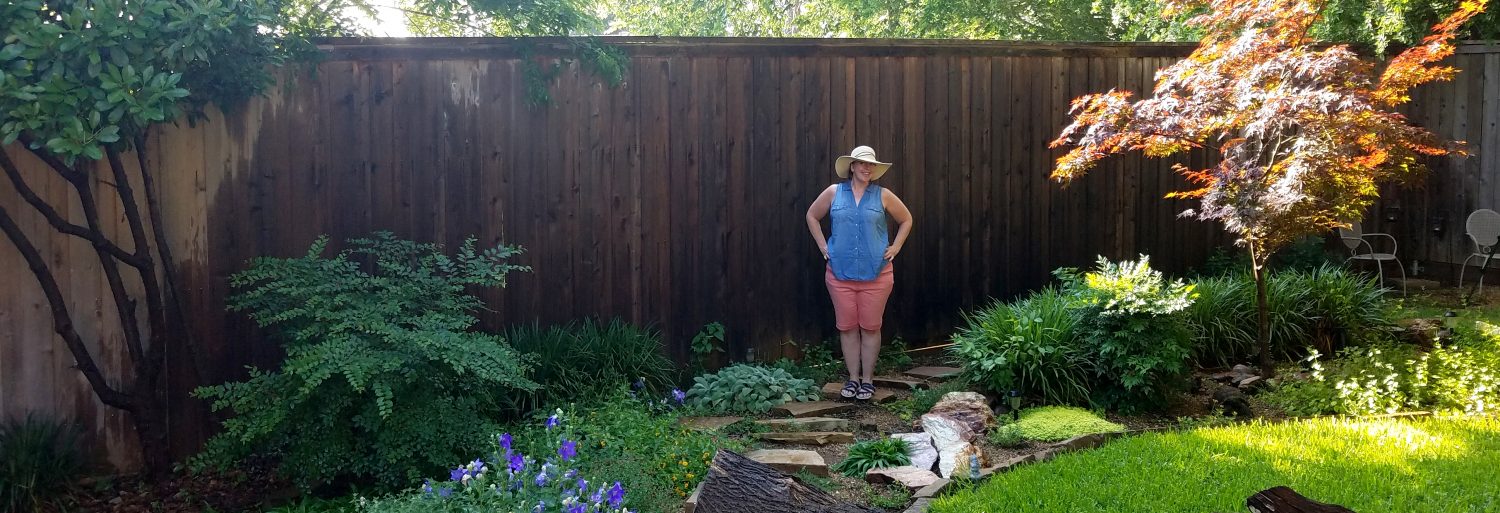
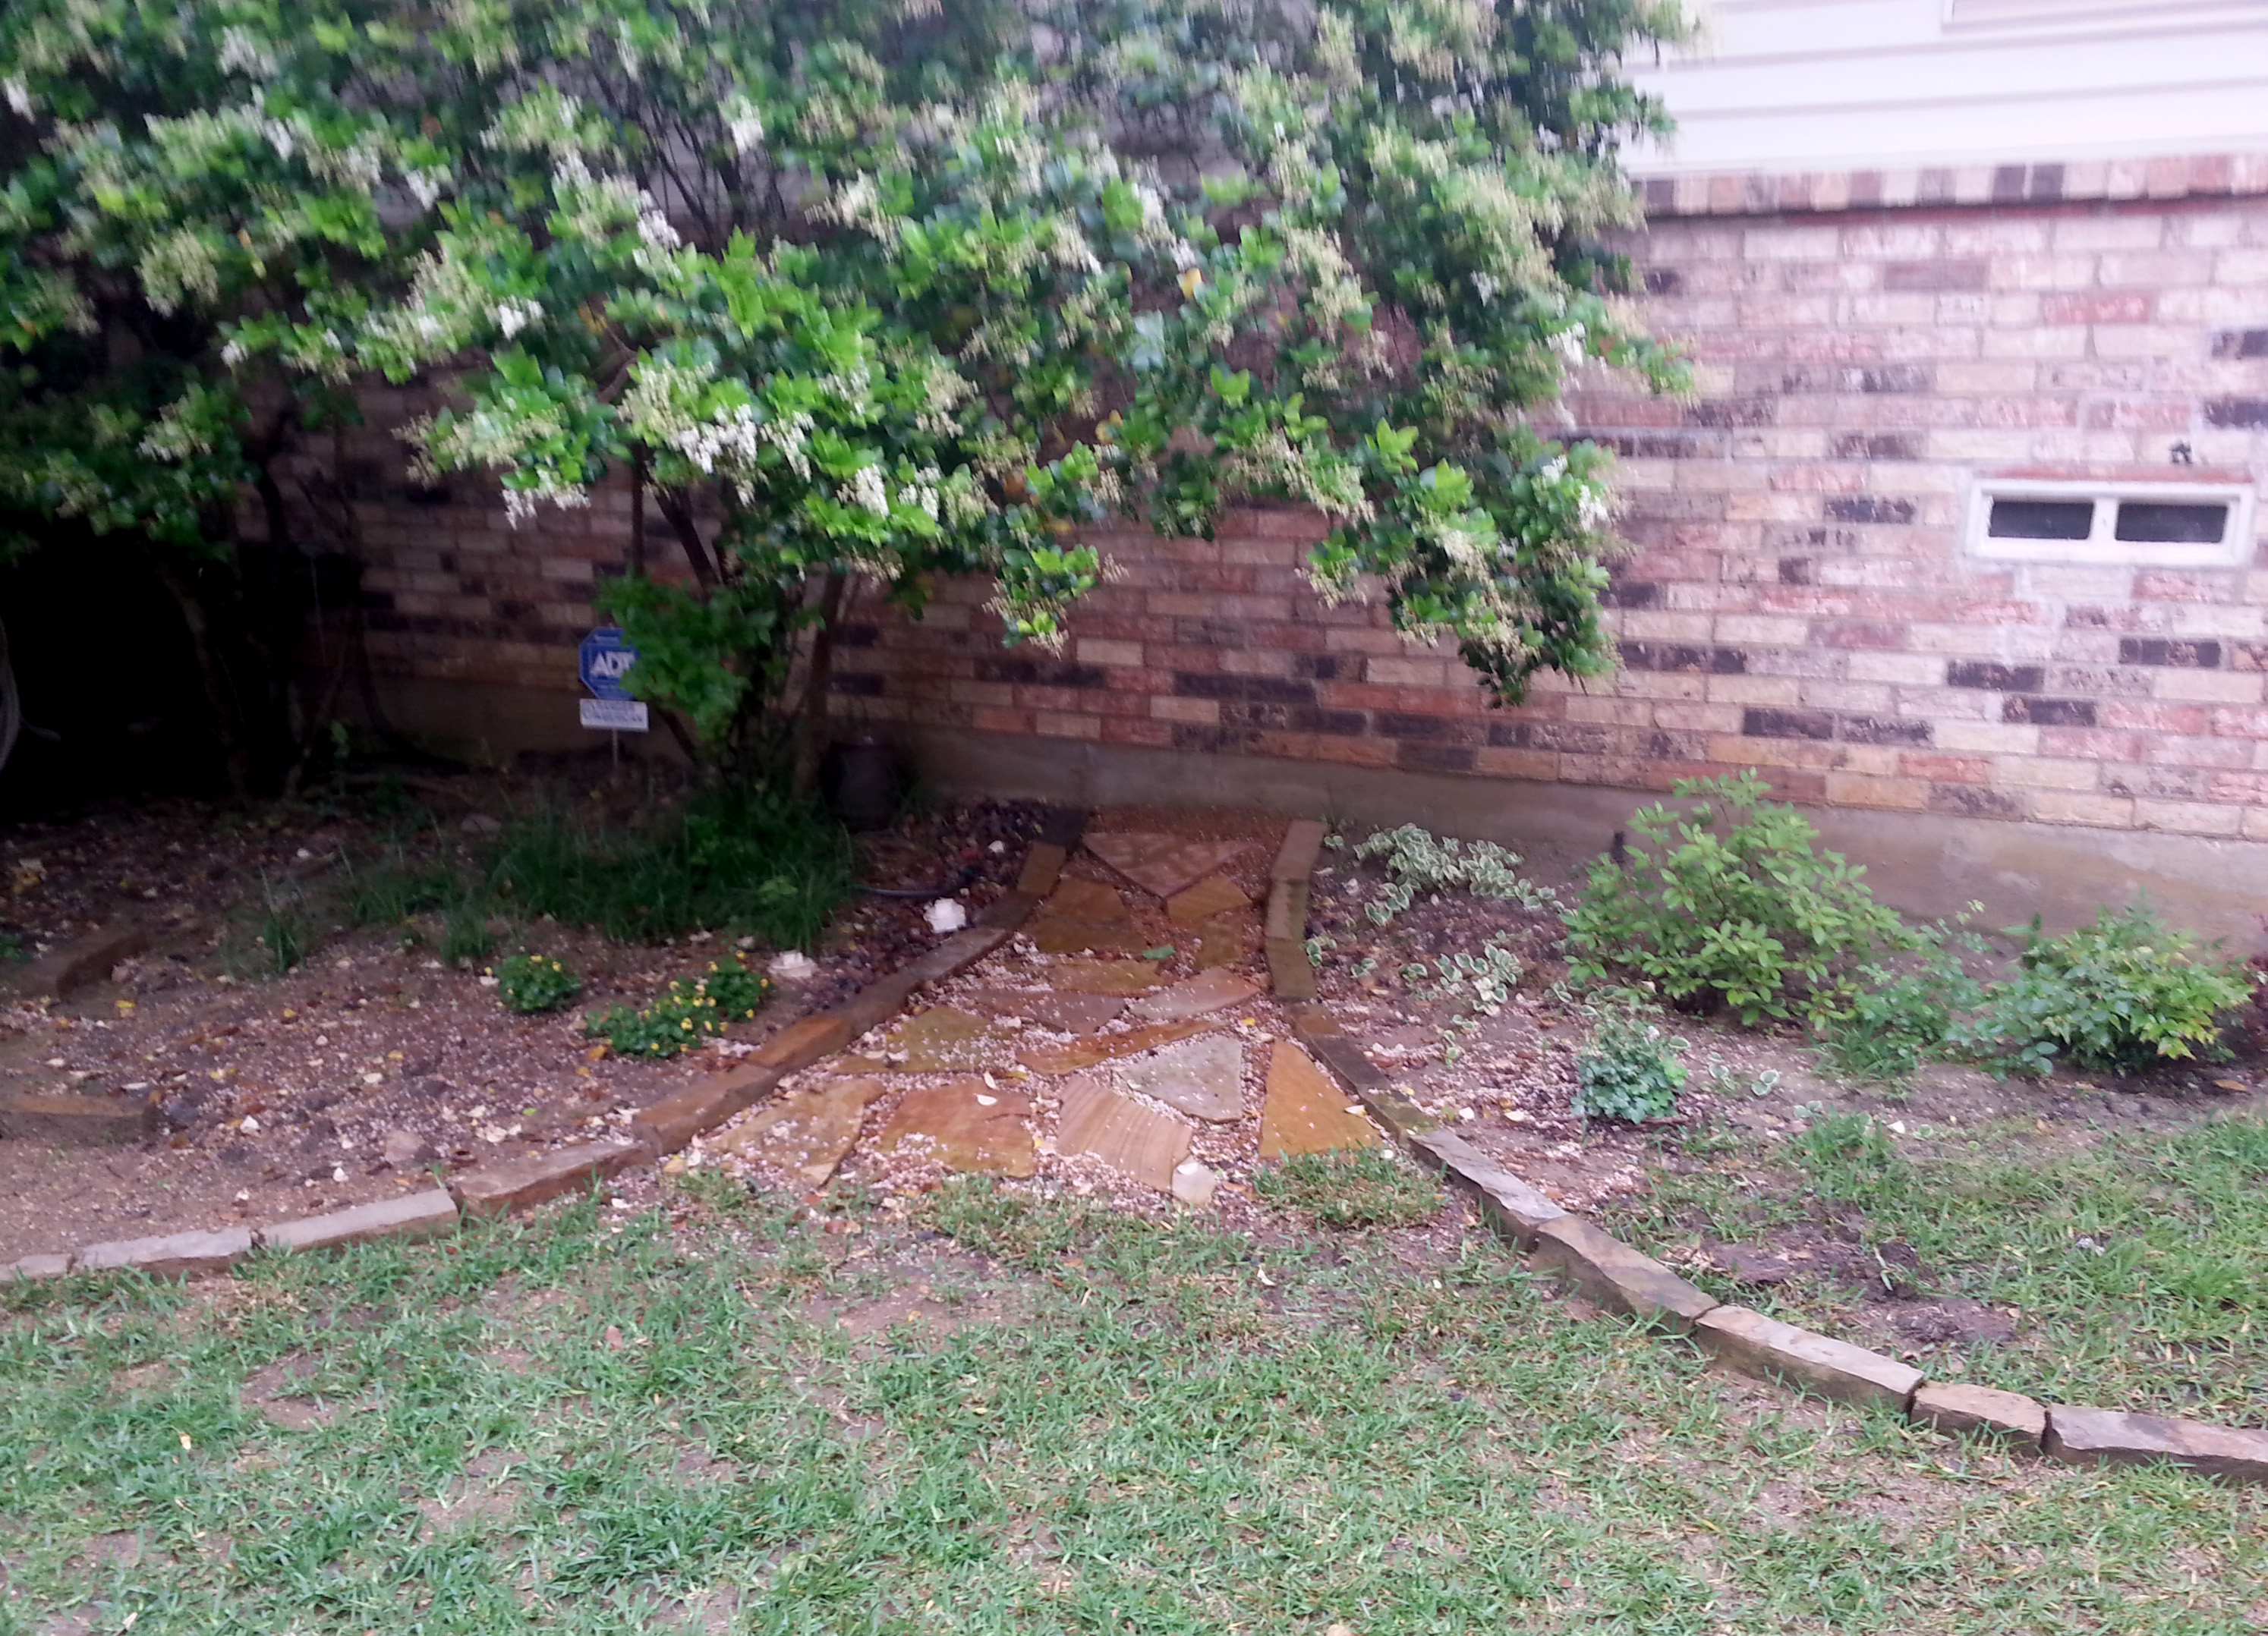
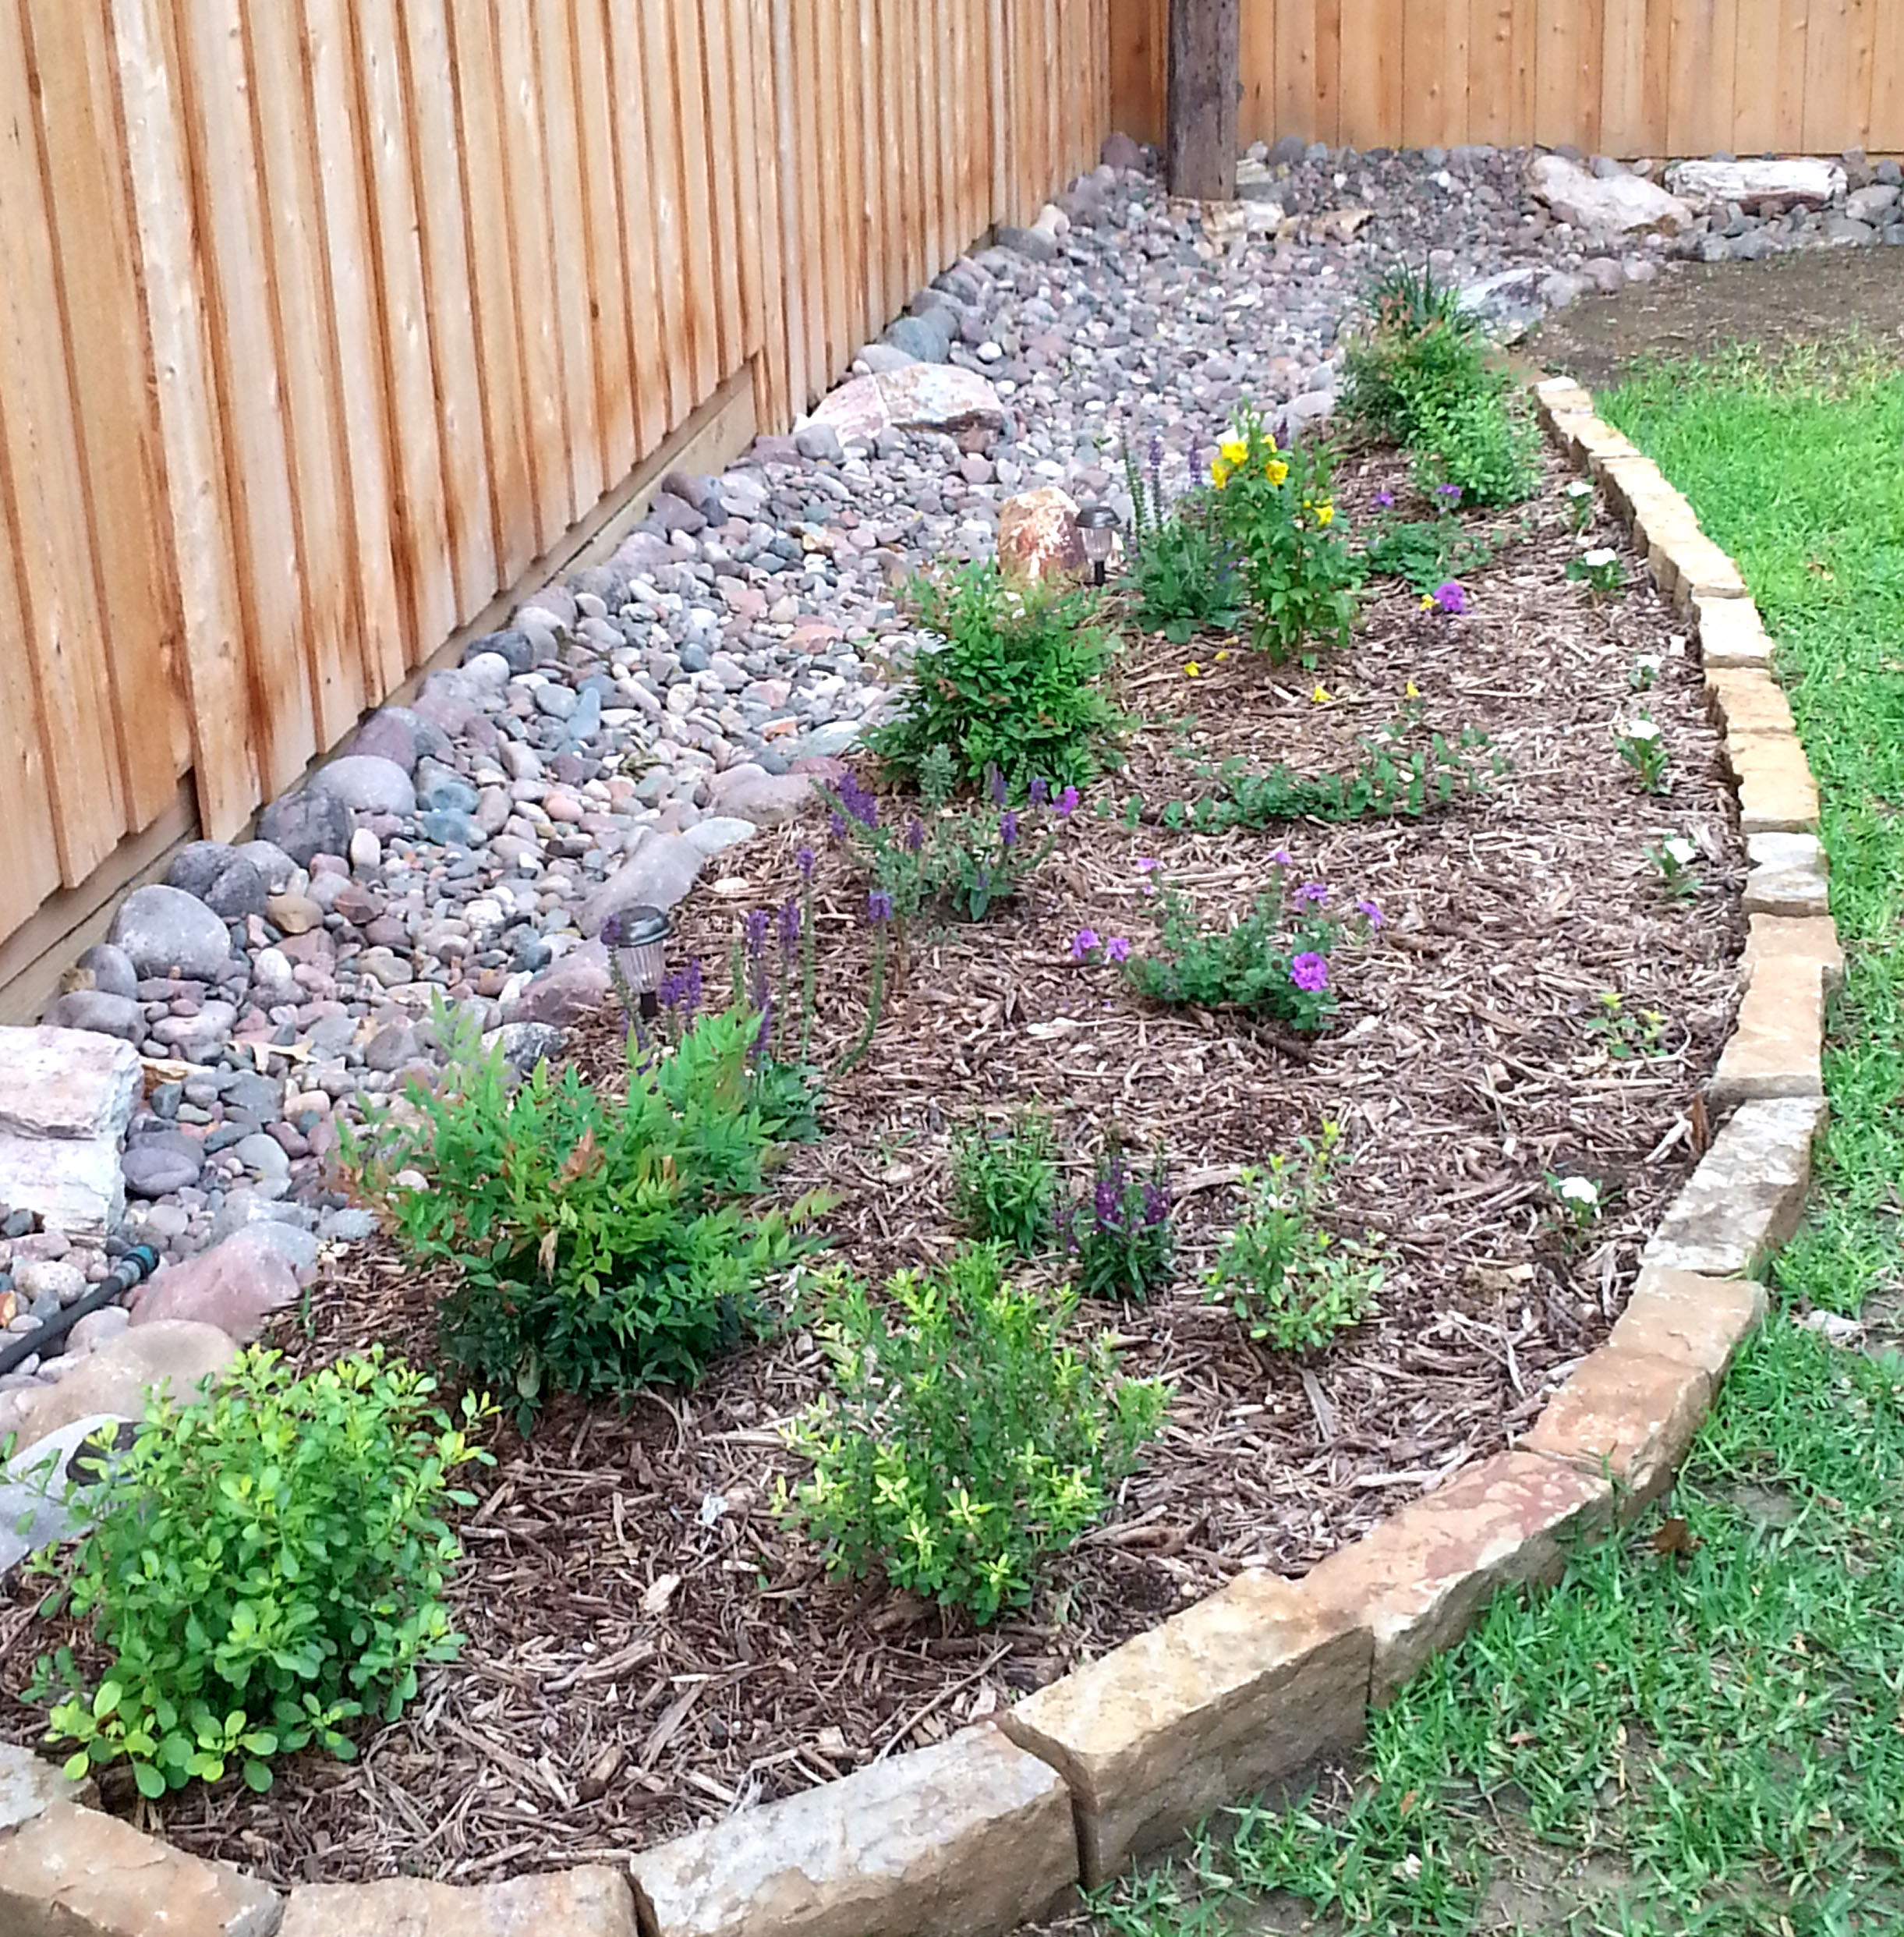
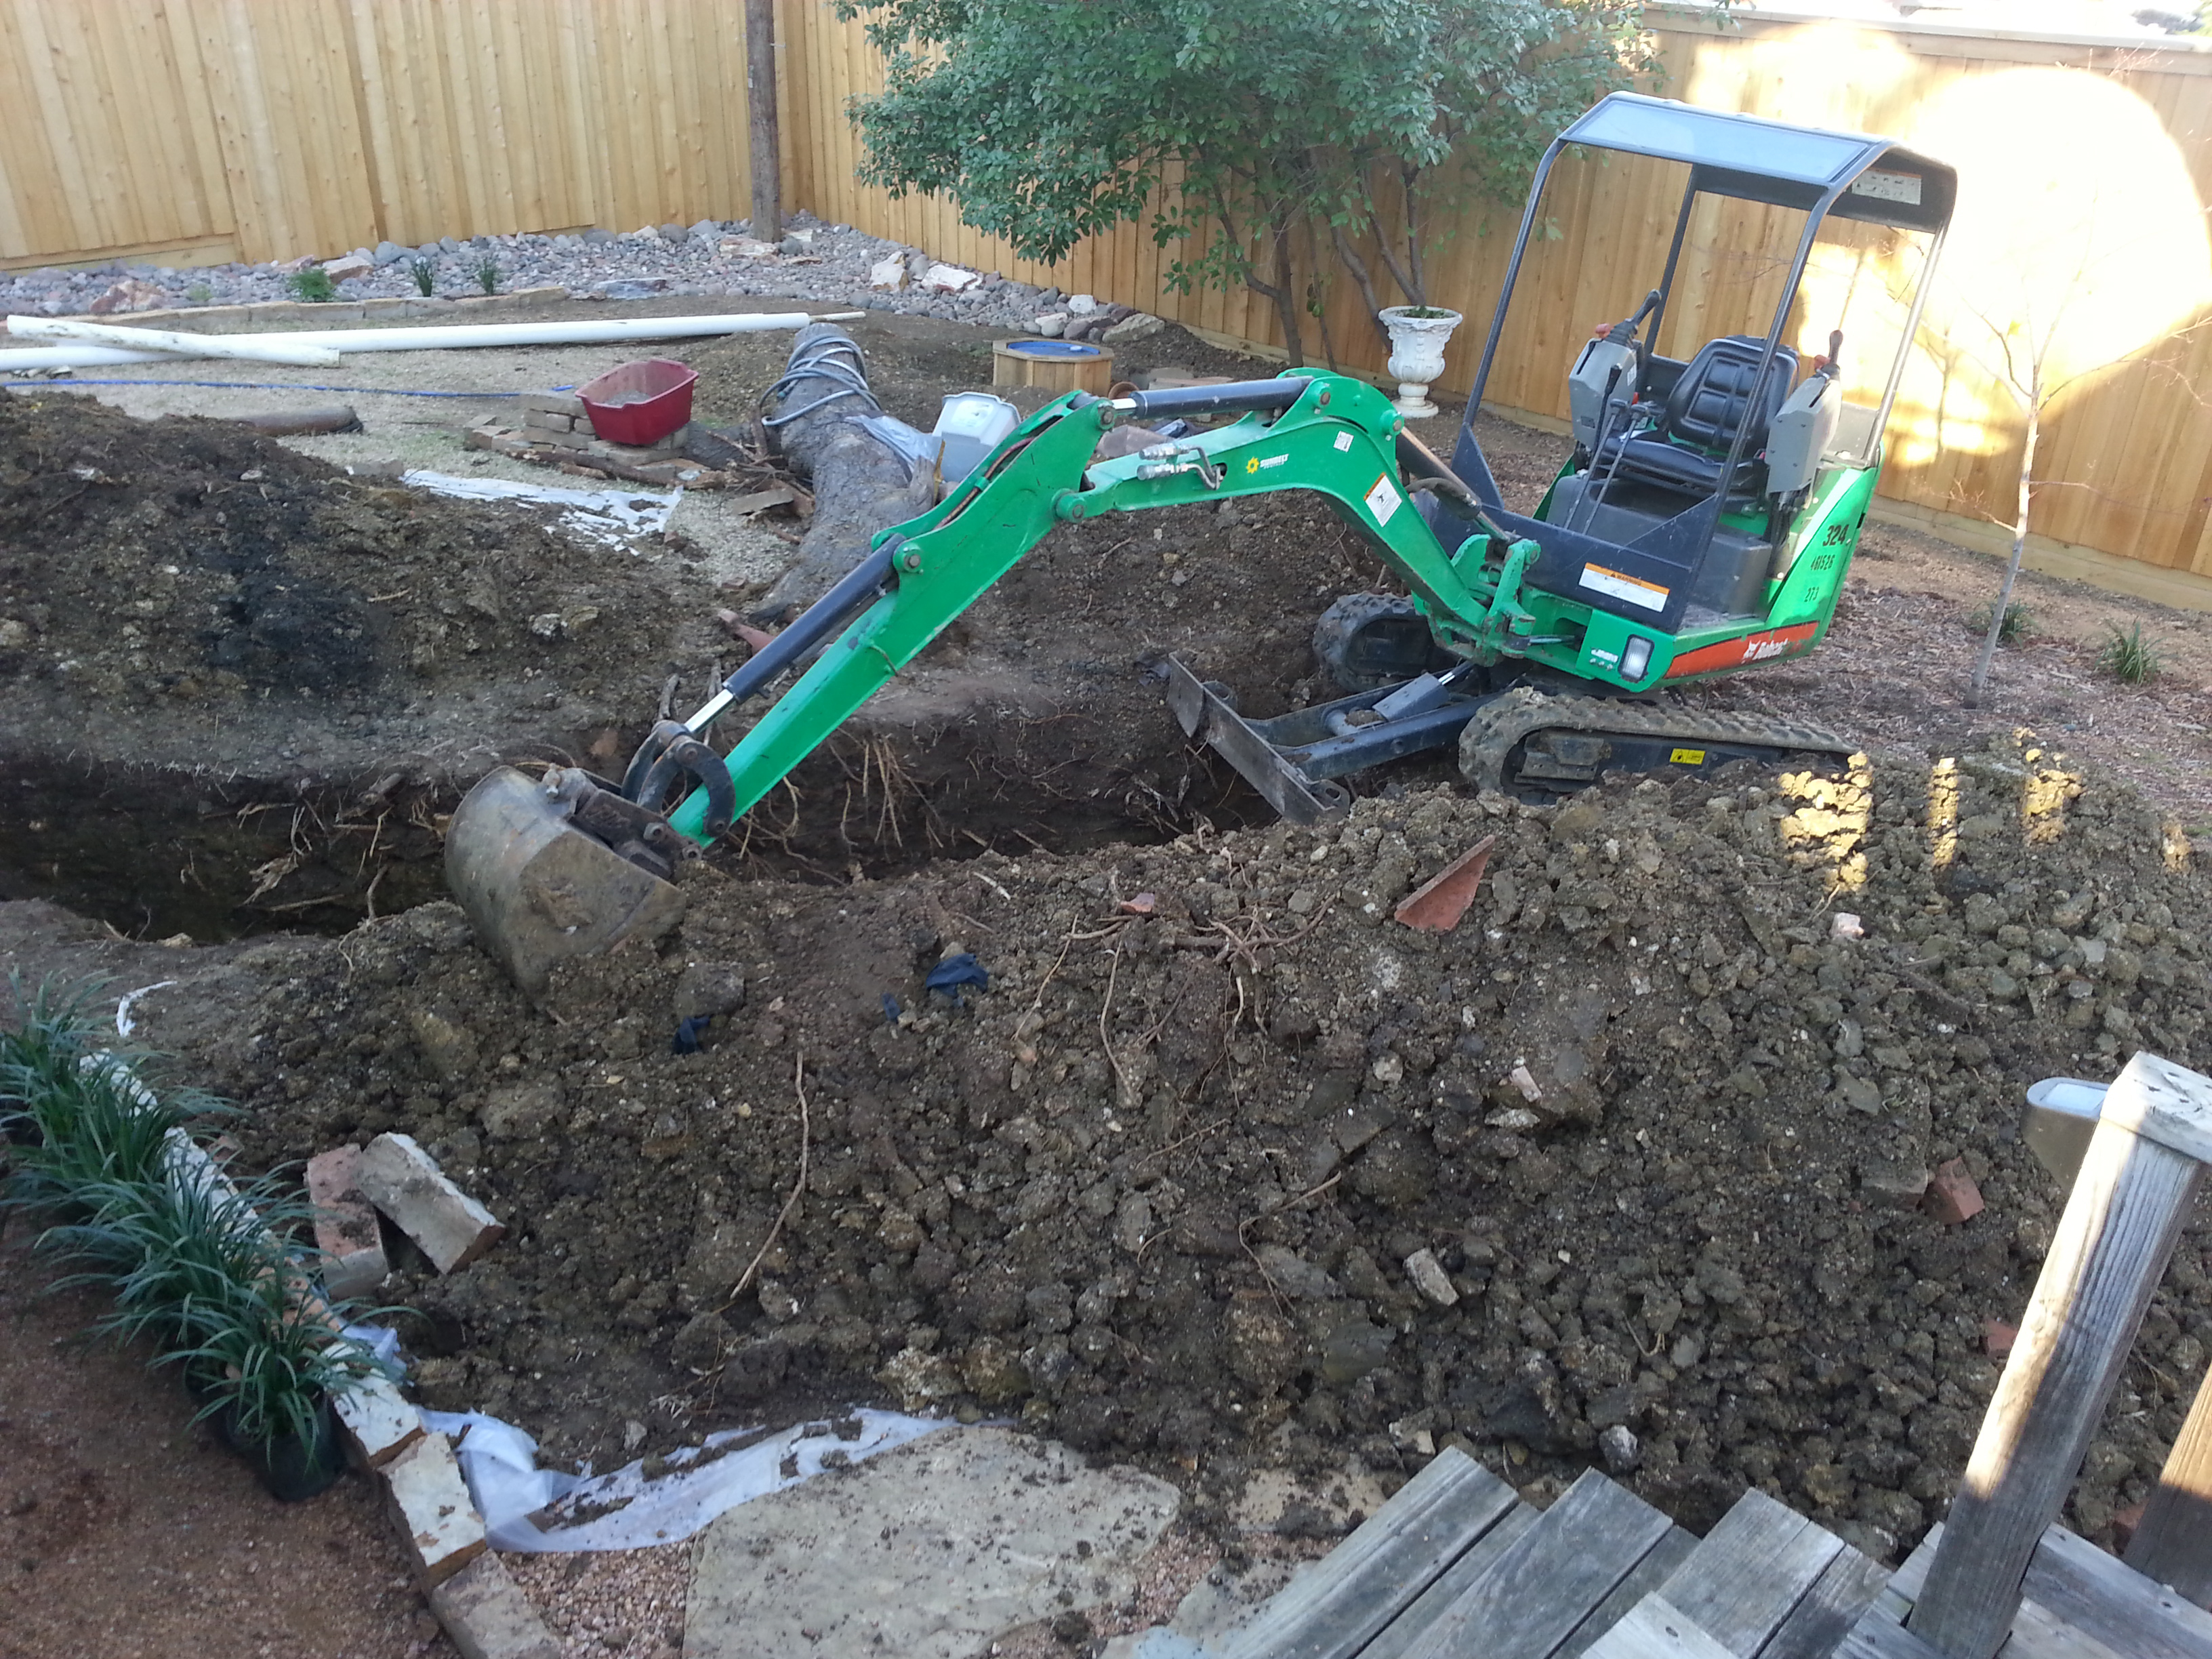
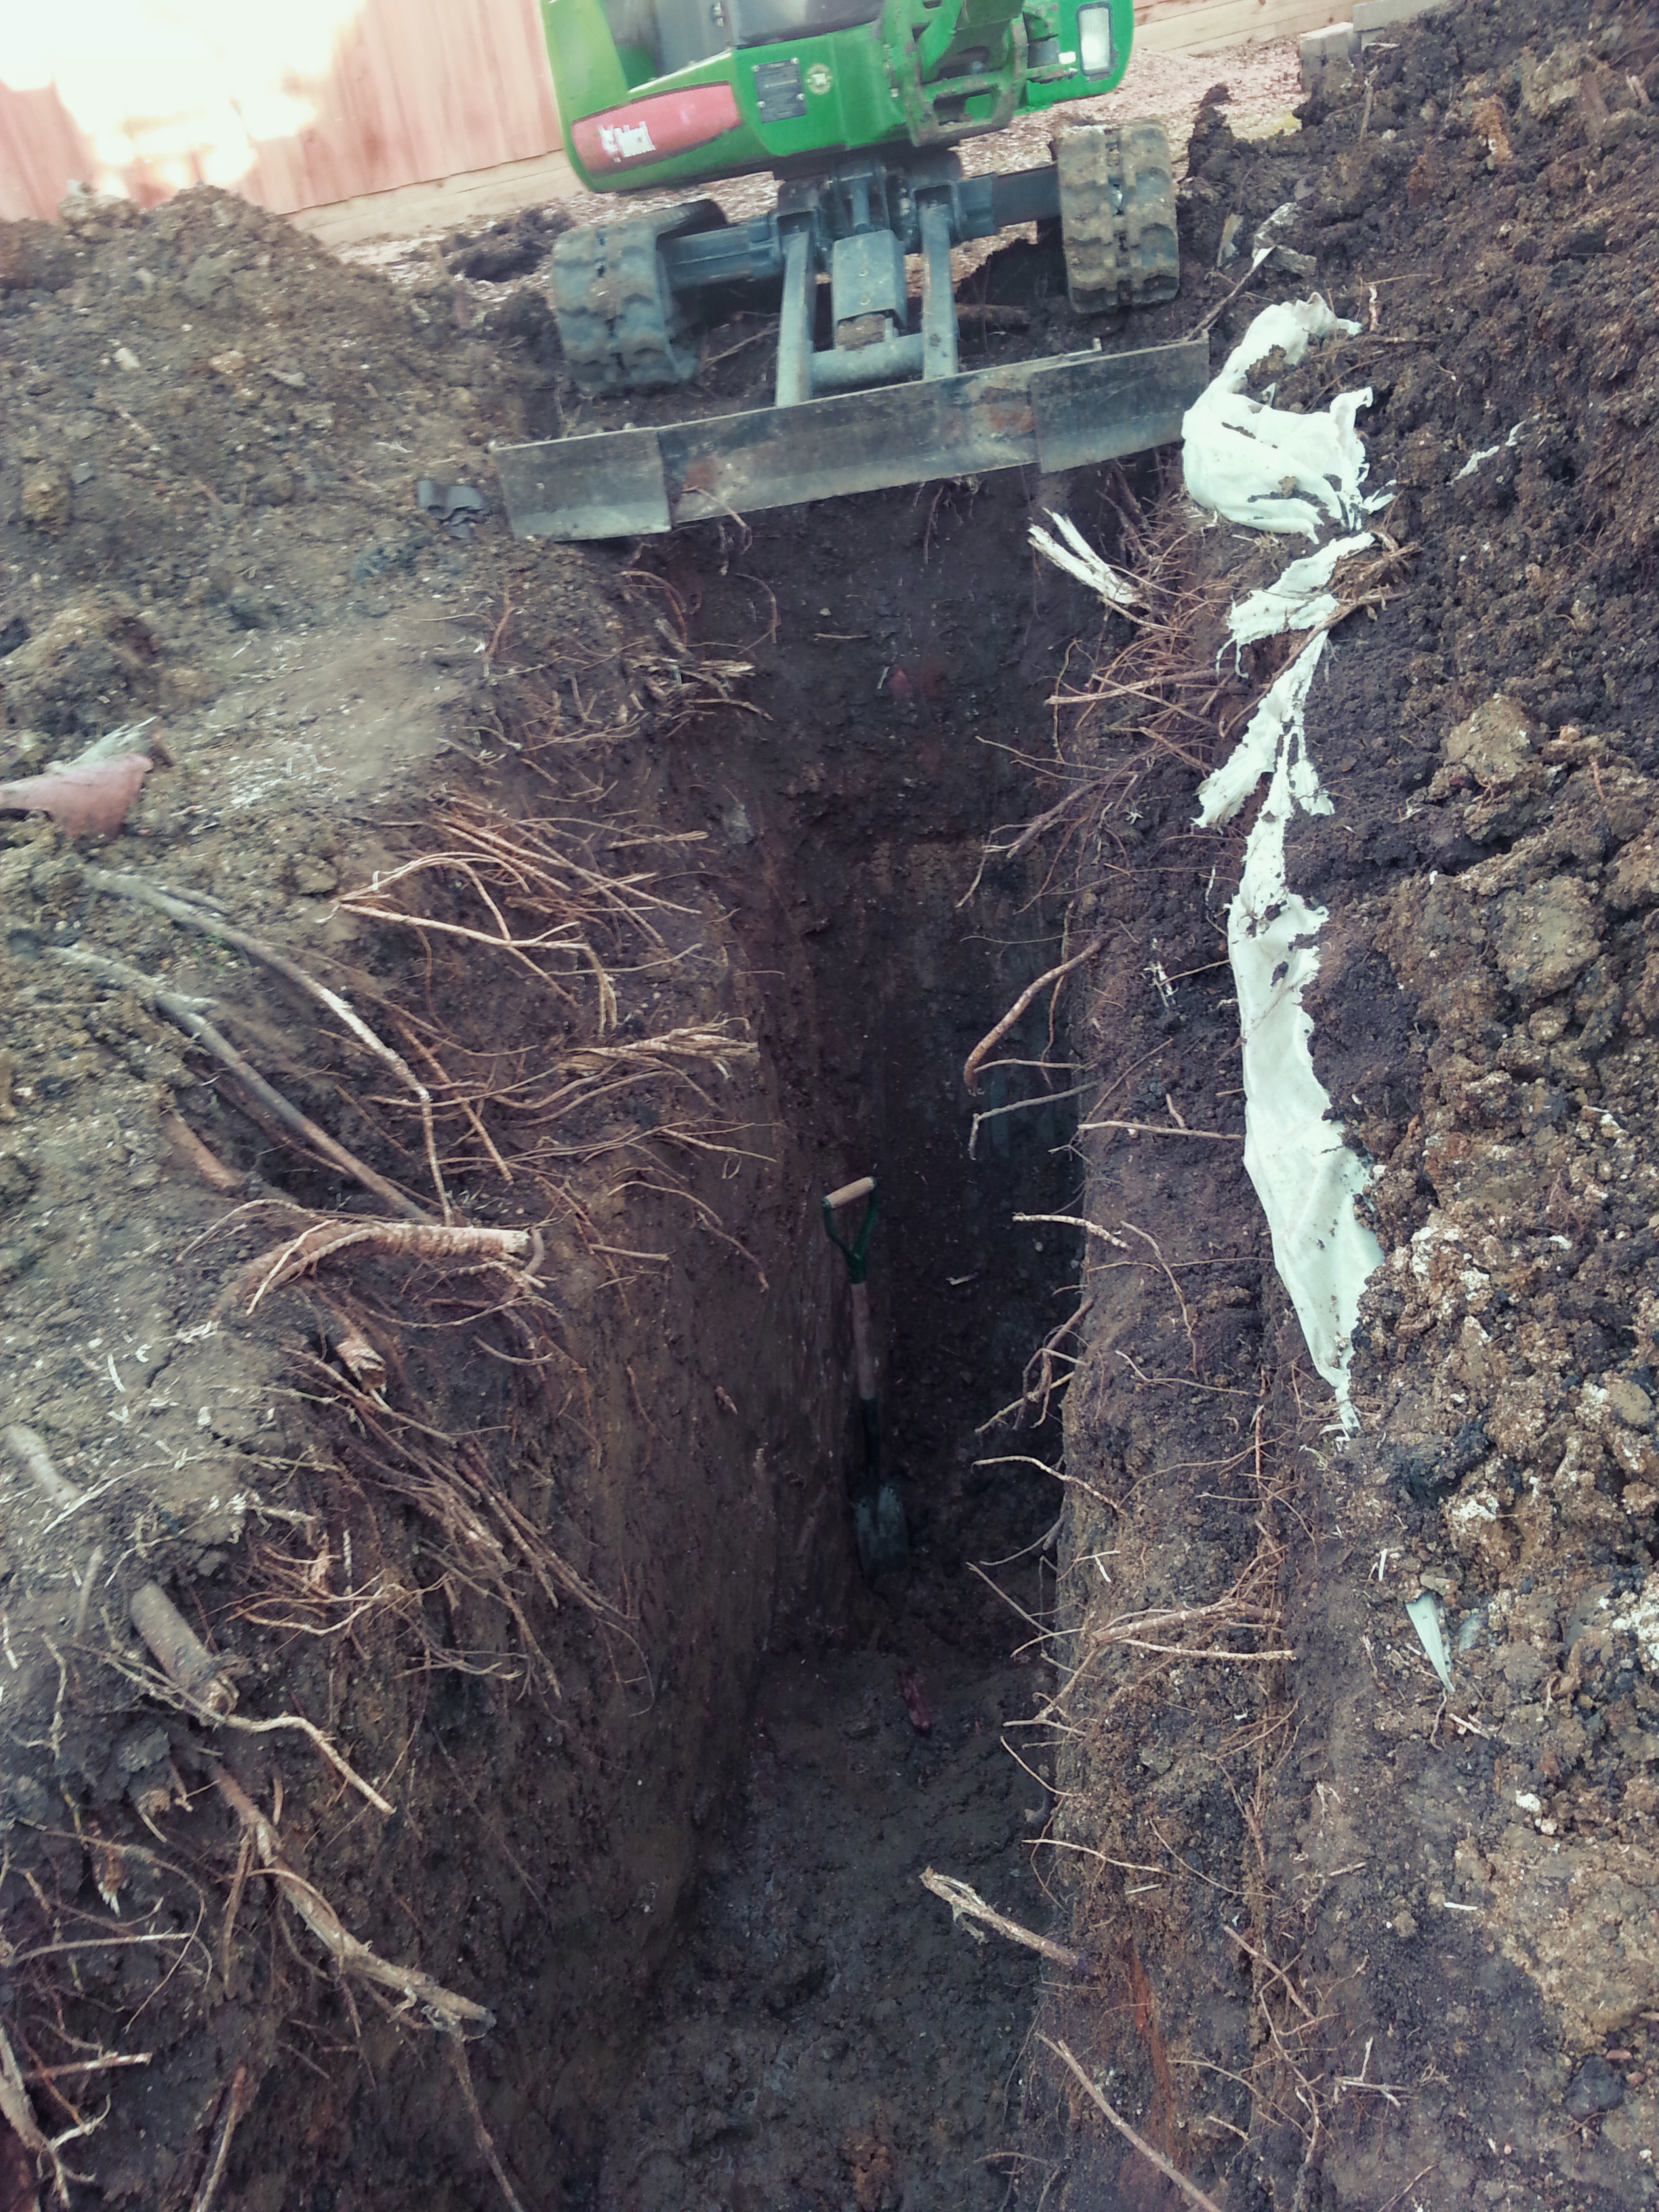
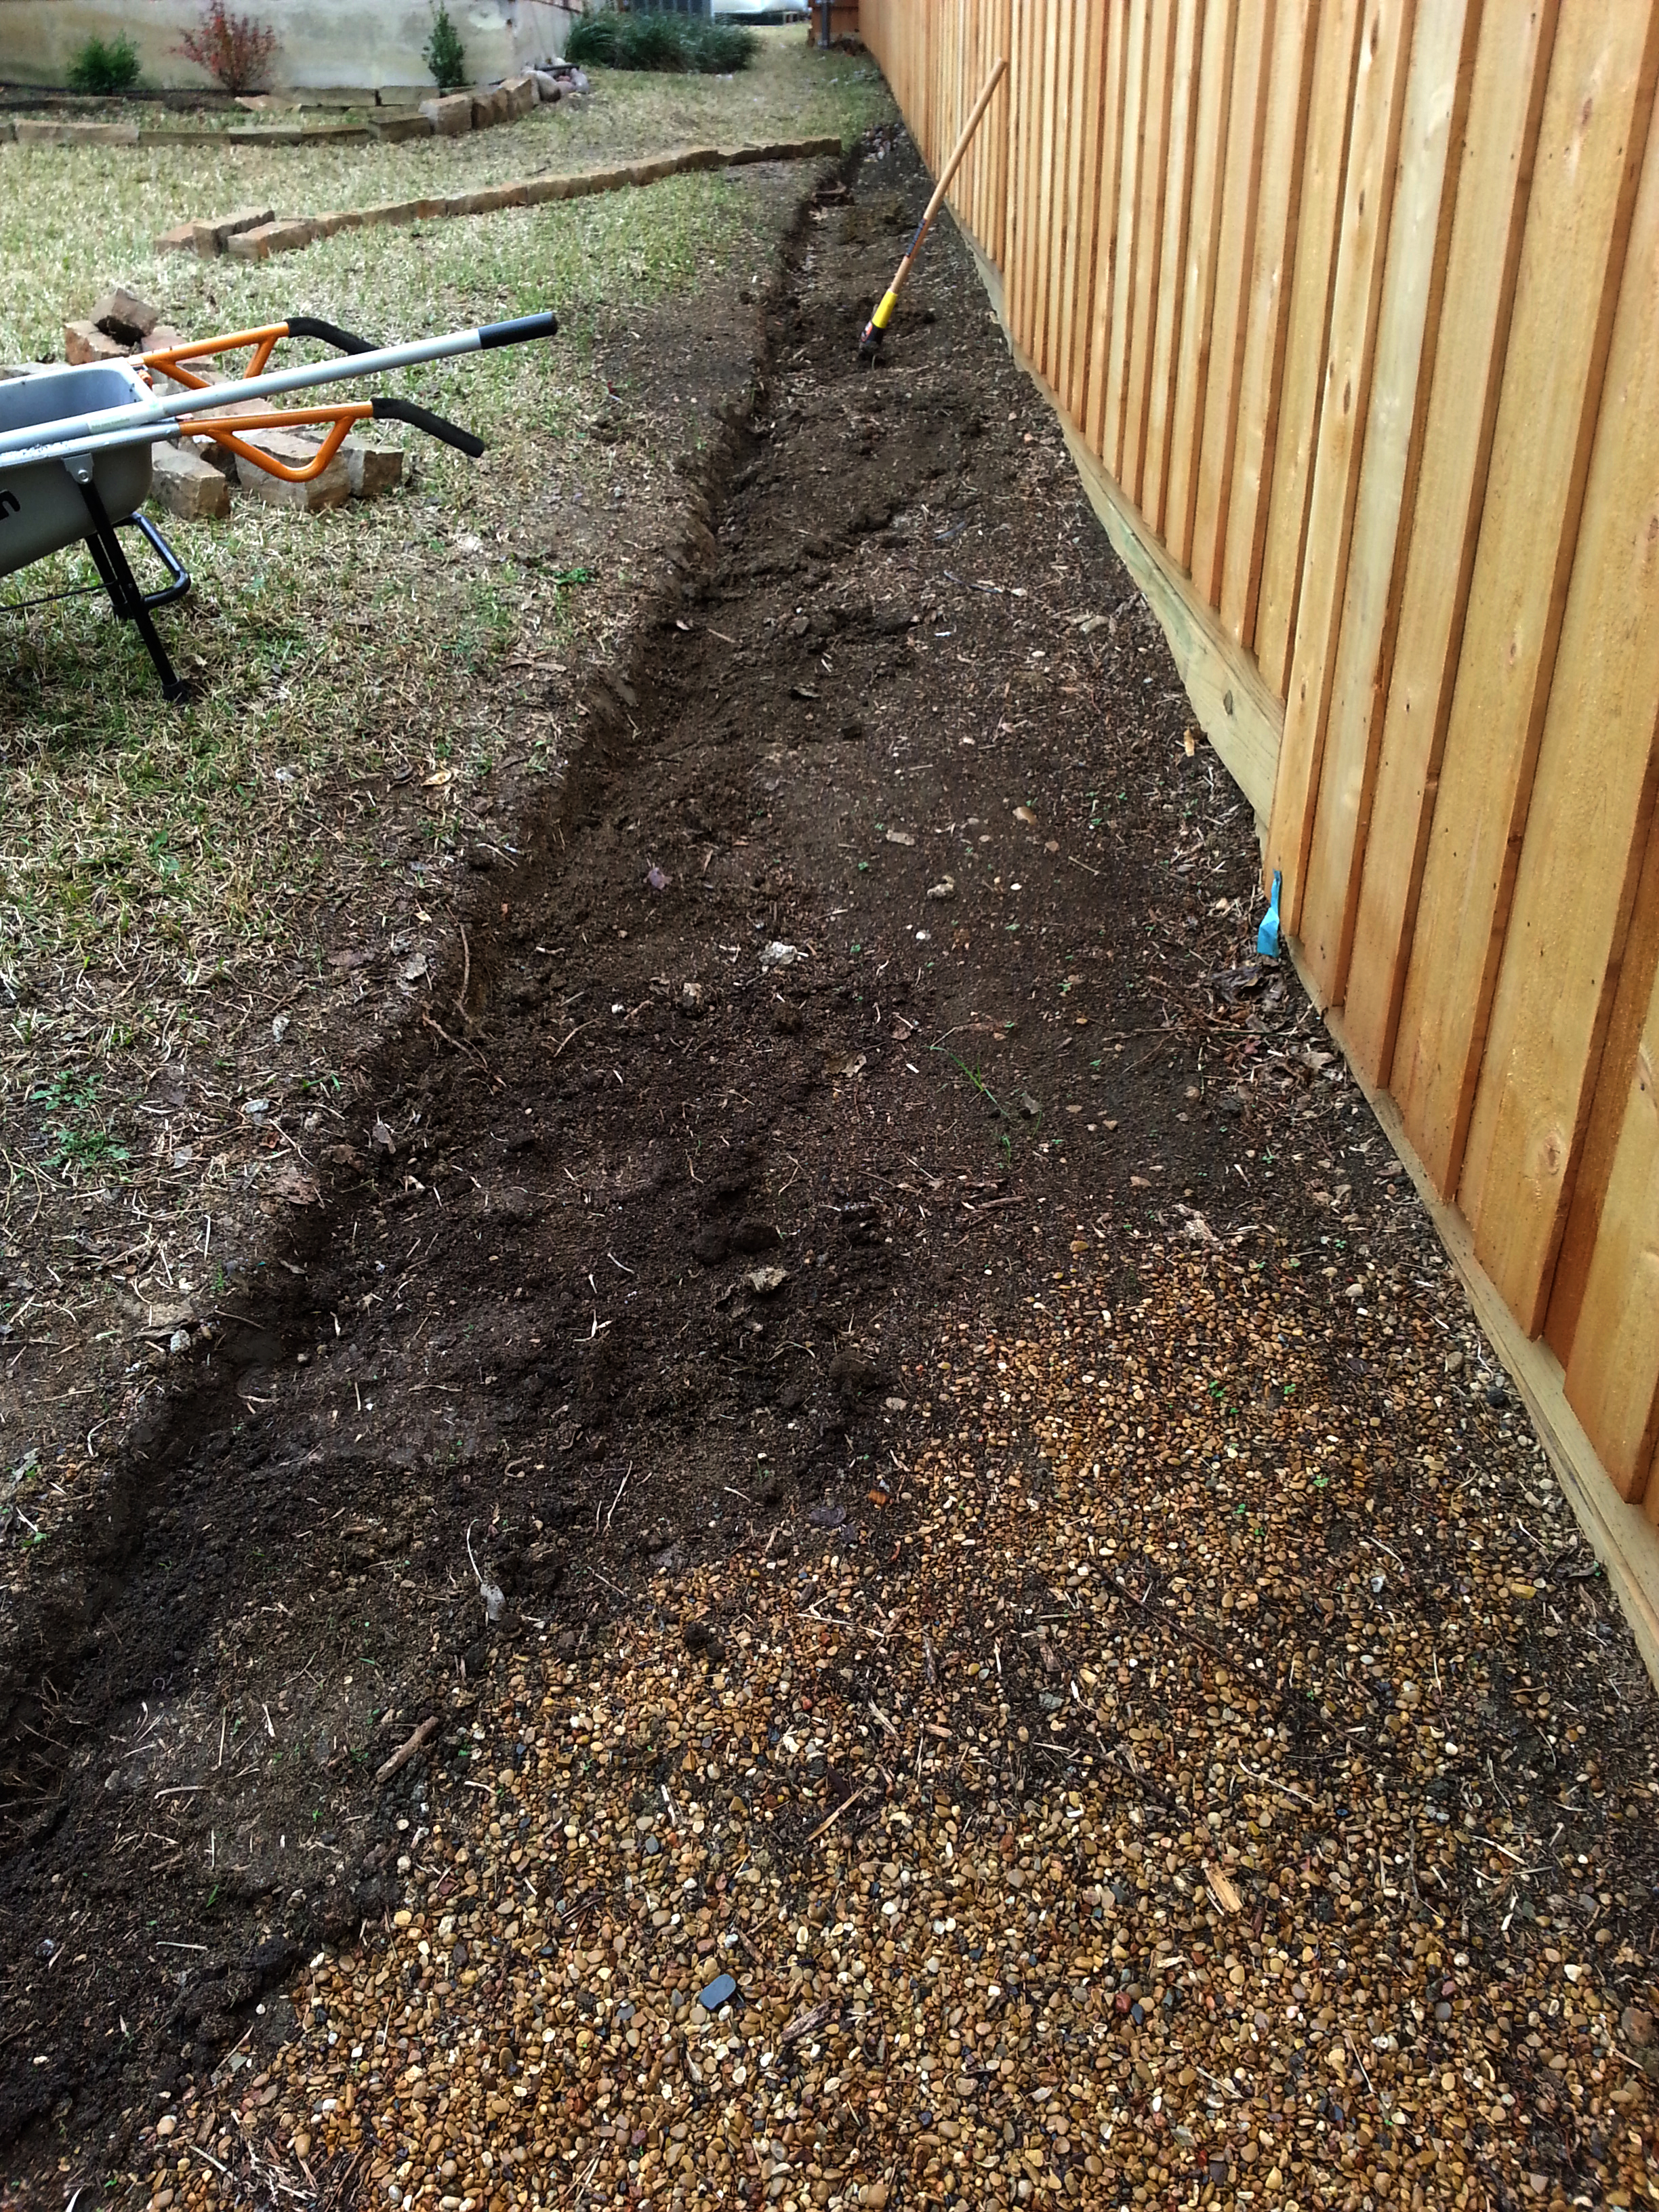
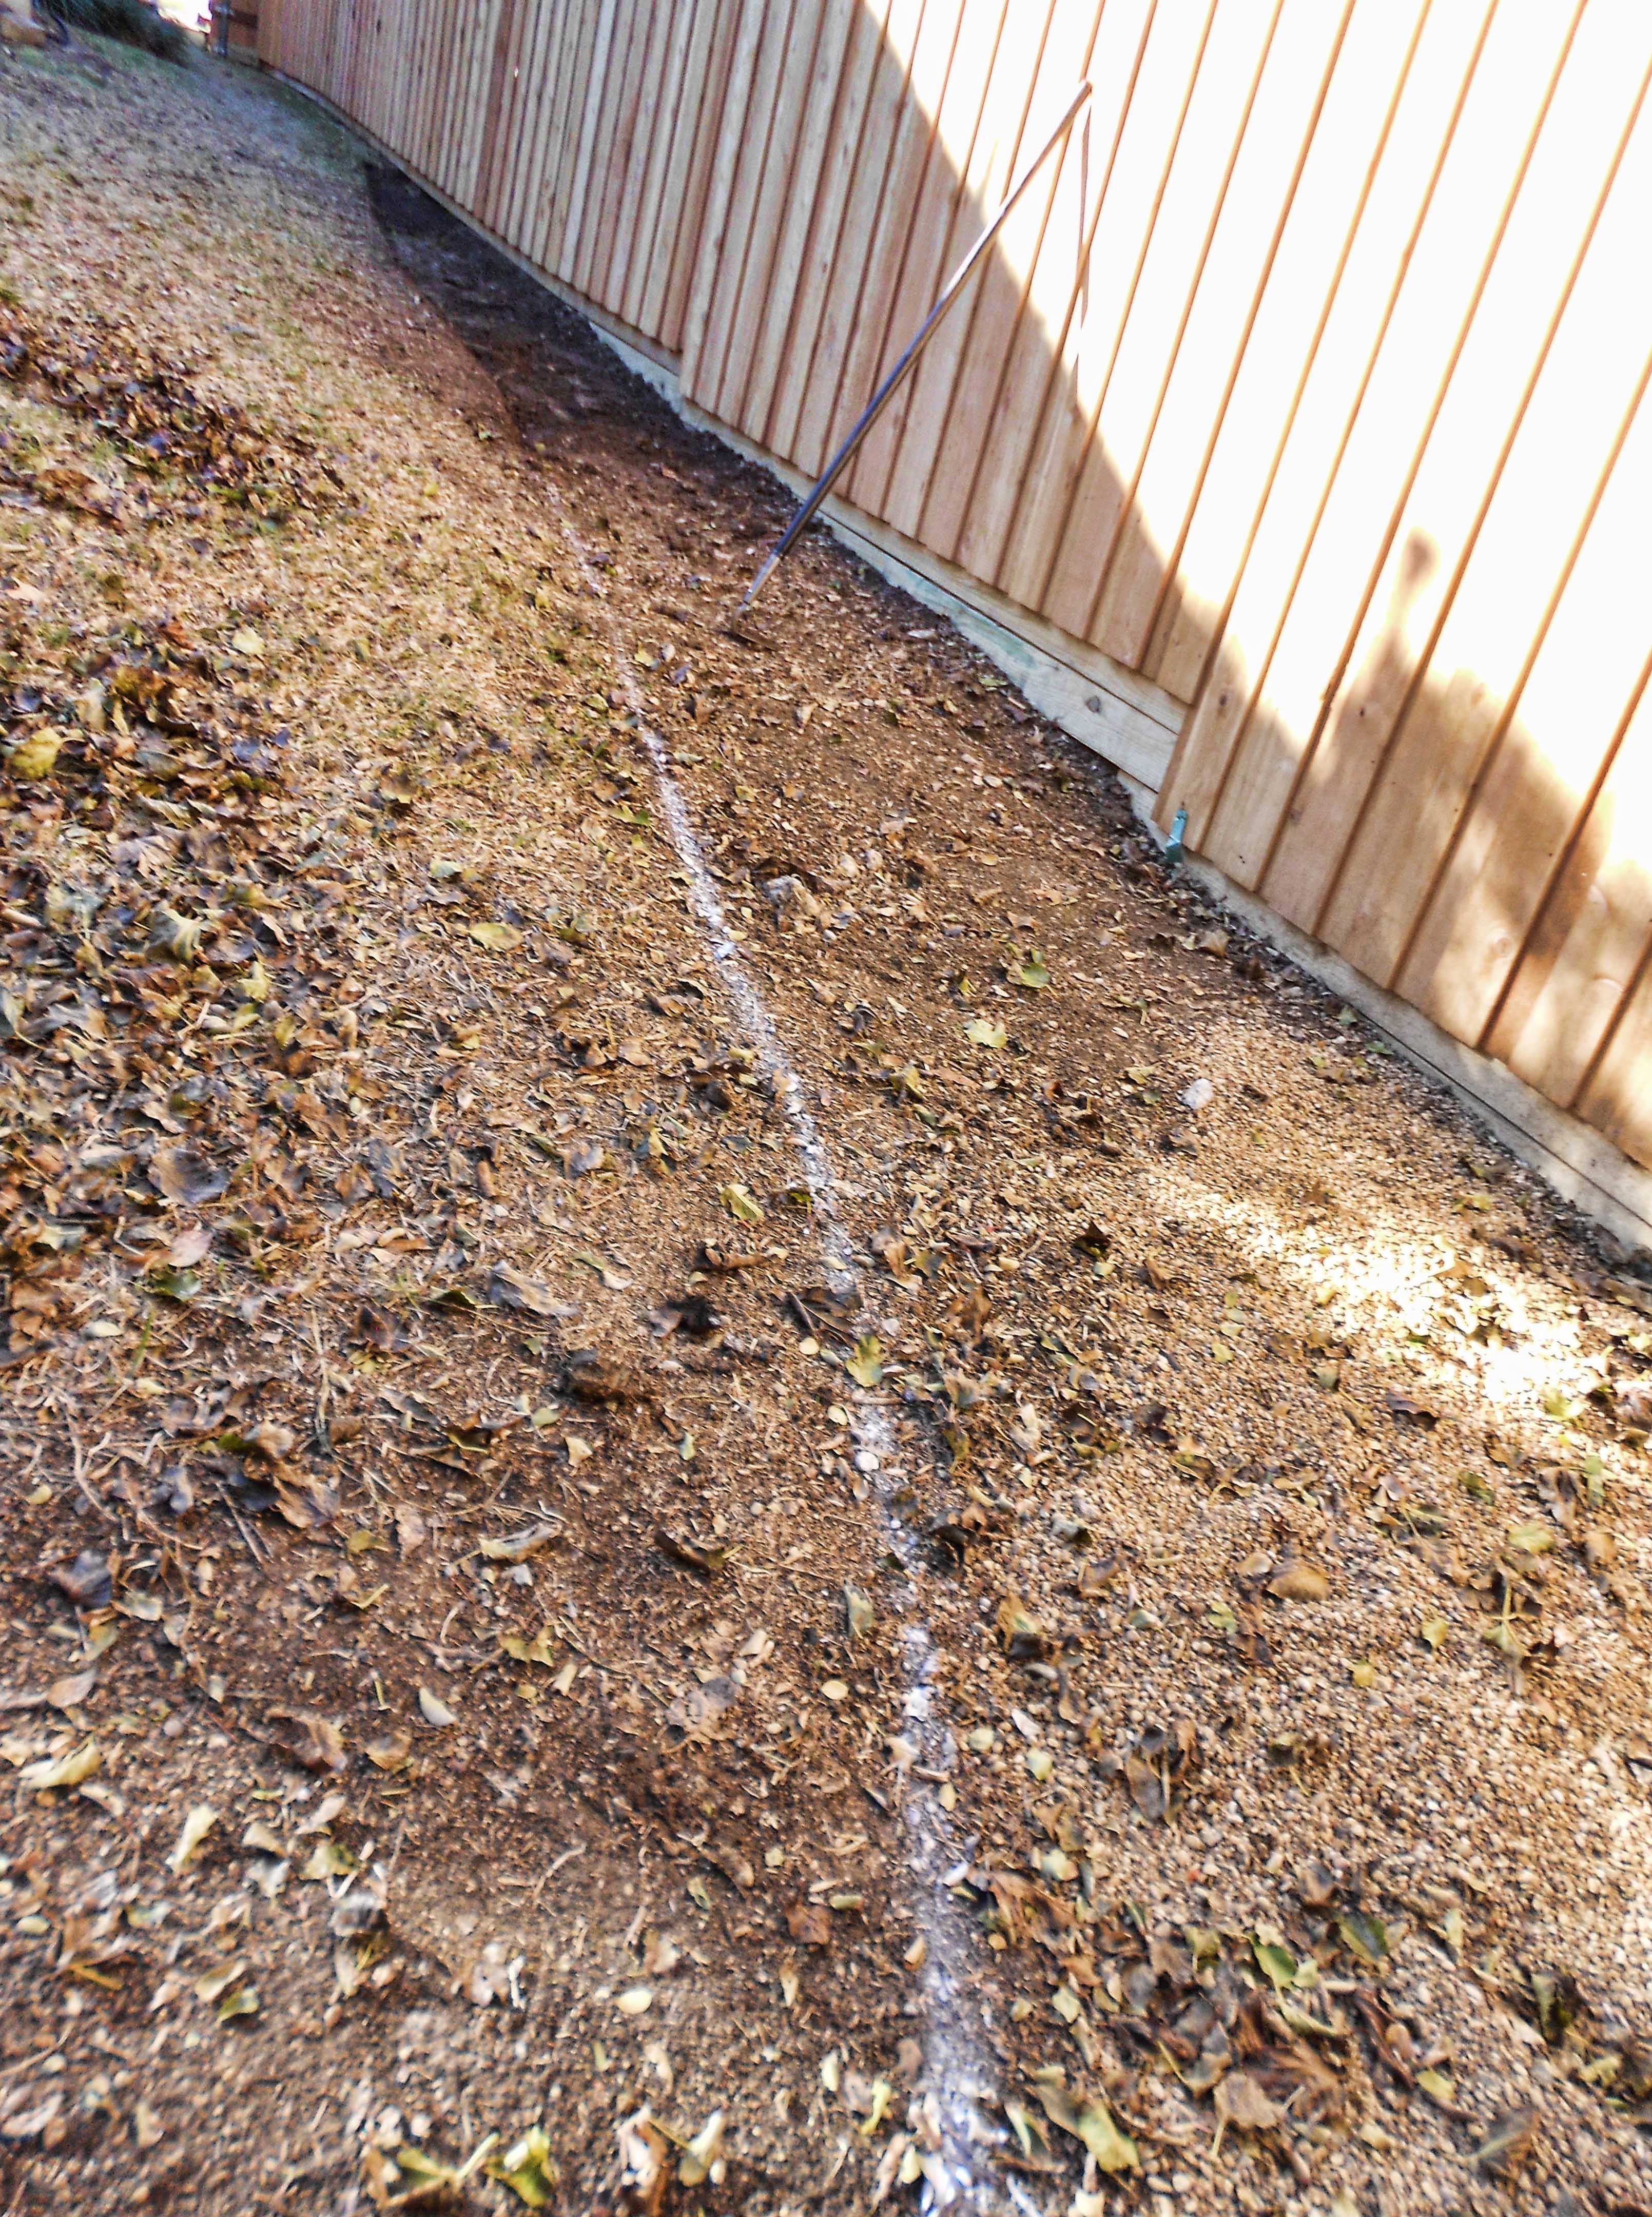
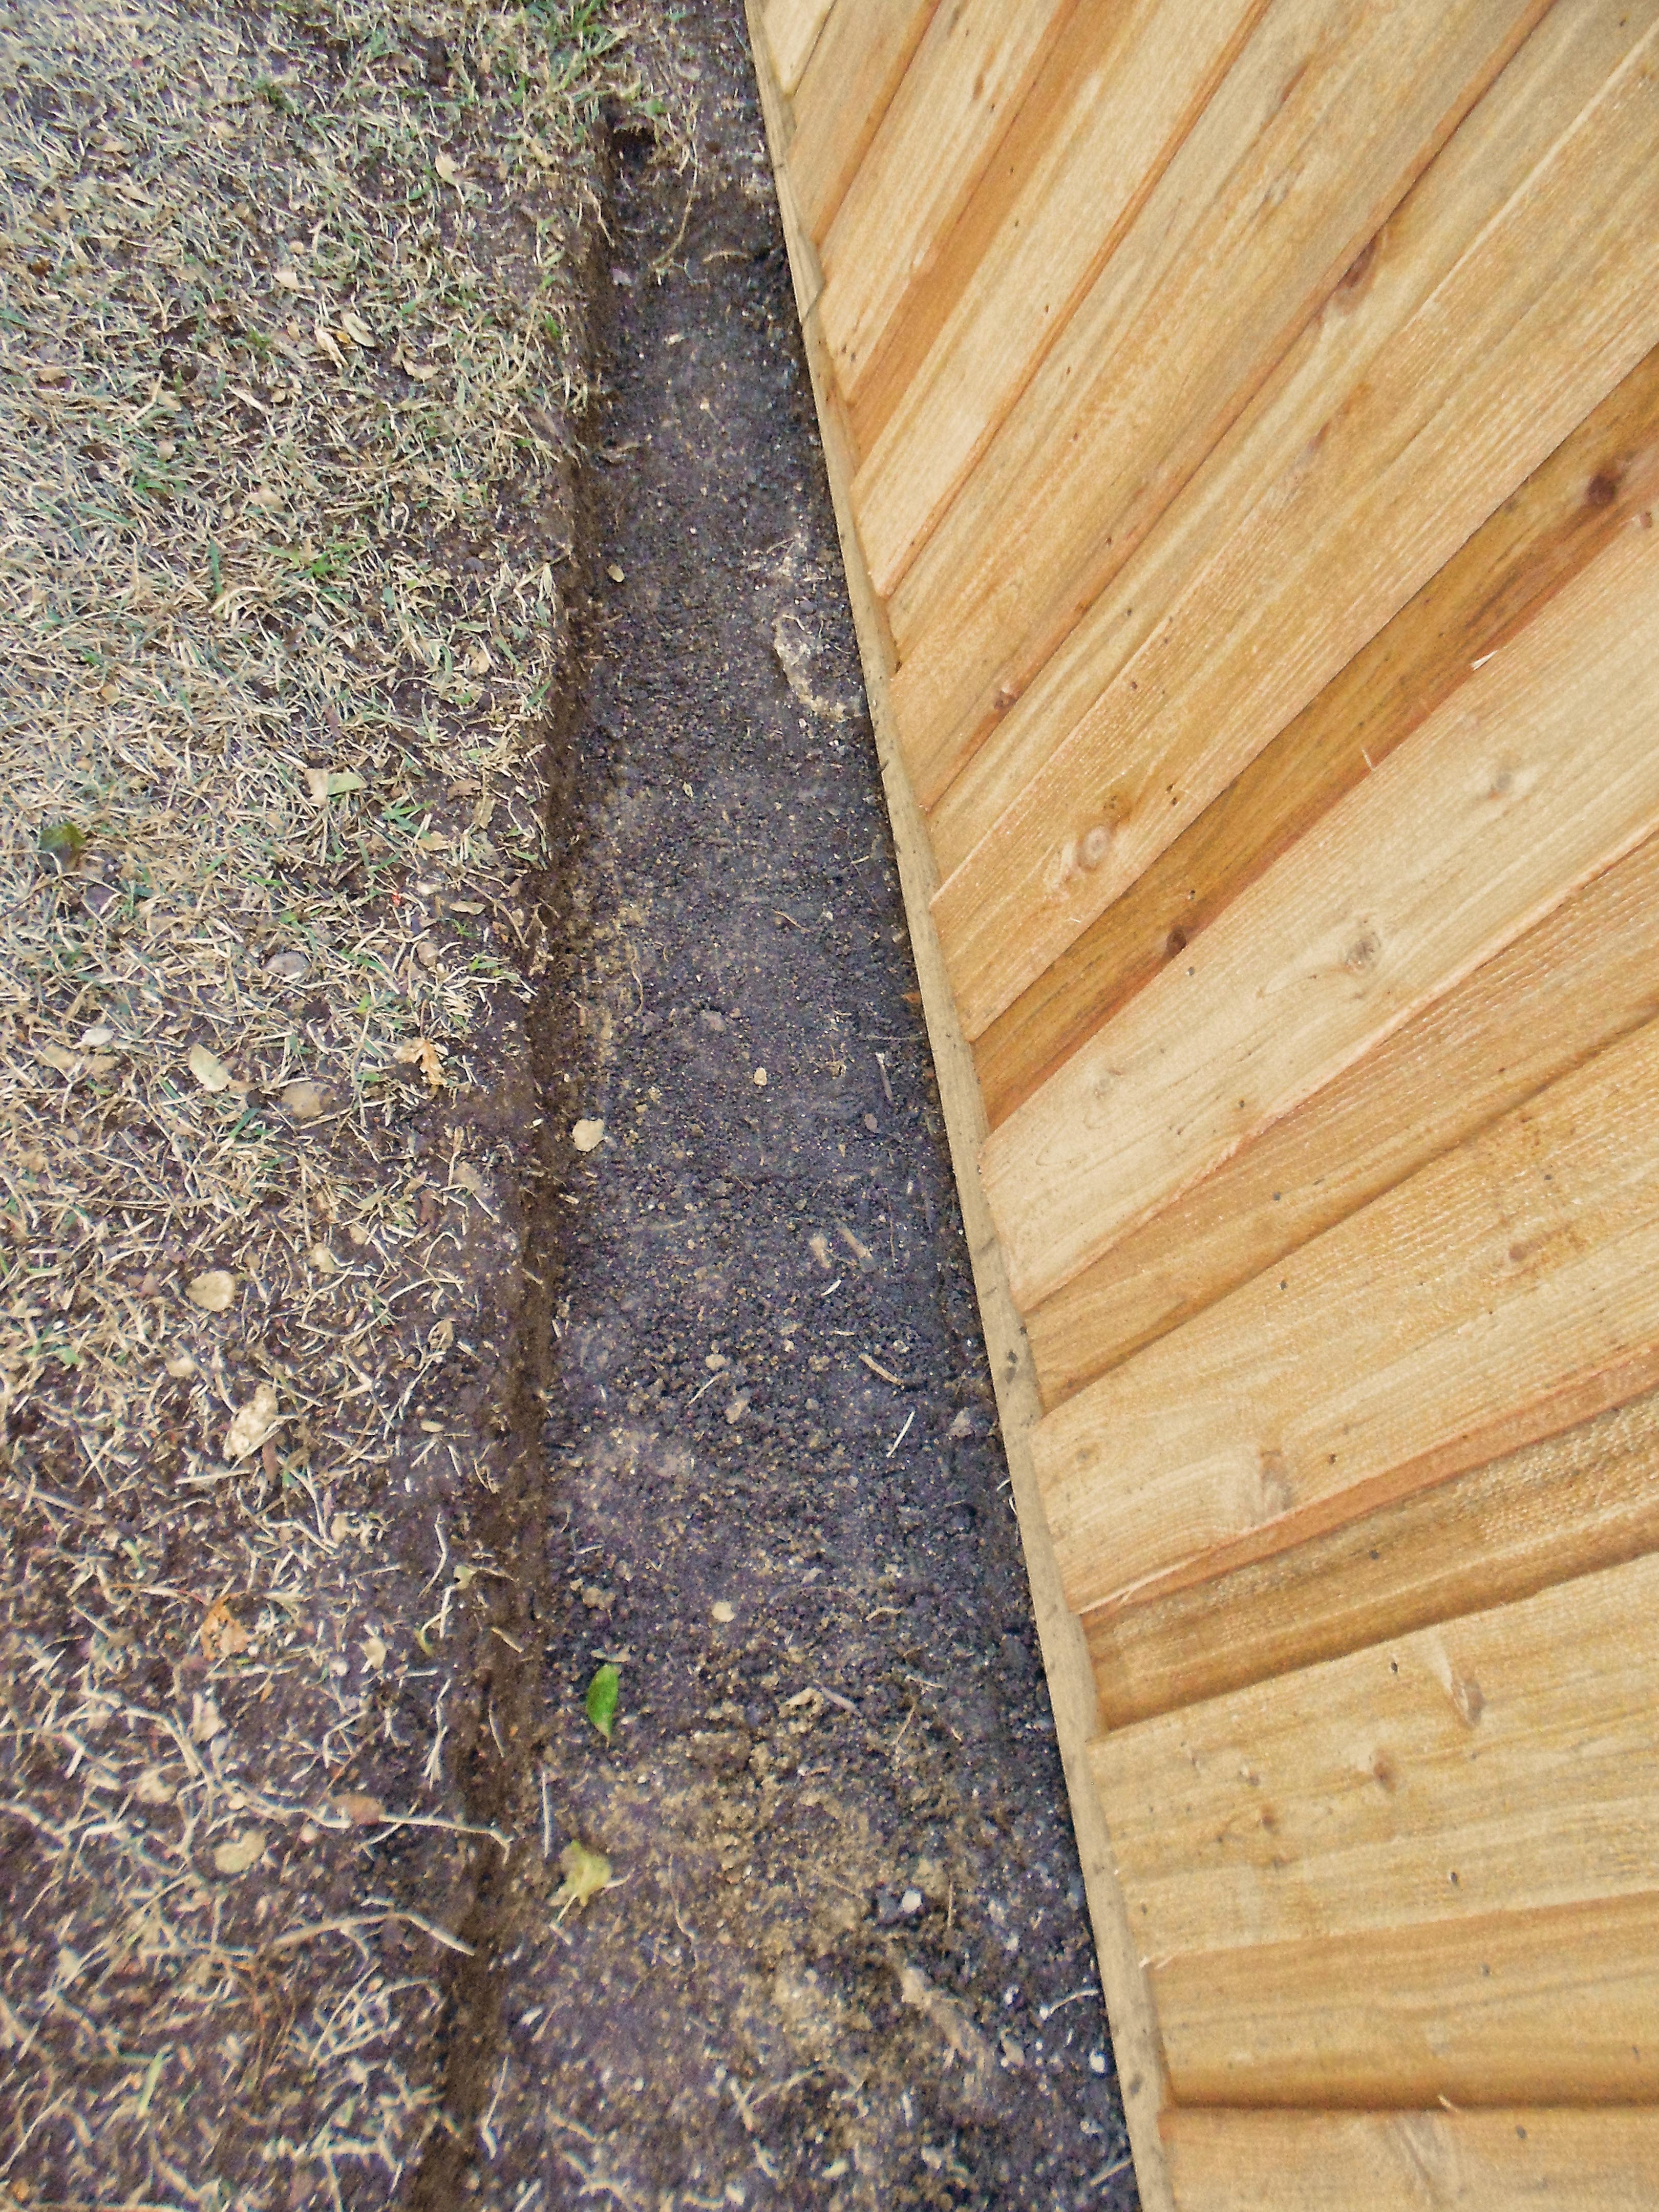
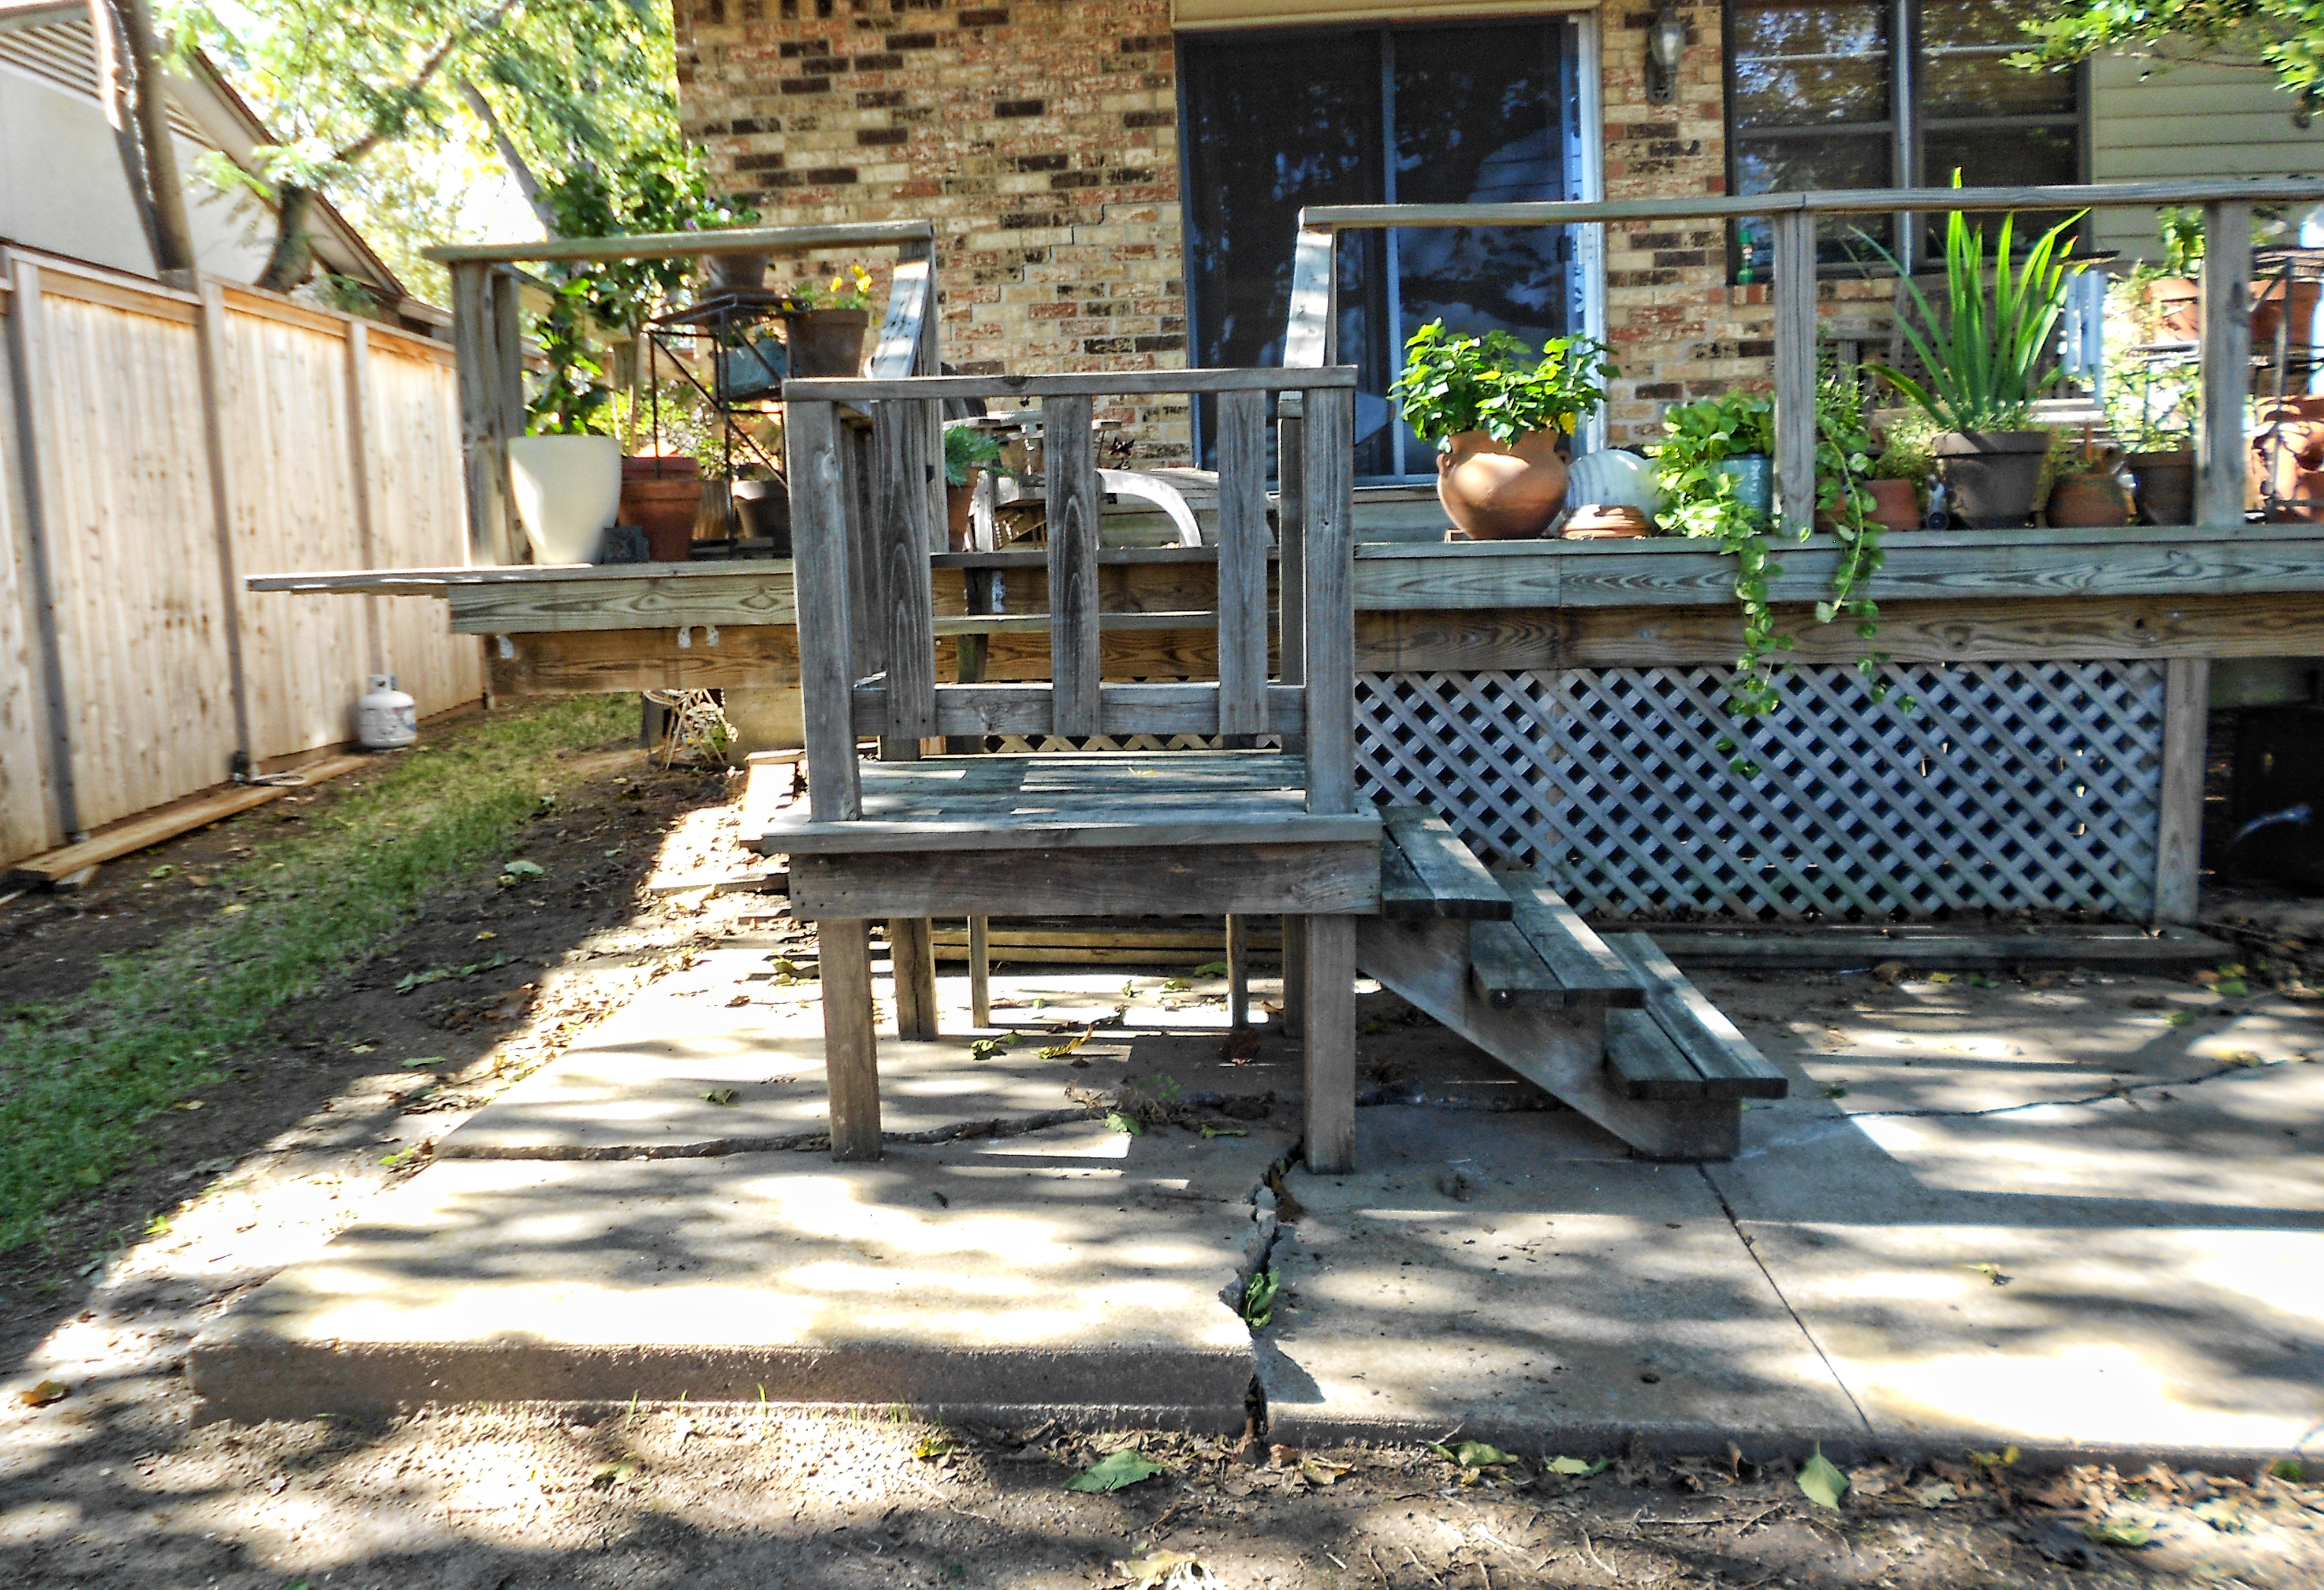
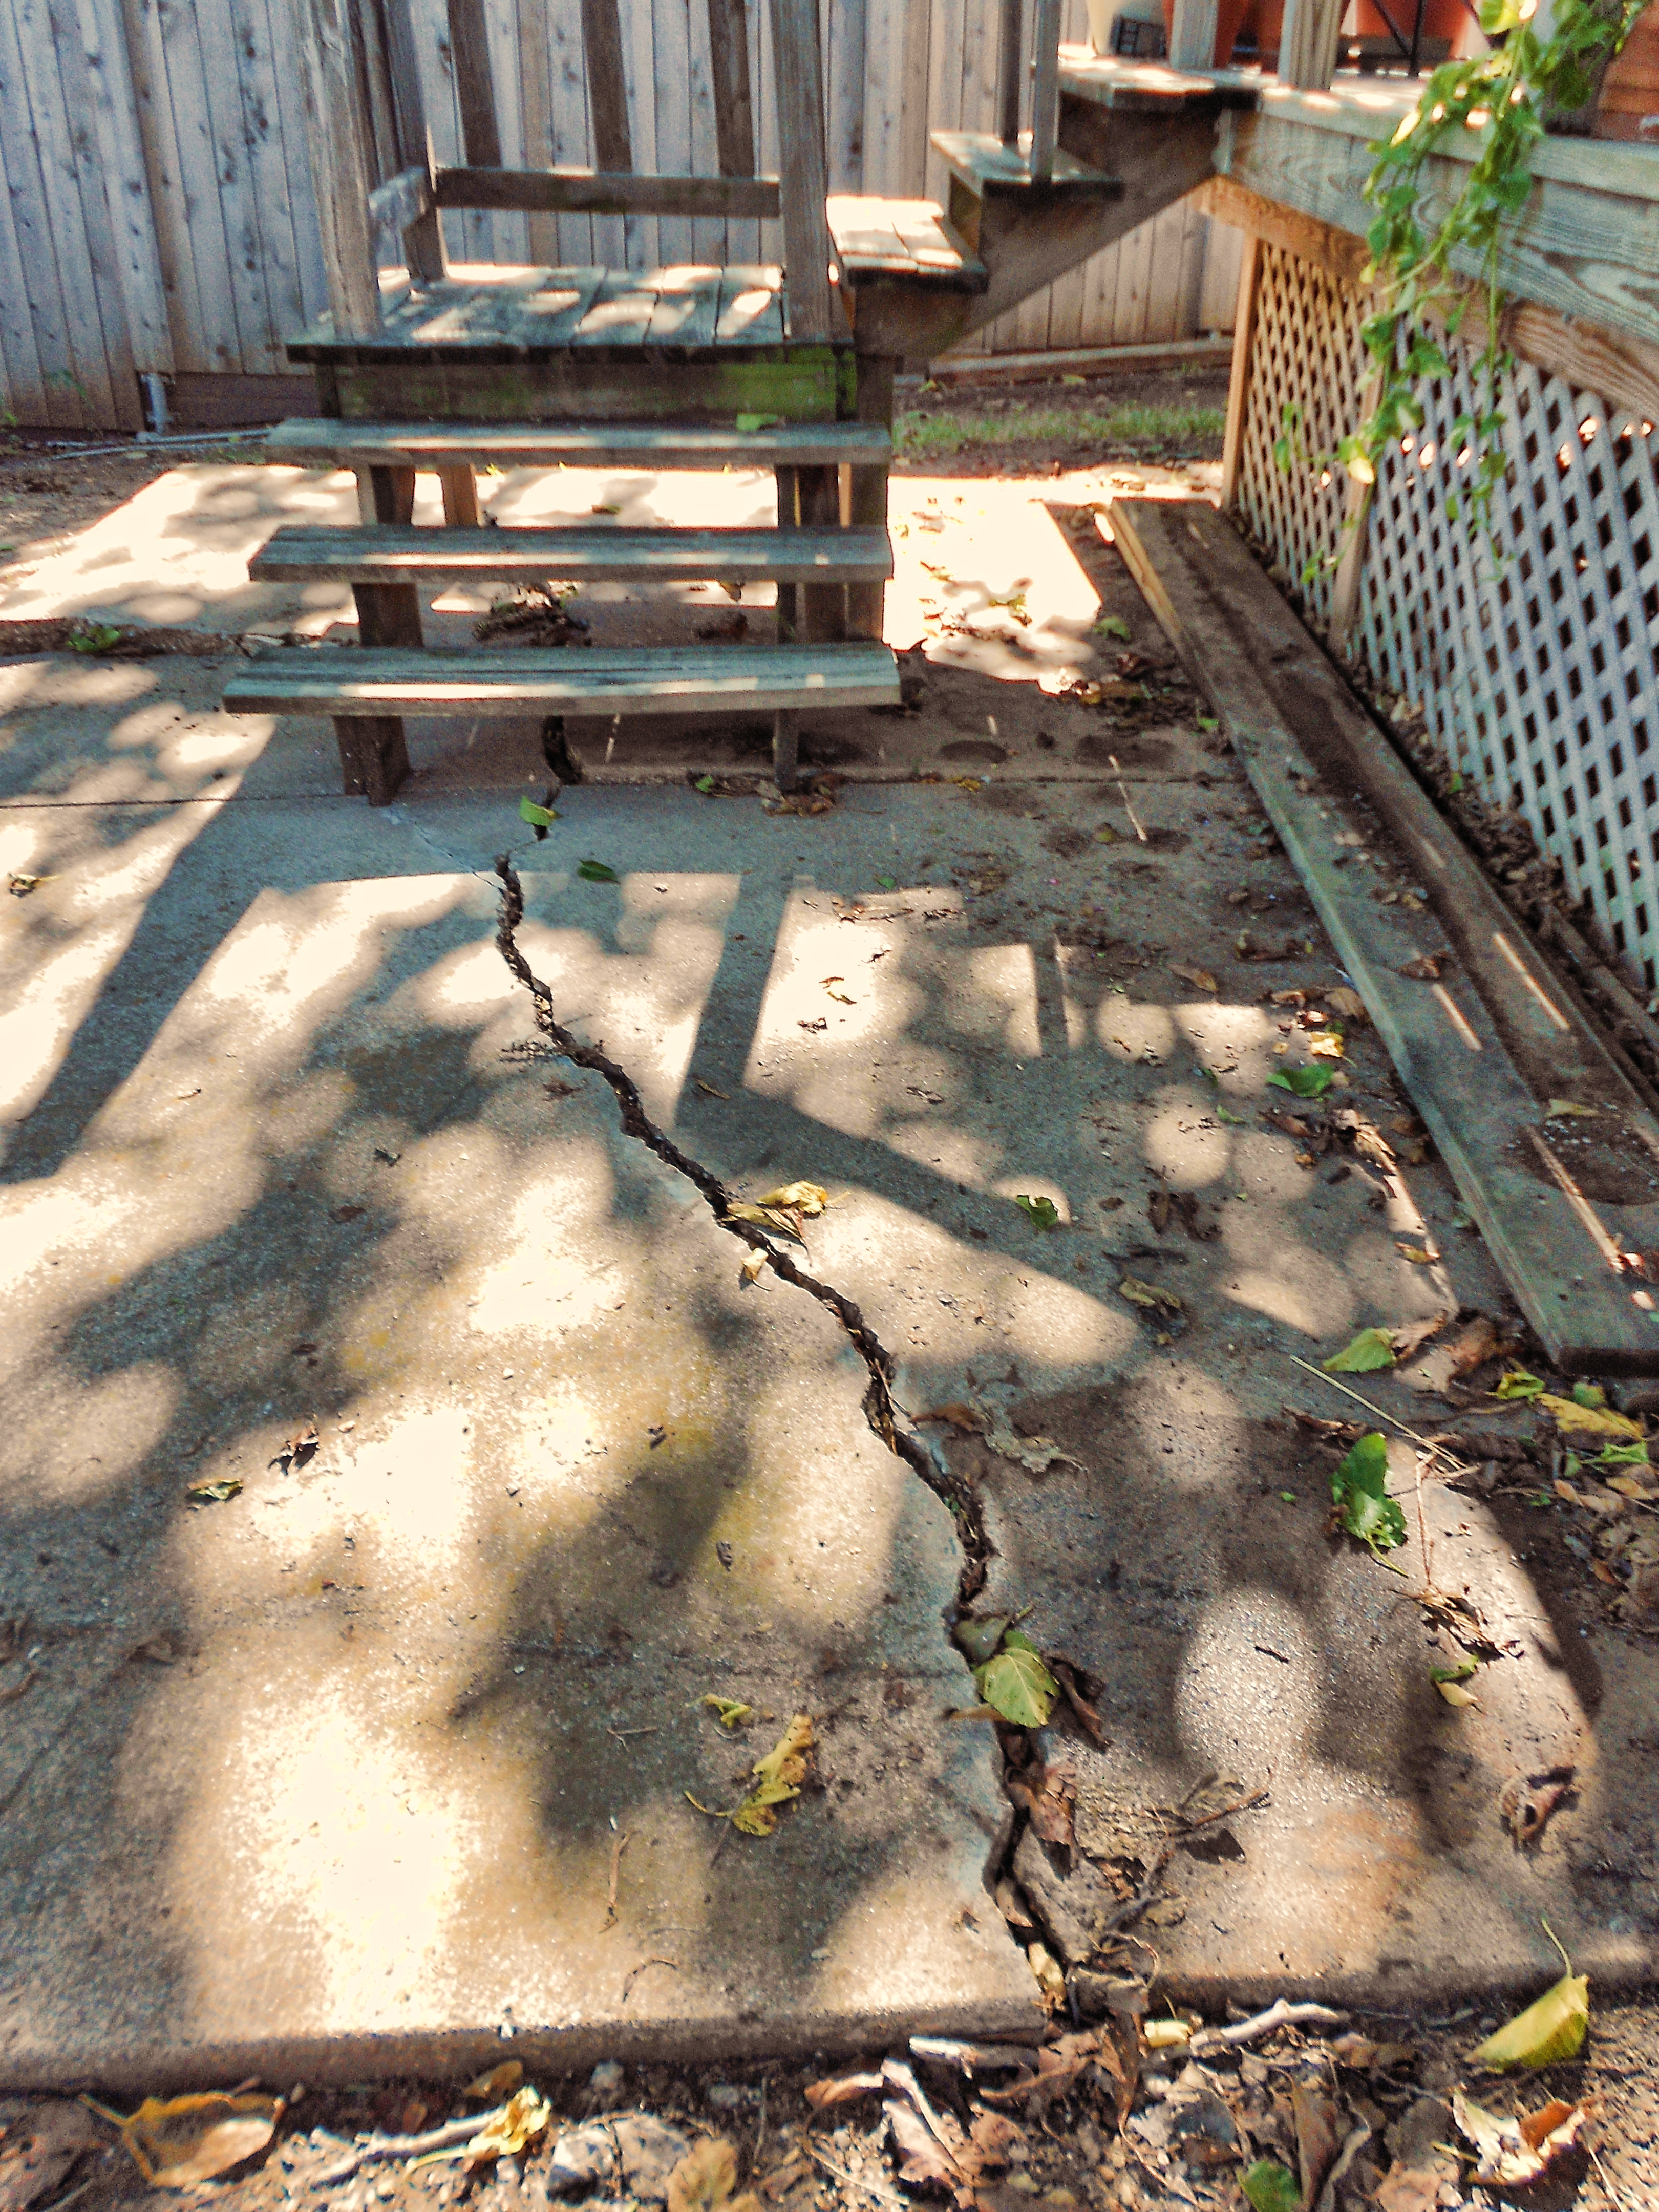
Before the sewer line break, I had a lush St. Augustine lawn, afterwards the yard was reduced to a muddy mess. Muddy, because DFW has experienced one of the wettest Springs in recent years. Yes, all this rain is great for the area lakes but bad news for my exposed, naked, sloped yard. Without grass to hold the soil the backyard is basically washing away.

At the first hint of sunshine, I made plans for my next project, sod.

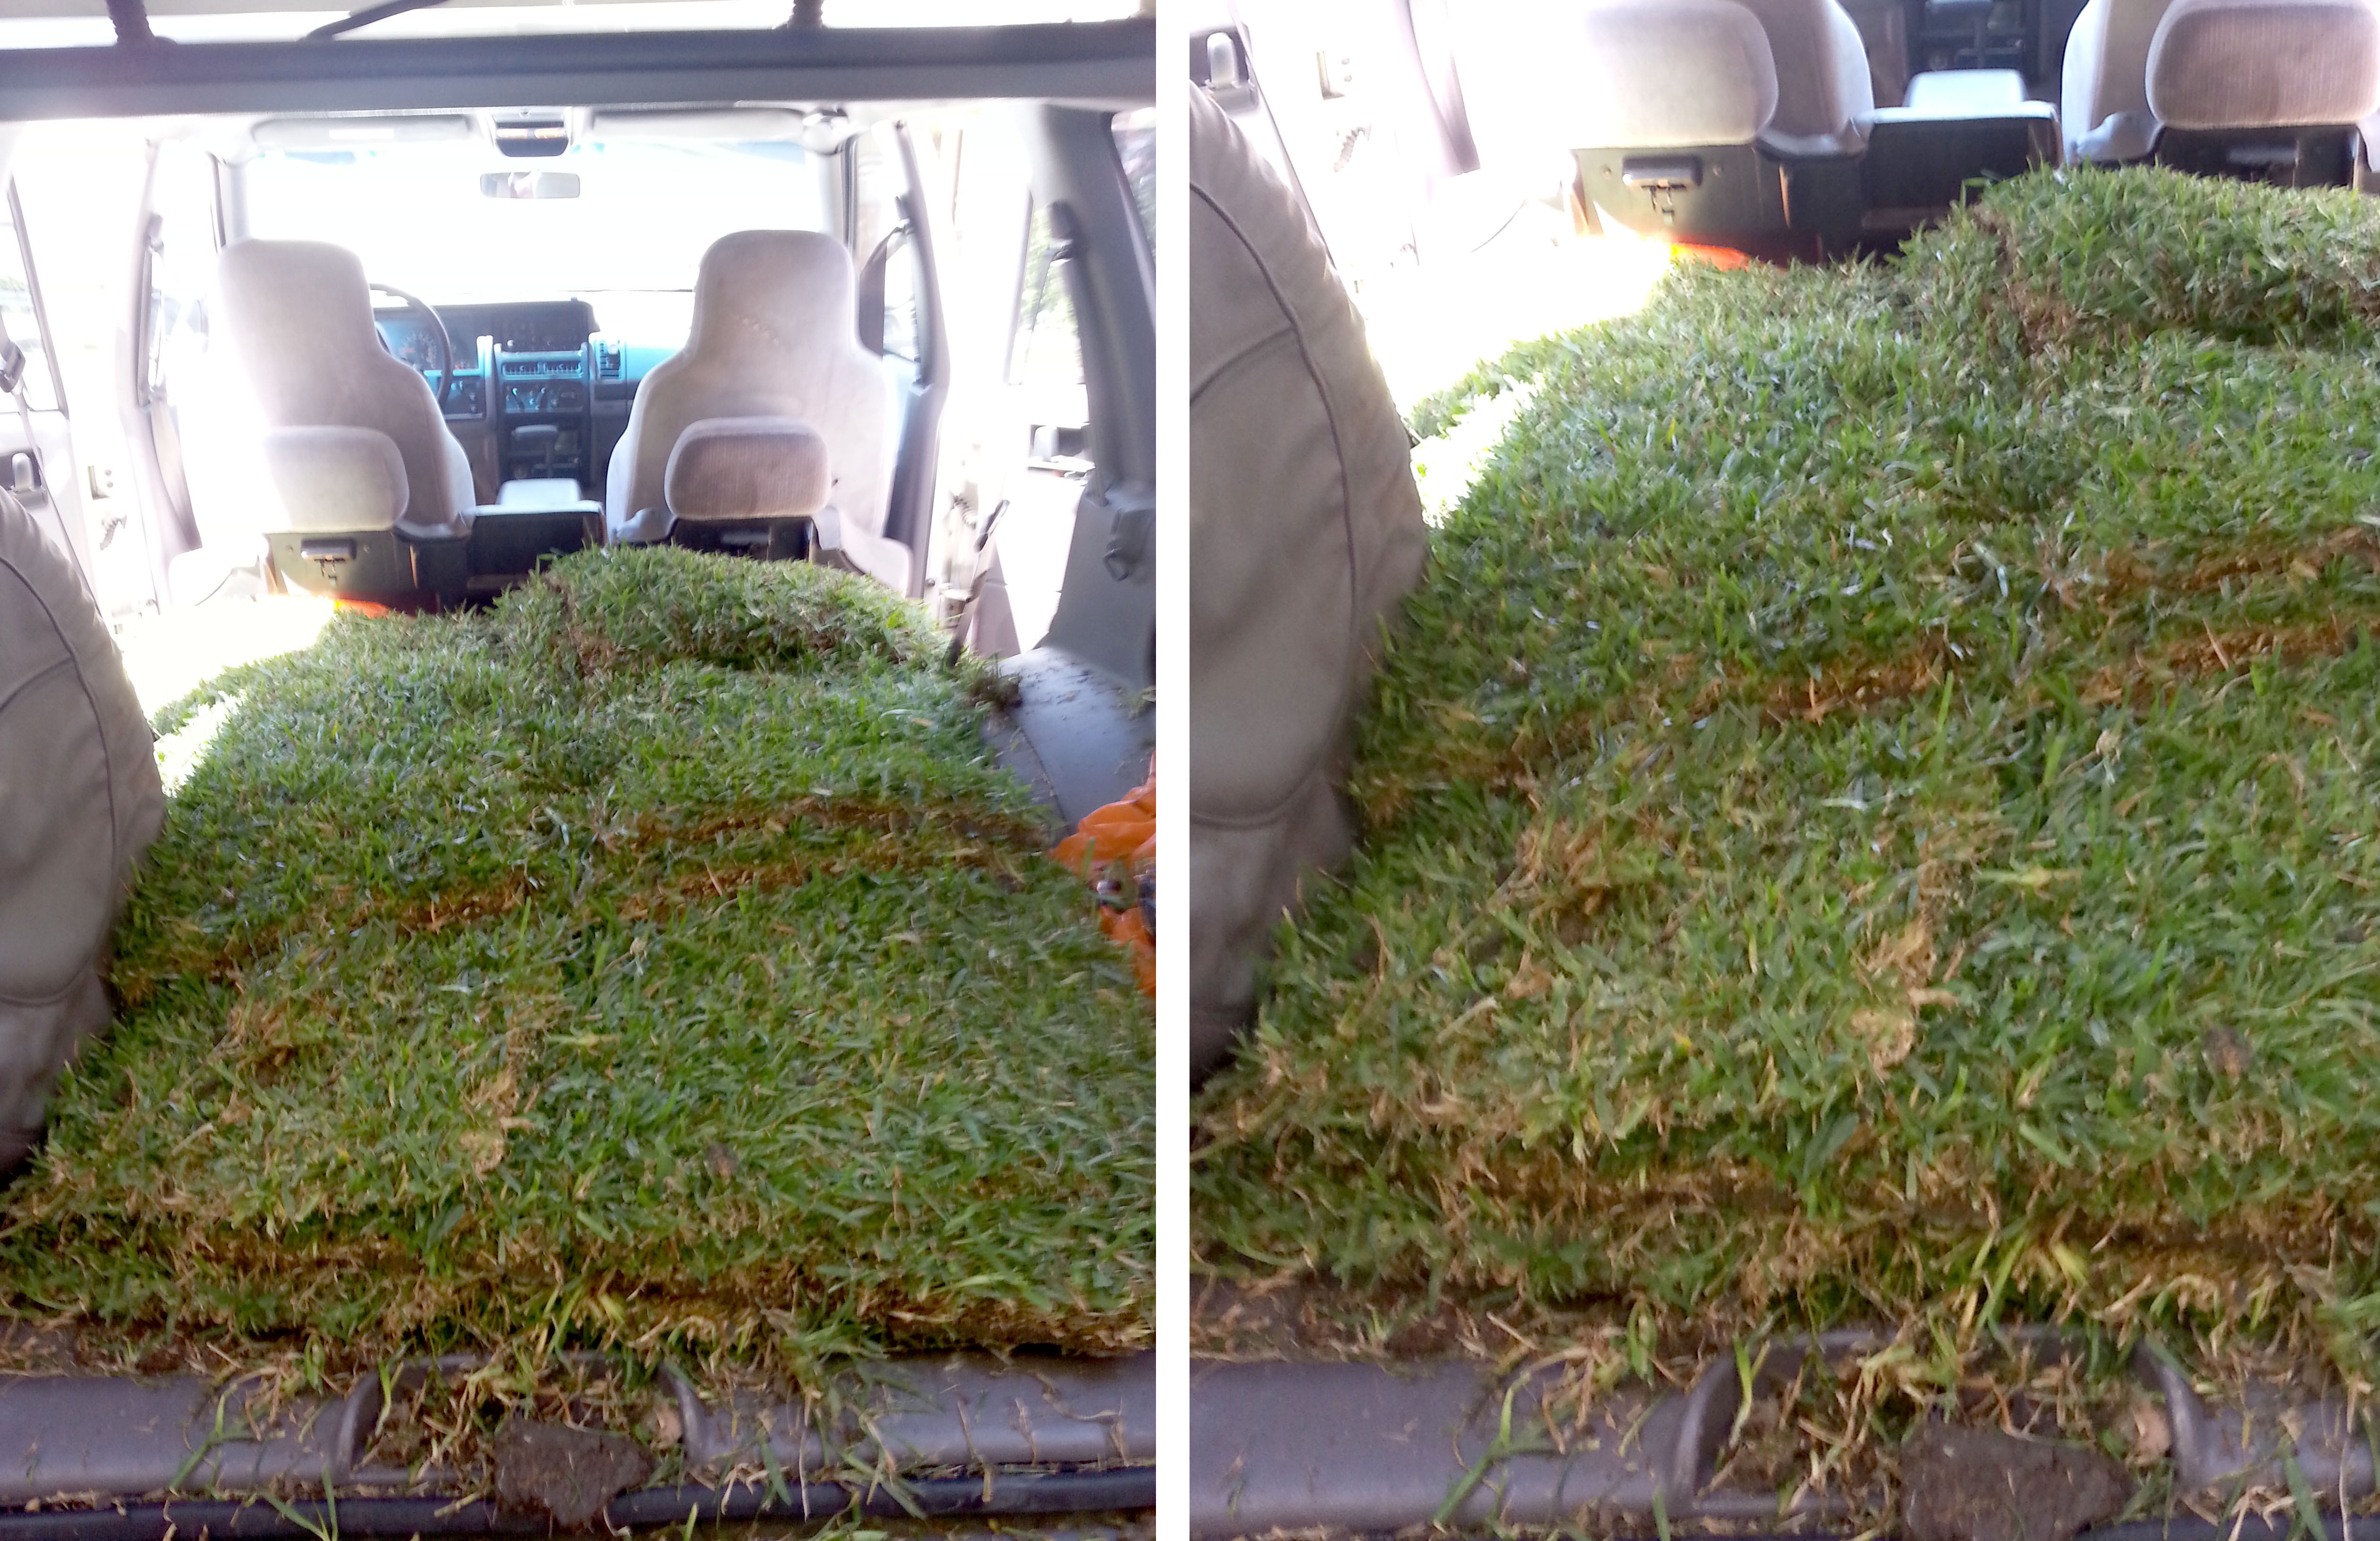
To start, I needed St Augustine grass. I tried several of the local “chain” home improvement stores, no luck. I called my favorite nursery, Covington’s in Rowlett. Great news, they currently had 200 pieces in stock. Thrilled, I jumped in my Jeep and headed to the nursery 40-minutes away.  When I arrived, I was informed they had just sold the remaining grass, less than 15 minutes earlier. Disappointed, I smiled politely, thanked the staff and walked away. A nice young man quietly followed me out of the shed and gave me the name of the nursery’s turf supplier, a family-owned business A & W Turf, located less than 10 minutes away. 🙂  With a grateful smile and a handshake, I was on the road once again.  The grass was super healthy, lush, and harvested the day before from a local farm. They loaded my trusty old Grand Cherokee with as much as it could hold without blocking the back window, 64 pieces in all.

http://www.covingtonnursery.com.     www.awturfgrass.com

sod_jeep2

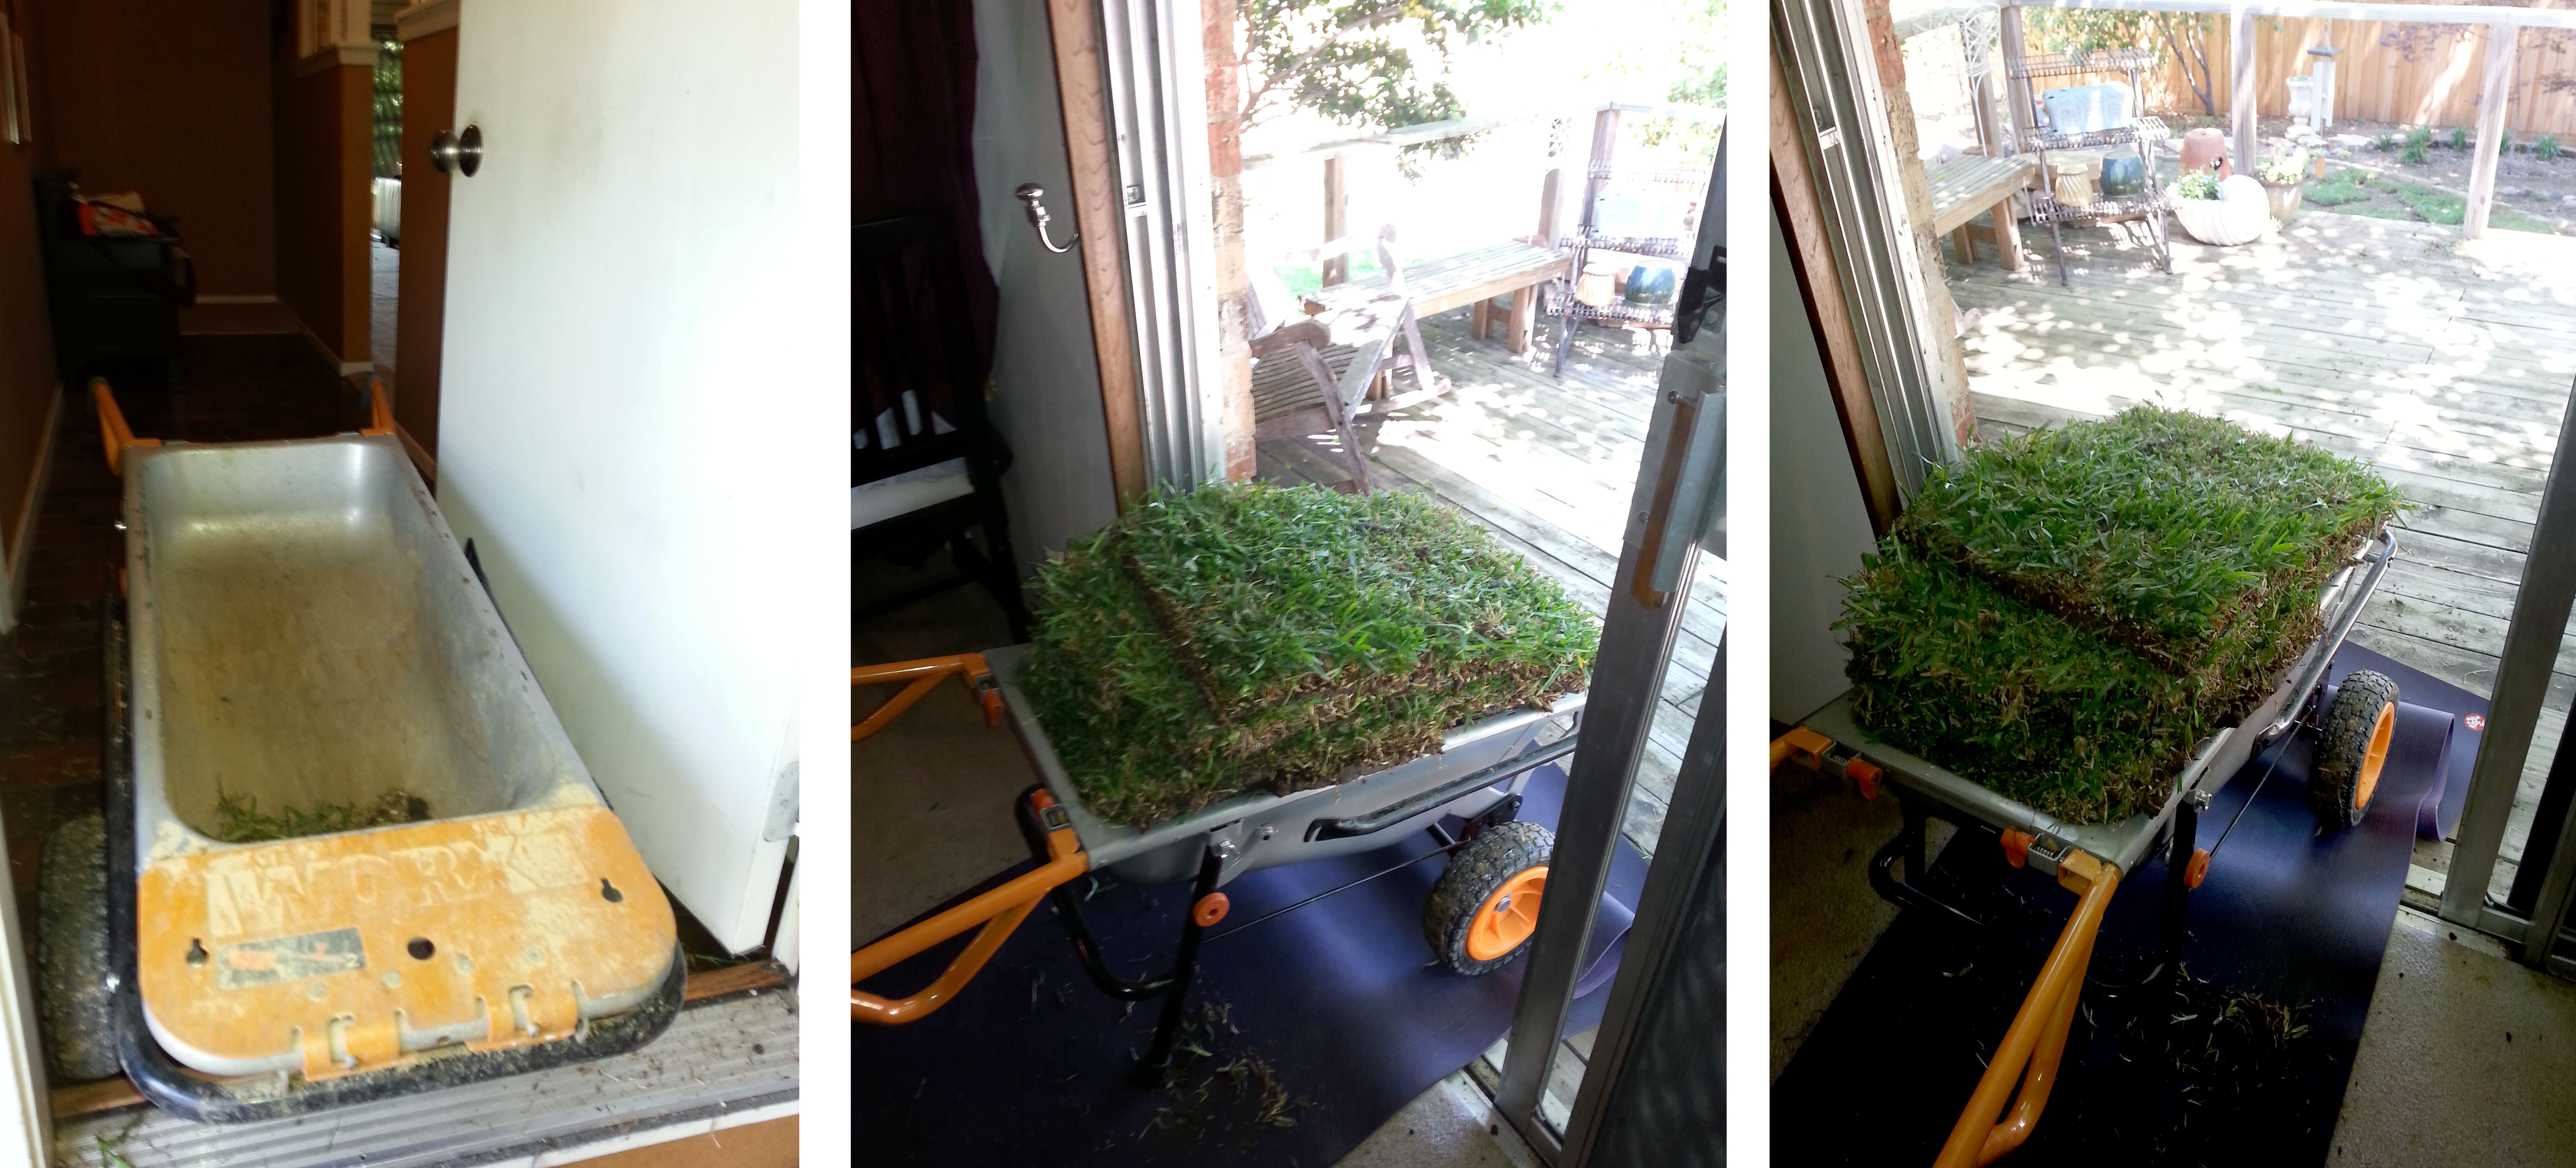
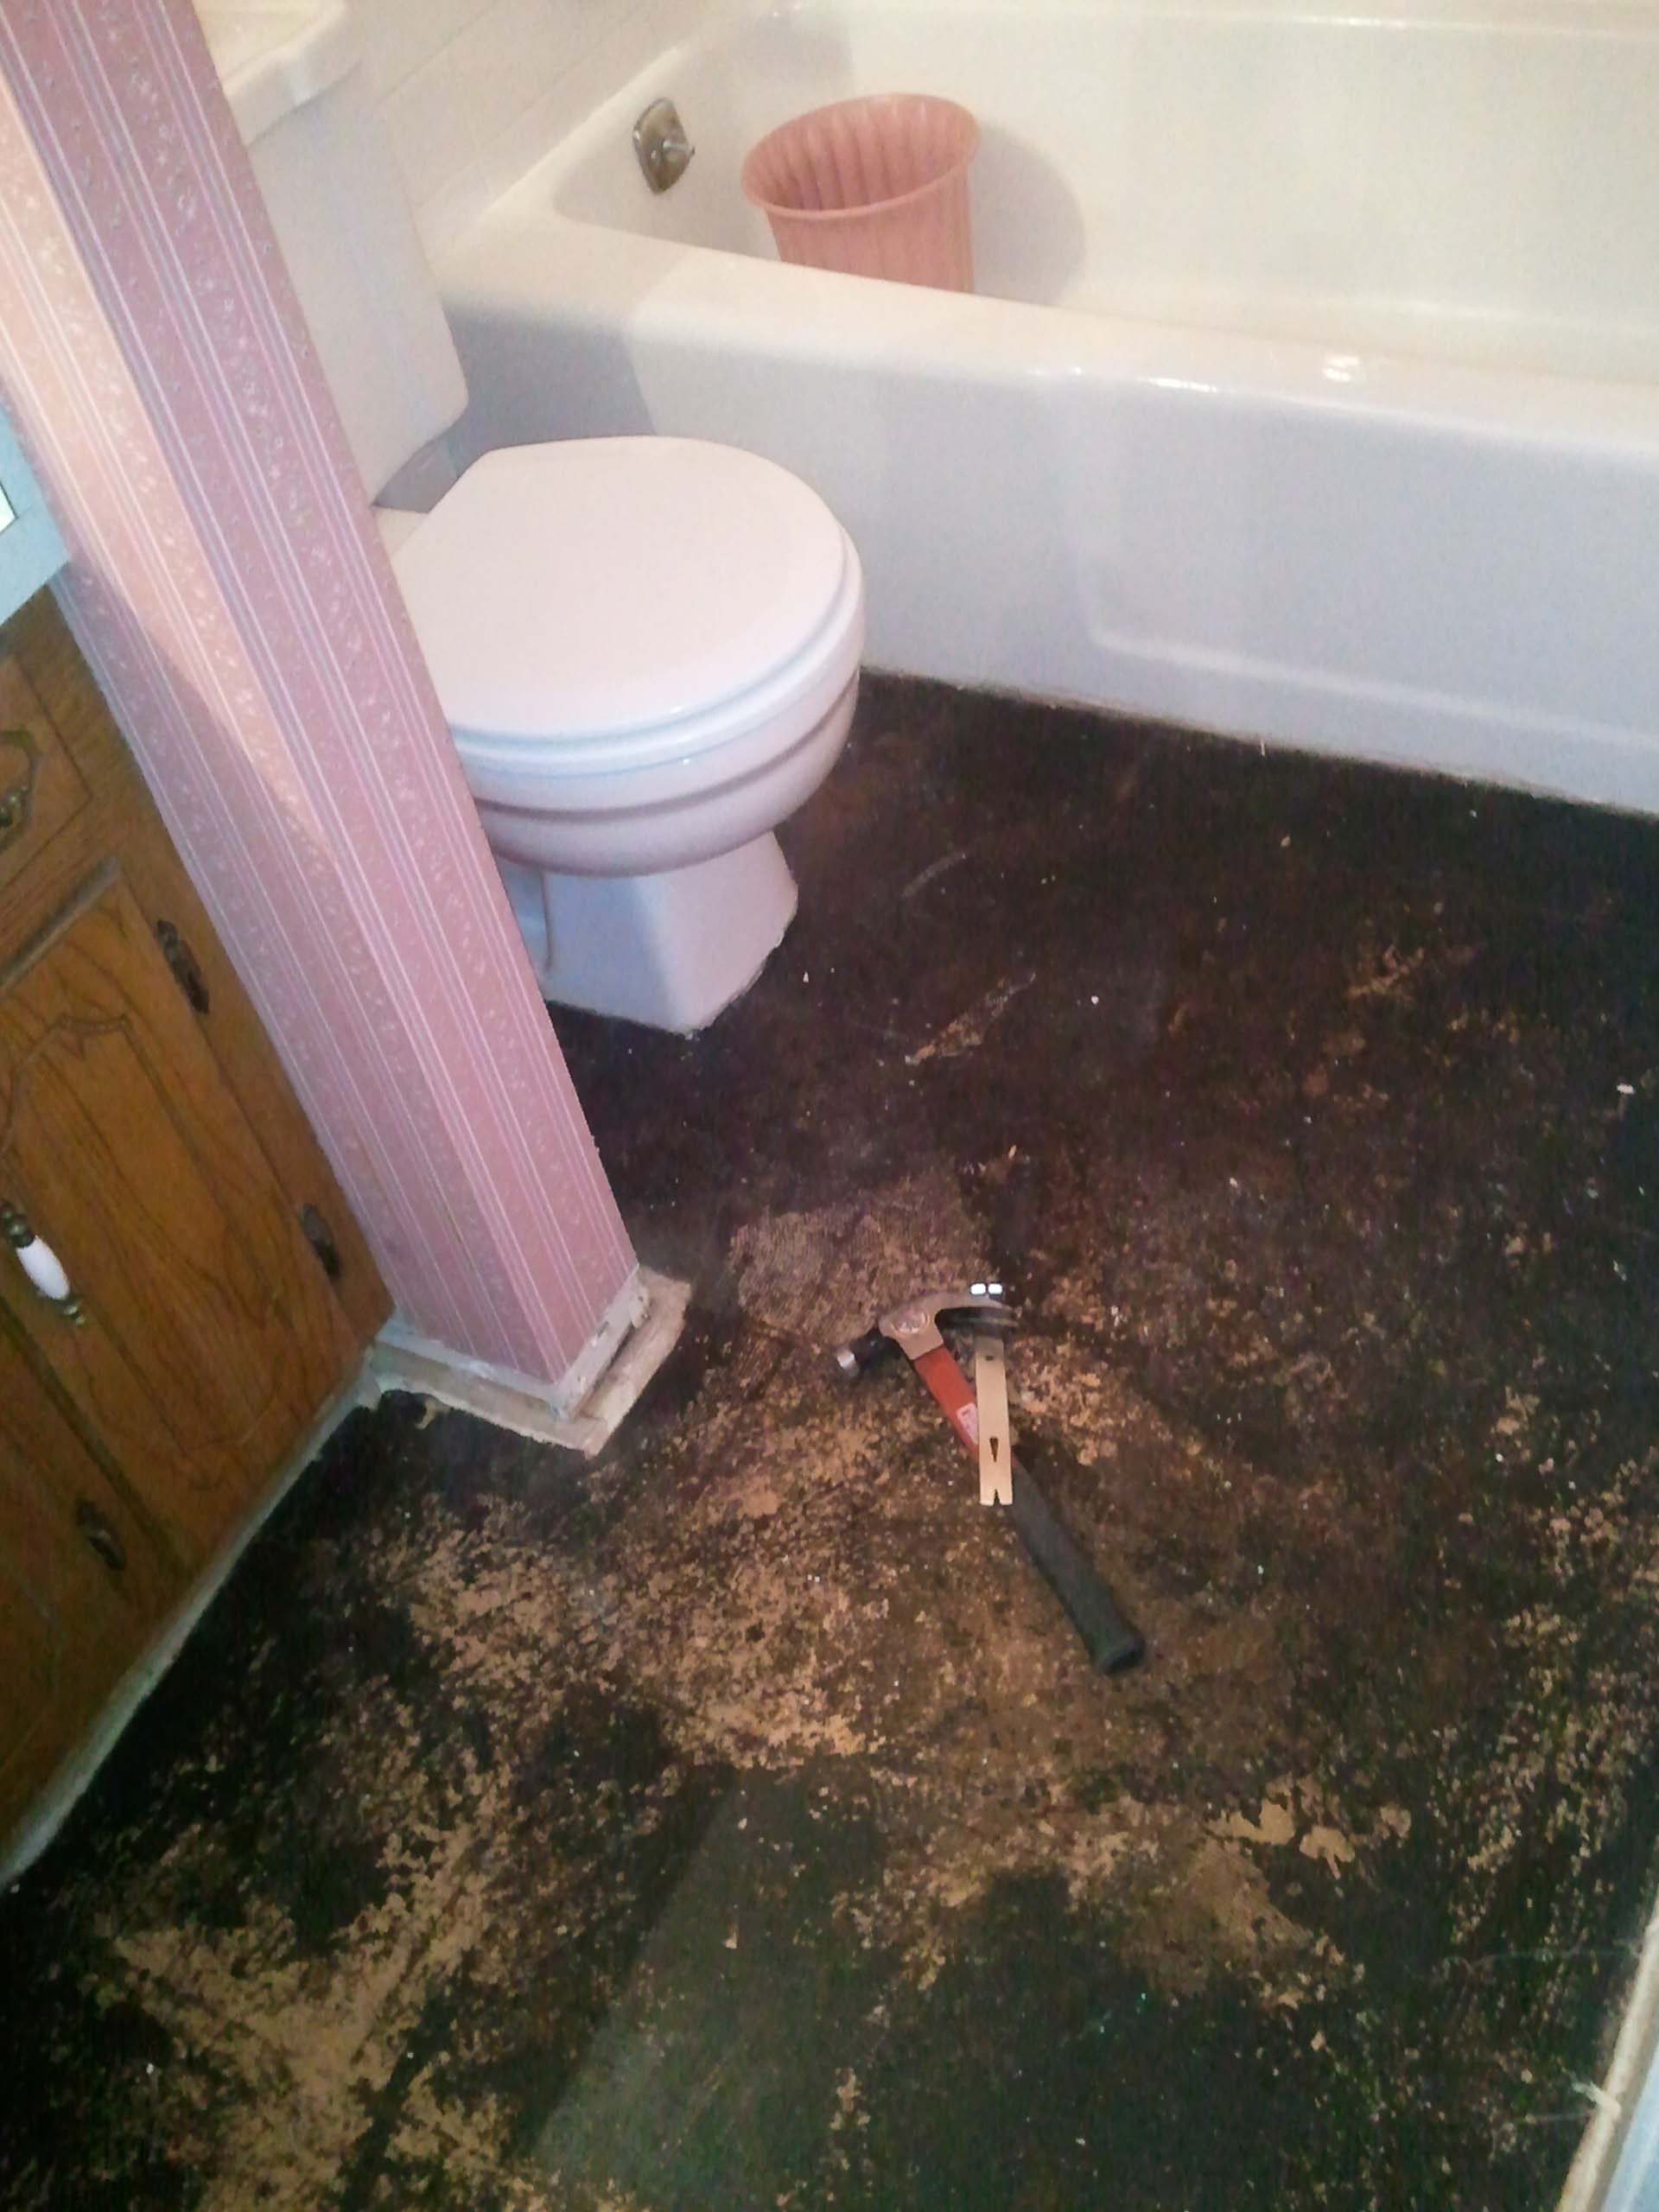
Because the backyard was still super saturated and muddy. I decided to haul the sod from the Jeep to the backyard via a direct route through my house.
No joke, that’s exactly what I did.

housesod3

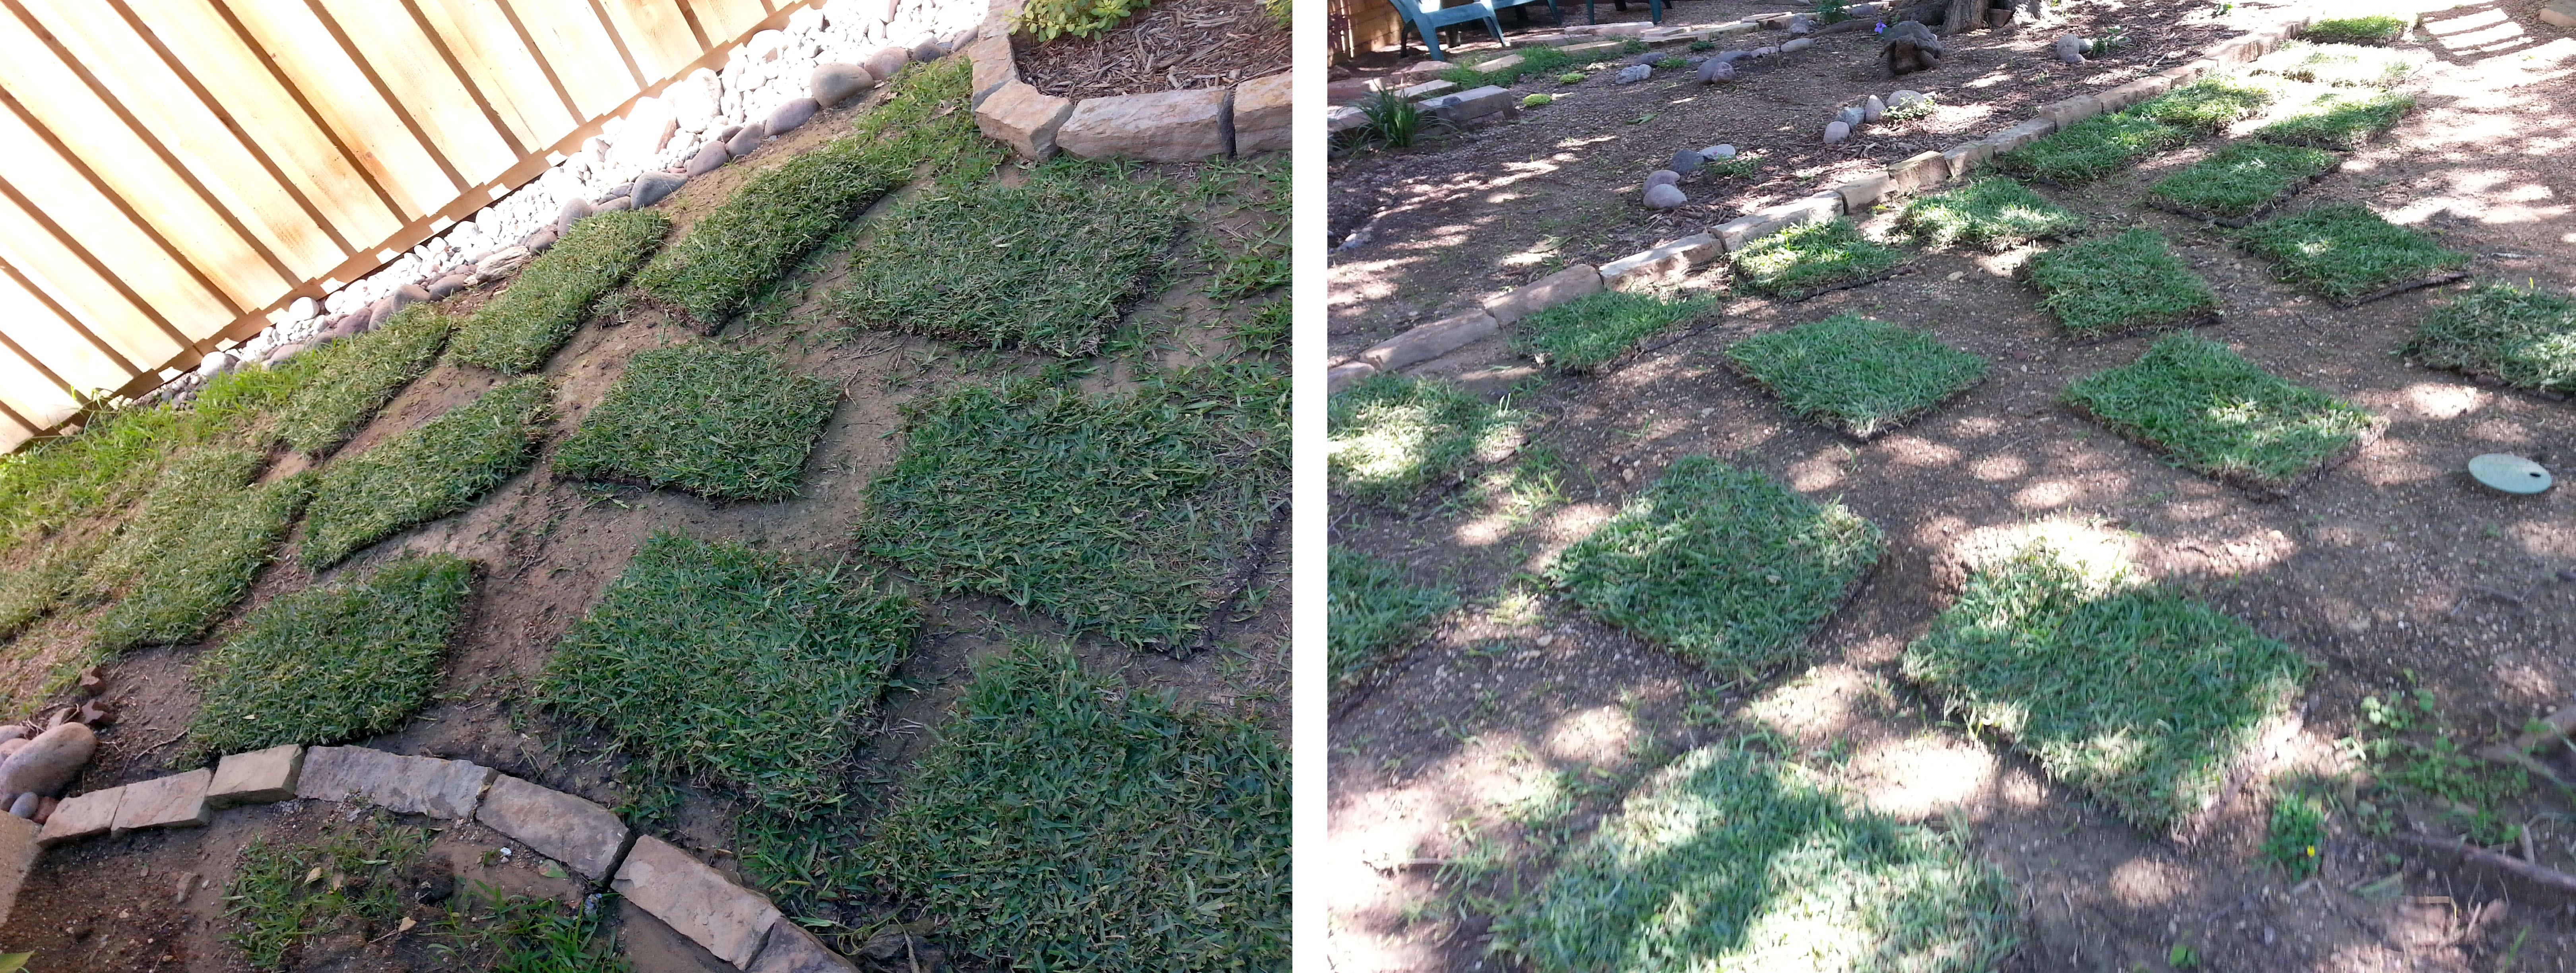
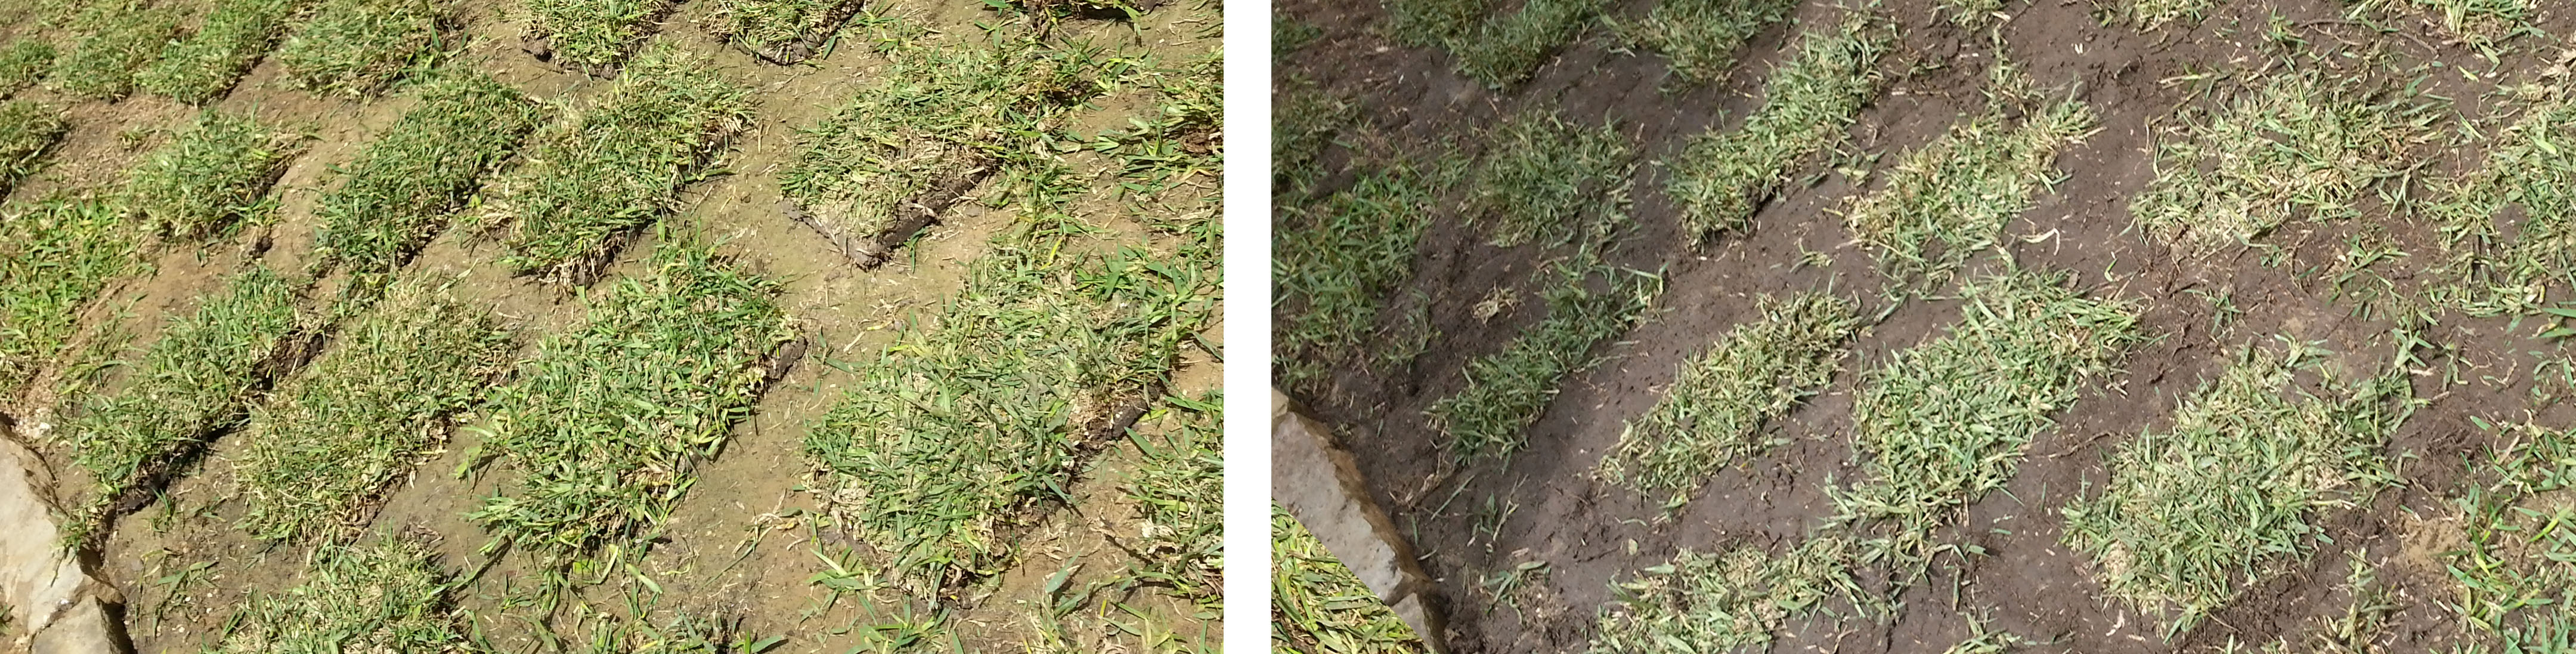
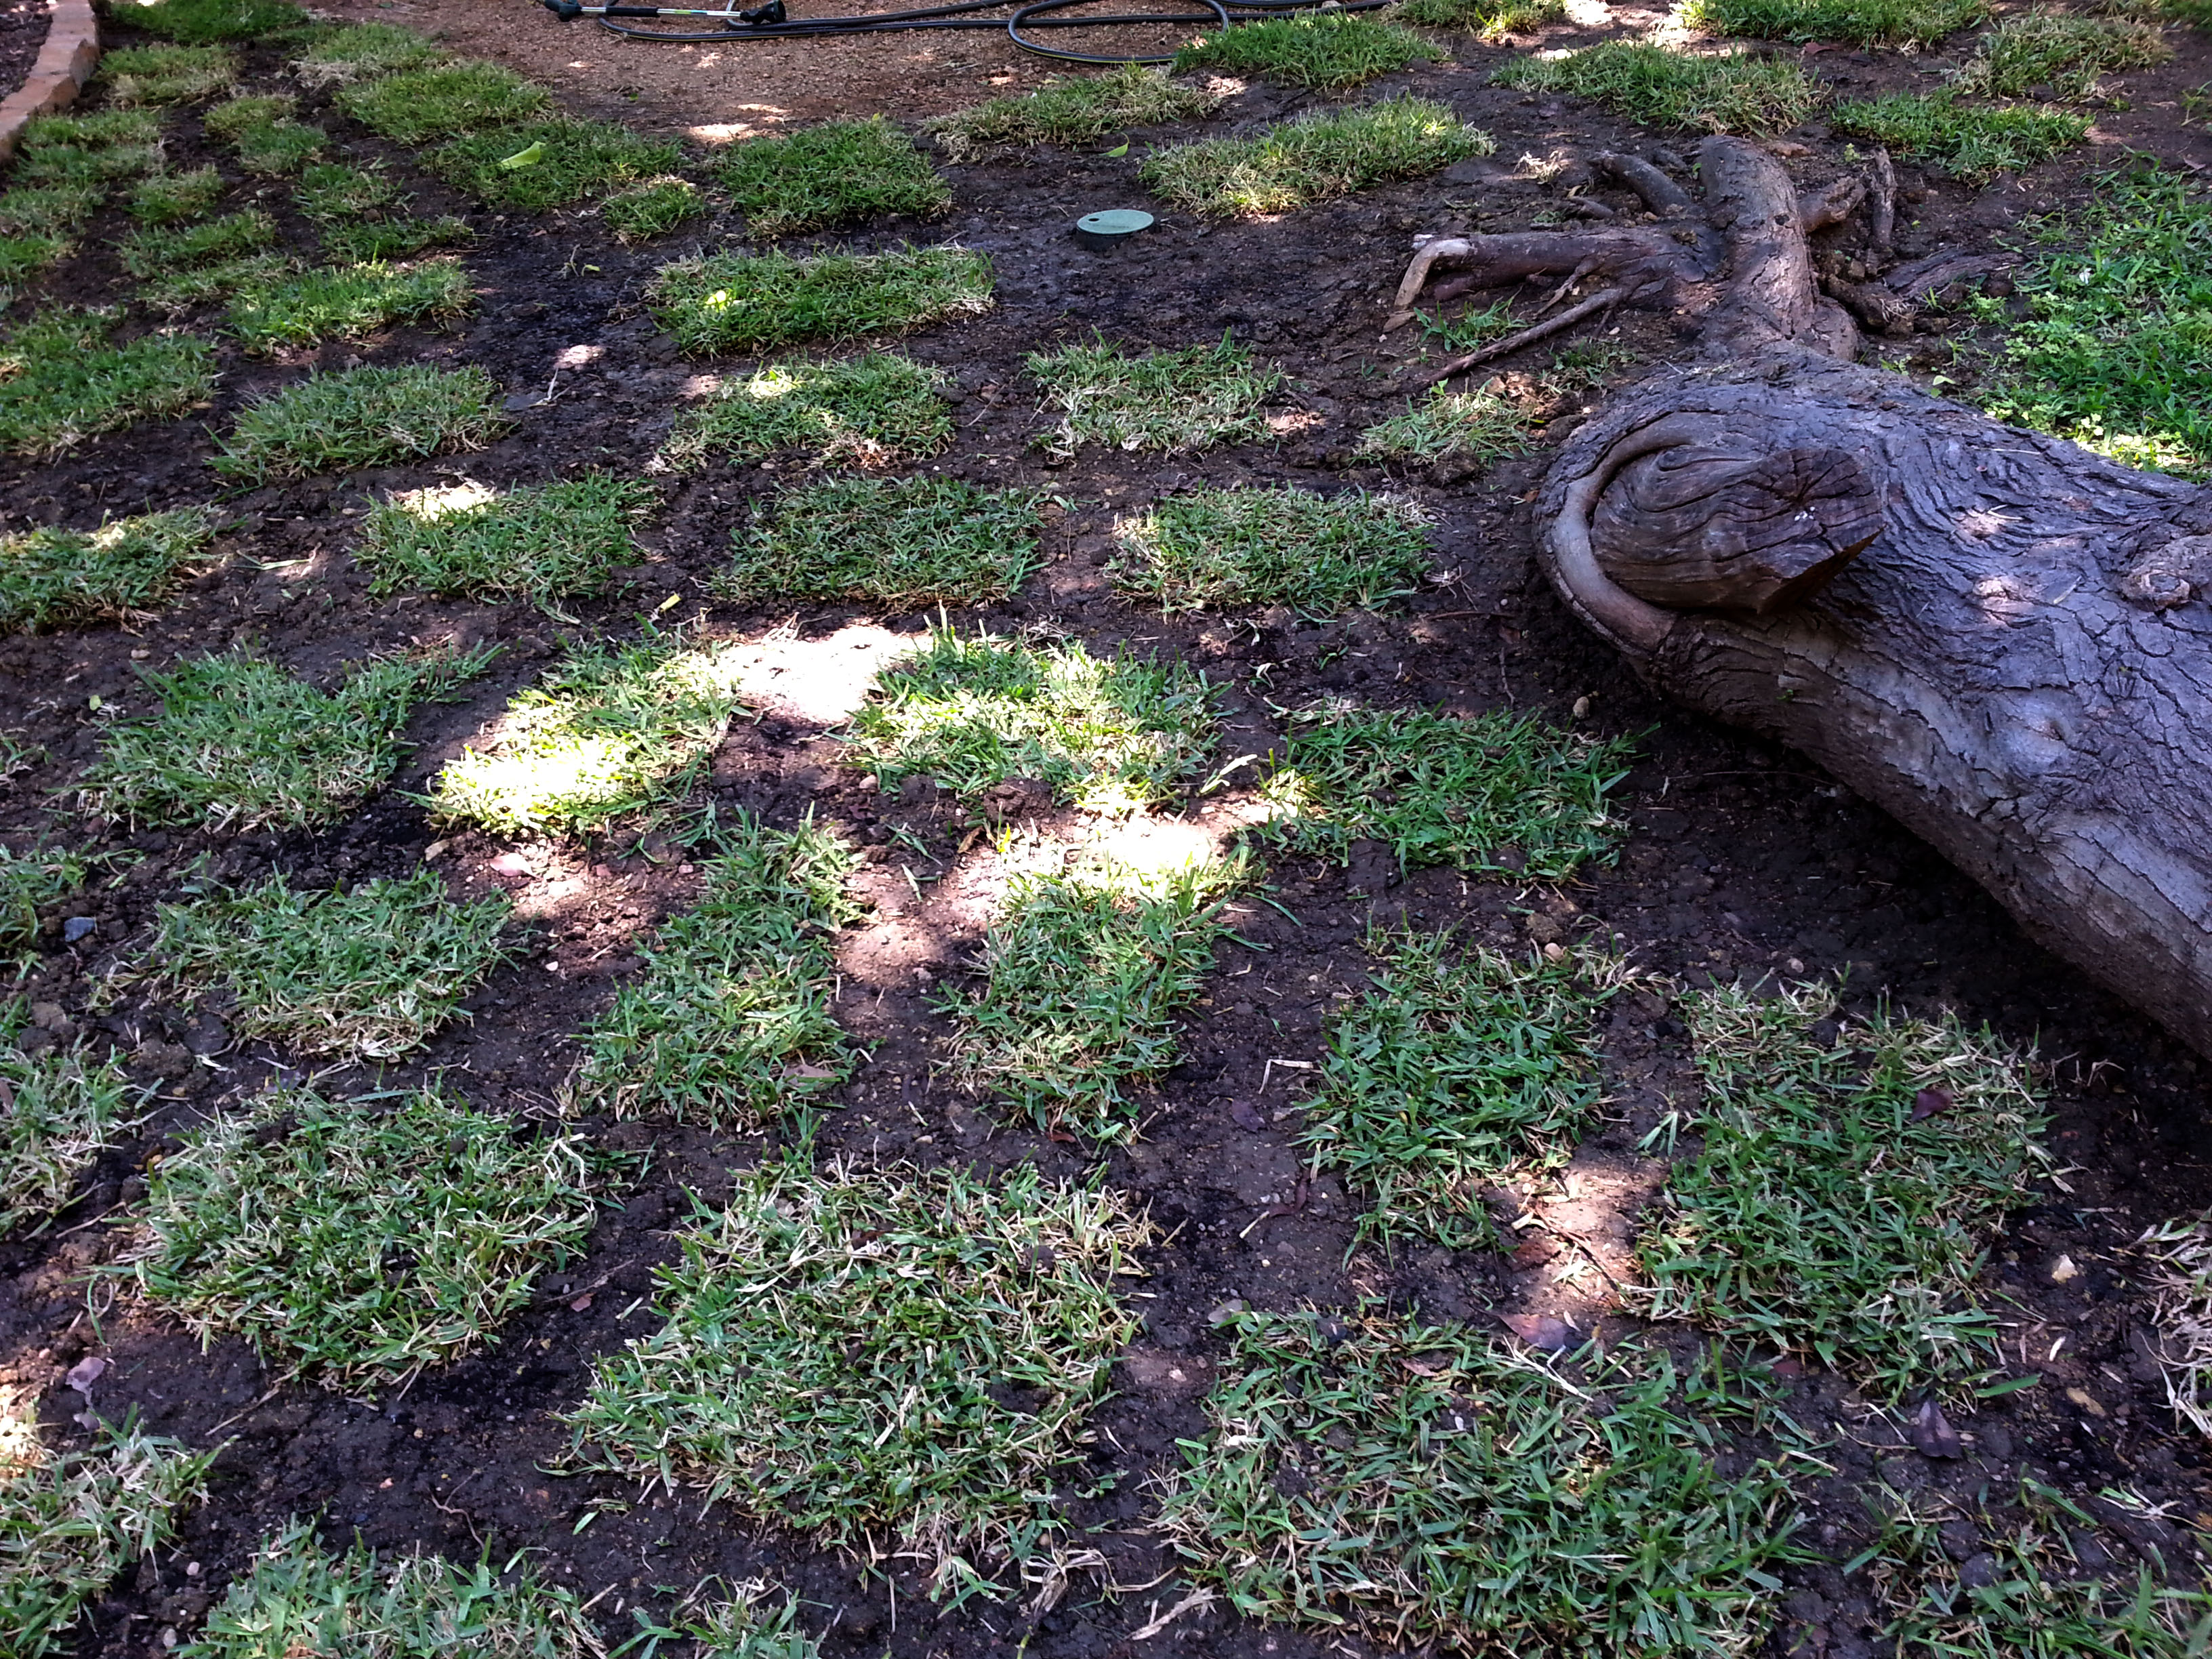
Once the sod was unloaded, I placed the sections out across the yard in the areas I planned to cover. I didn’t buy enough sod to blanket the yard, so my plan was to use the checkerboard approach. Cut each piece into 4 pieces, place each piece apart staggering each row, like a checkerboard. Once the St. Augustine takes root, the grass should fill in, within 3 to 6 months depending on weather conditions.

sod_layout2

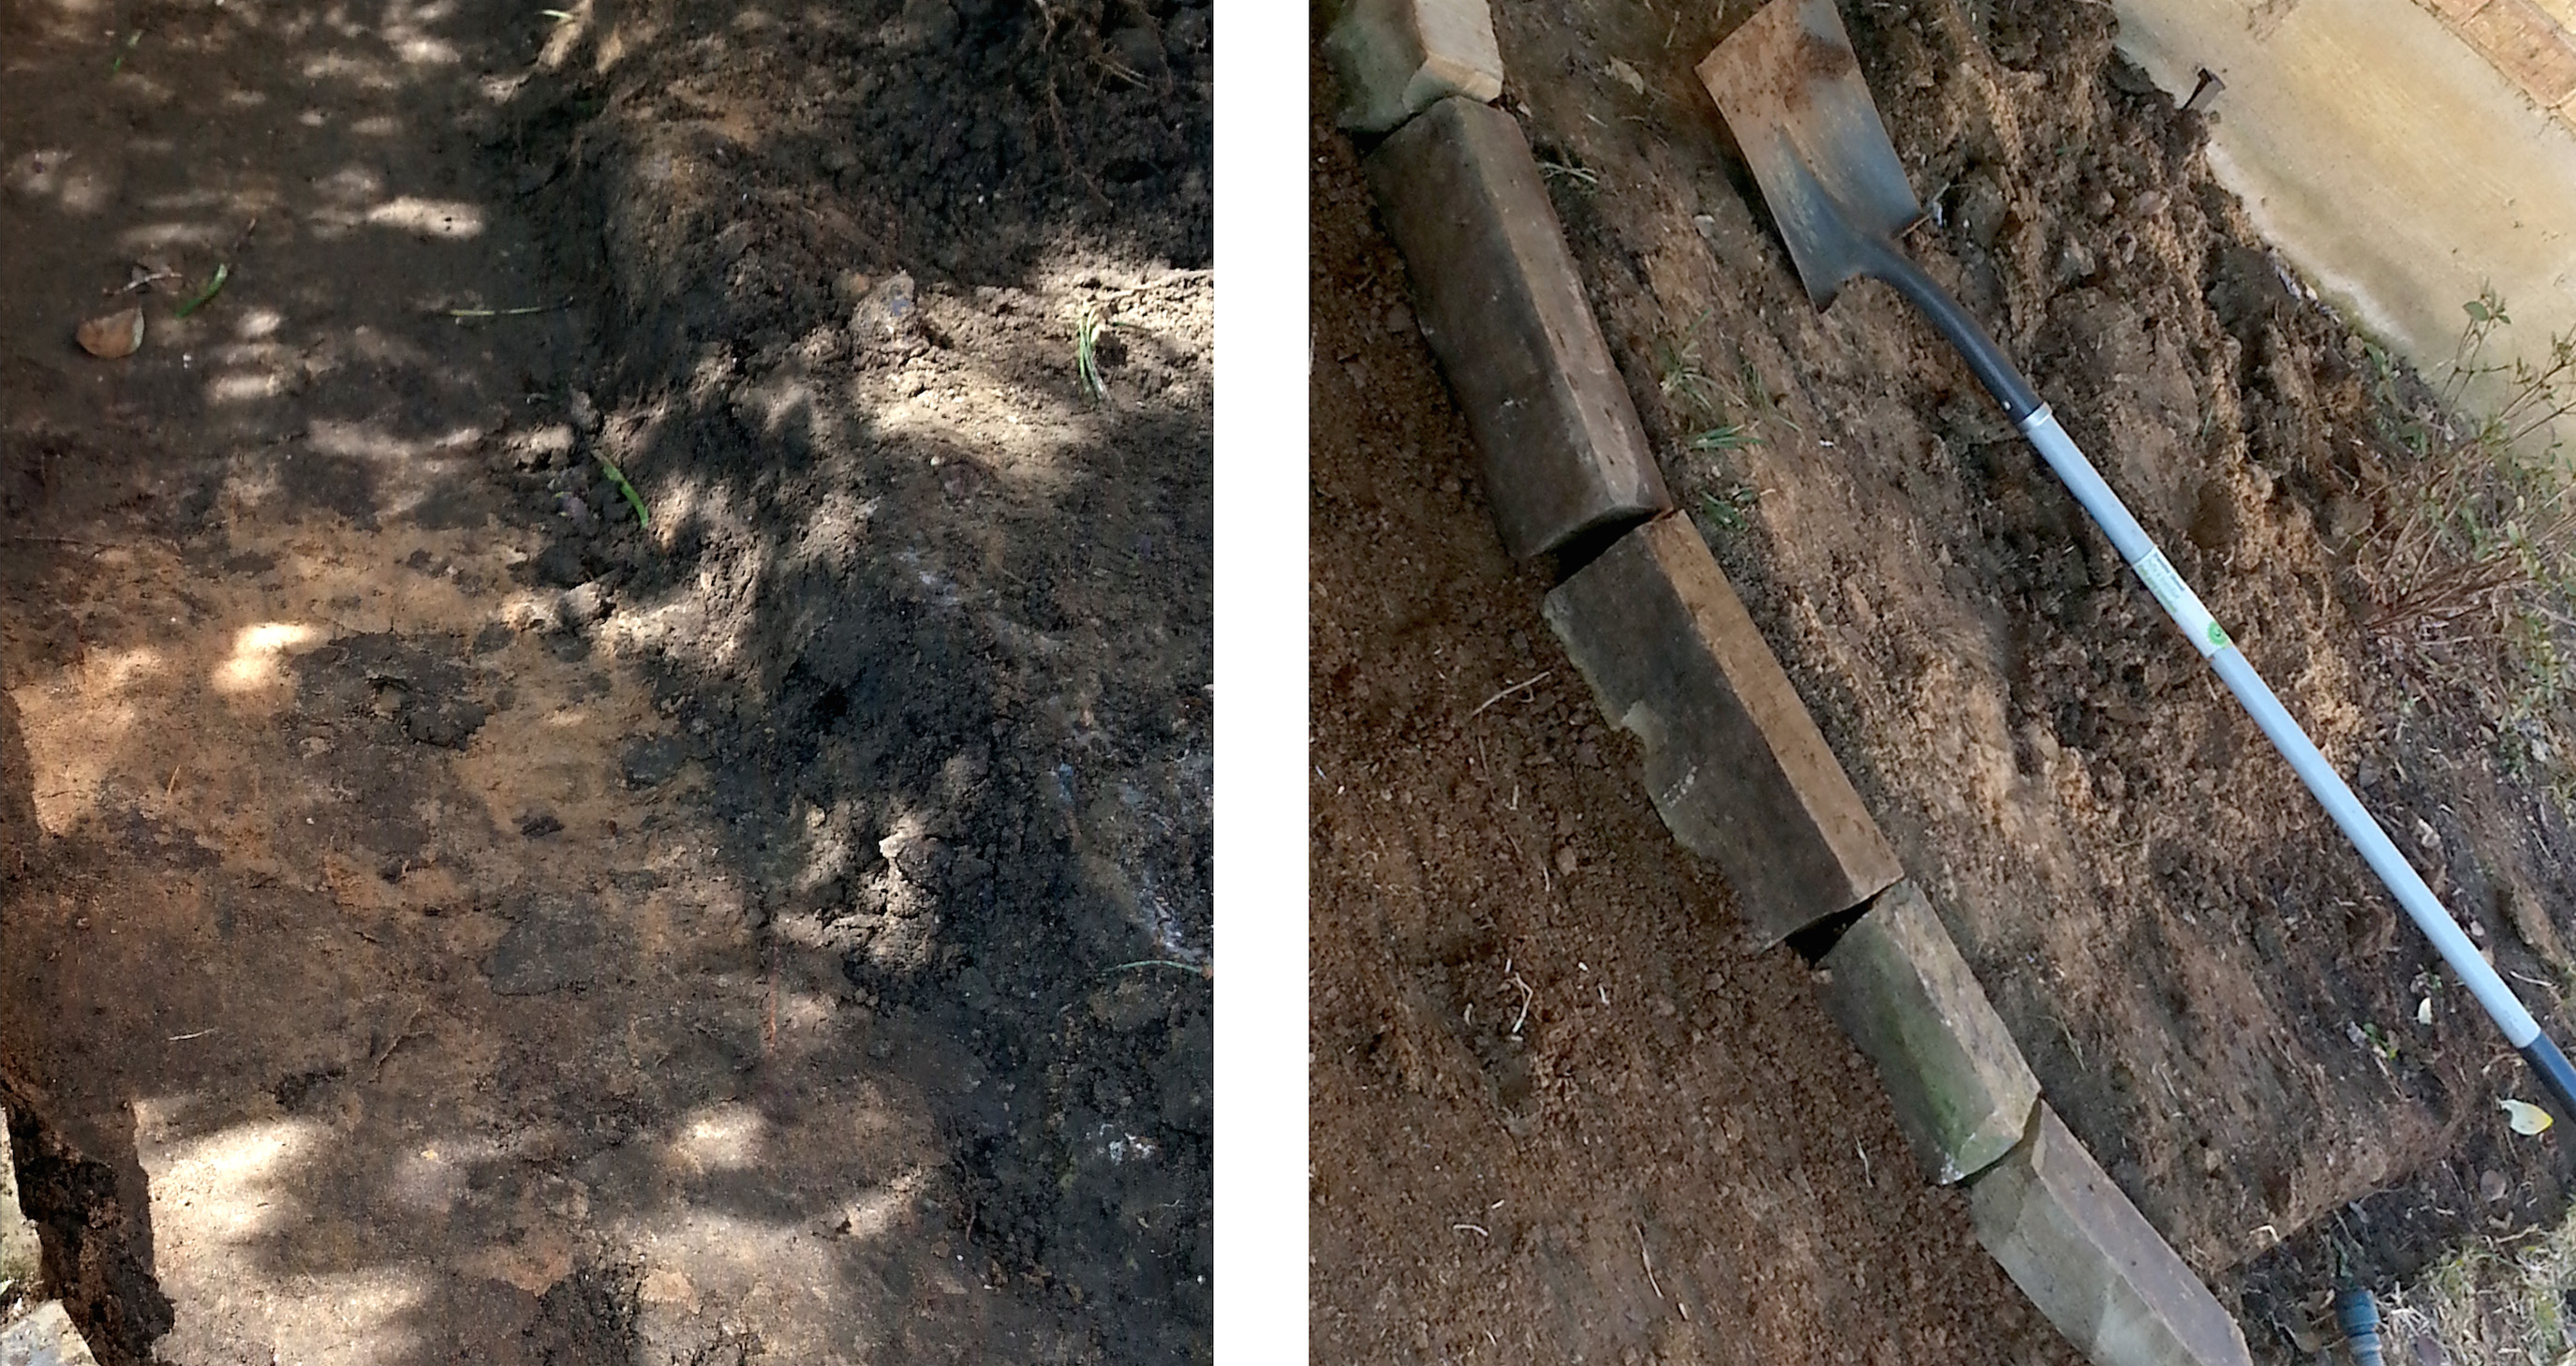
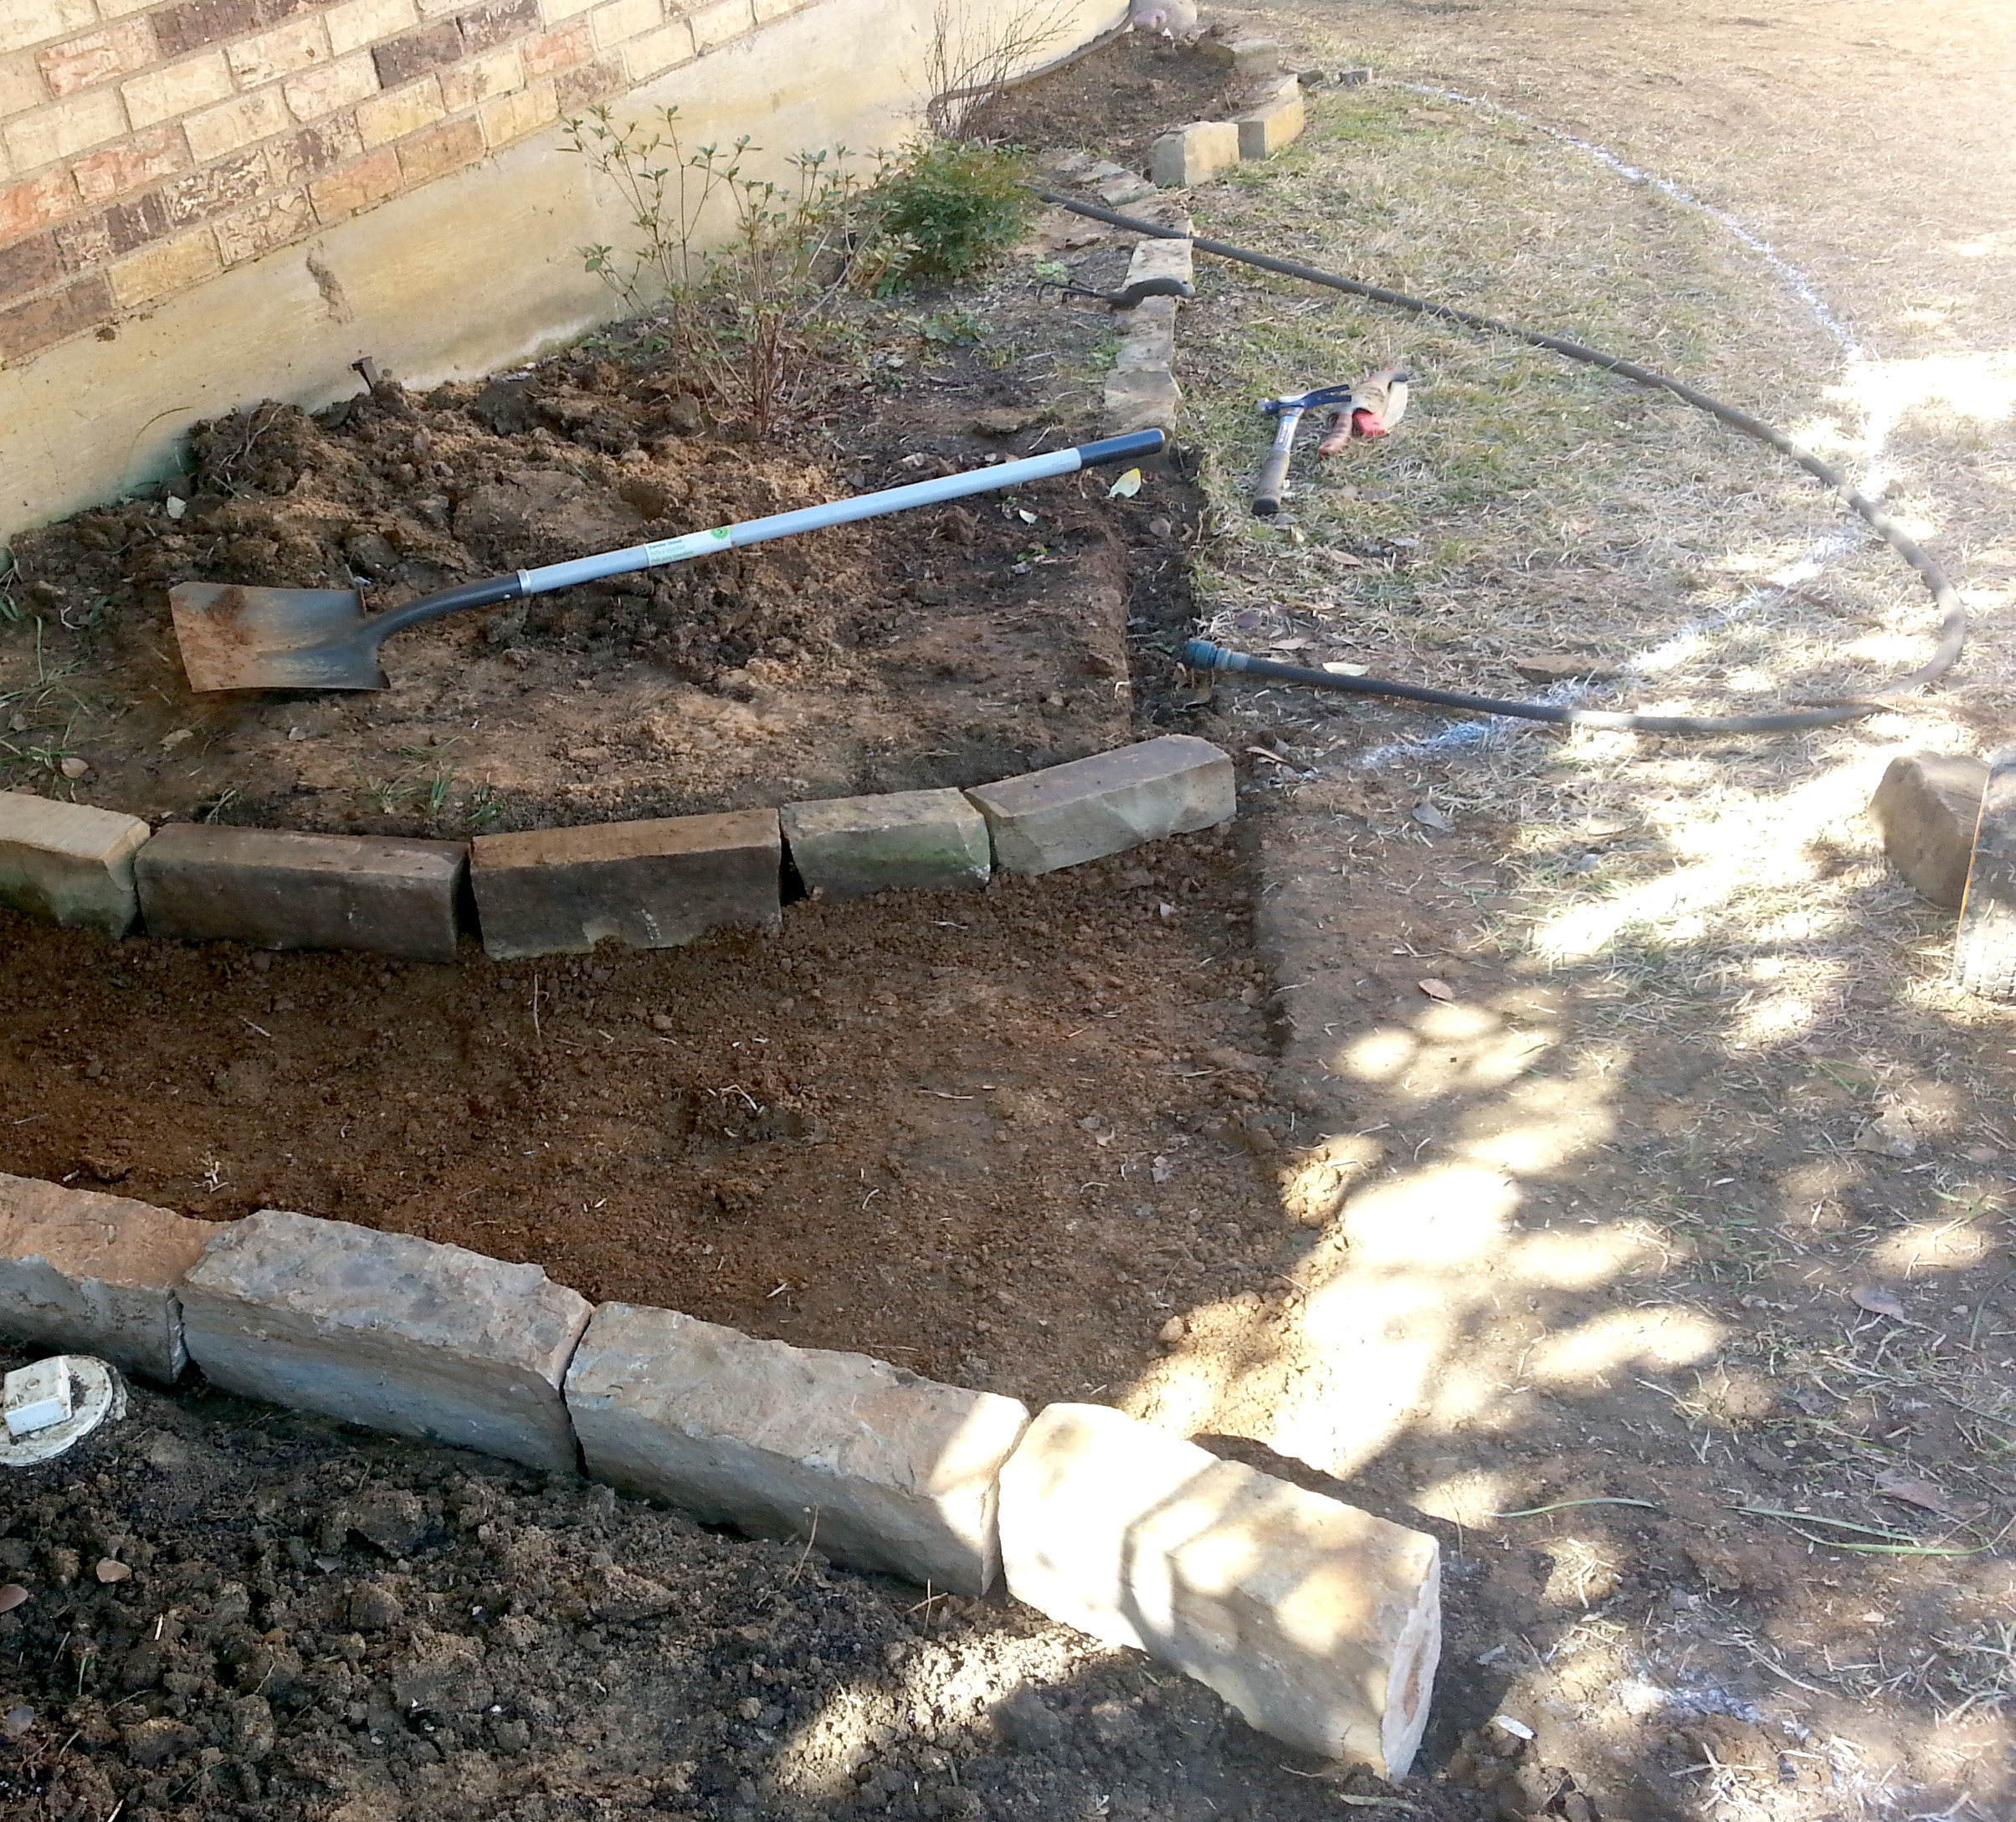
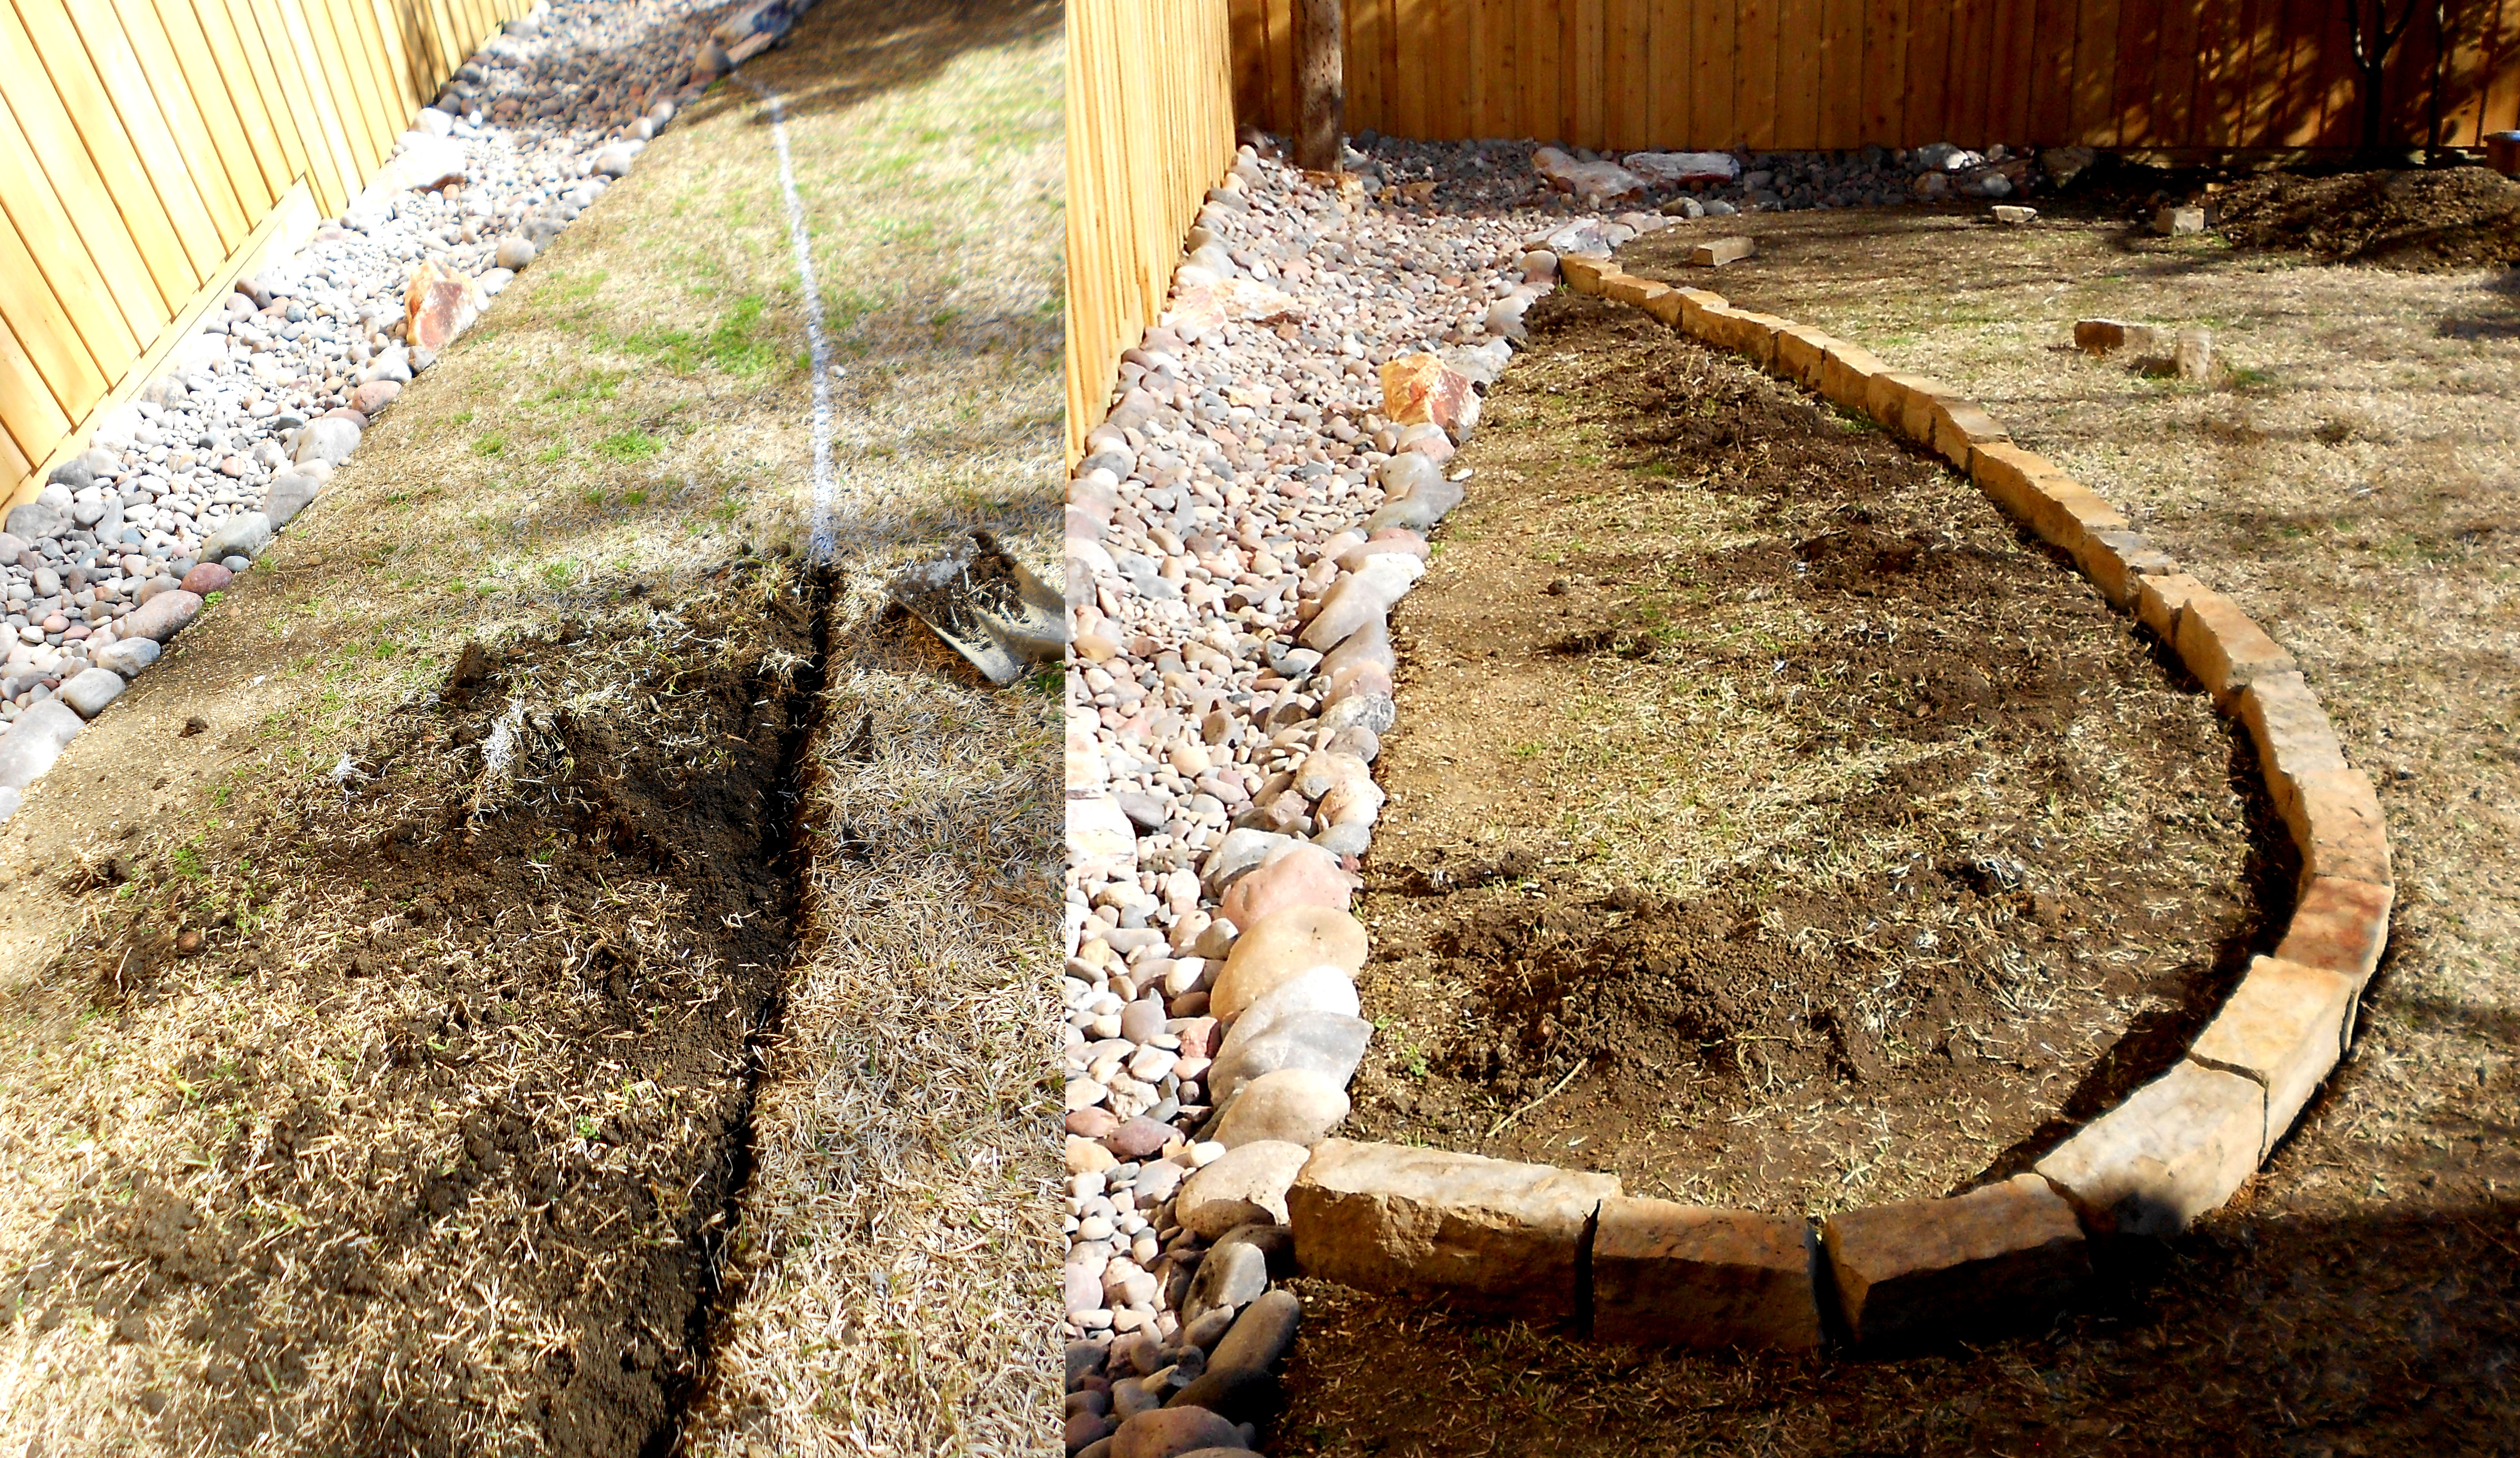
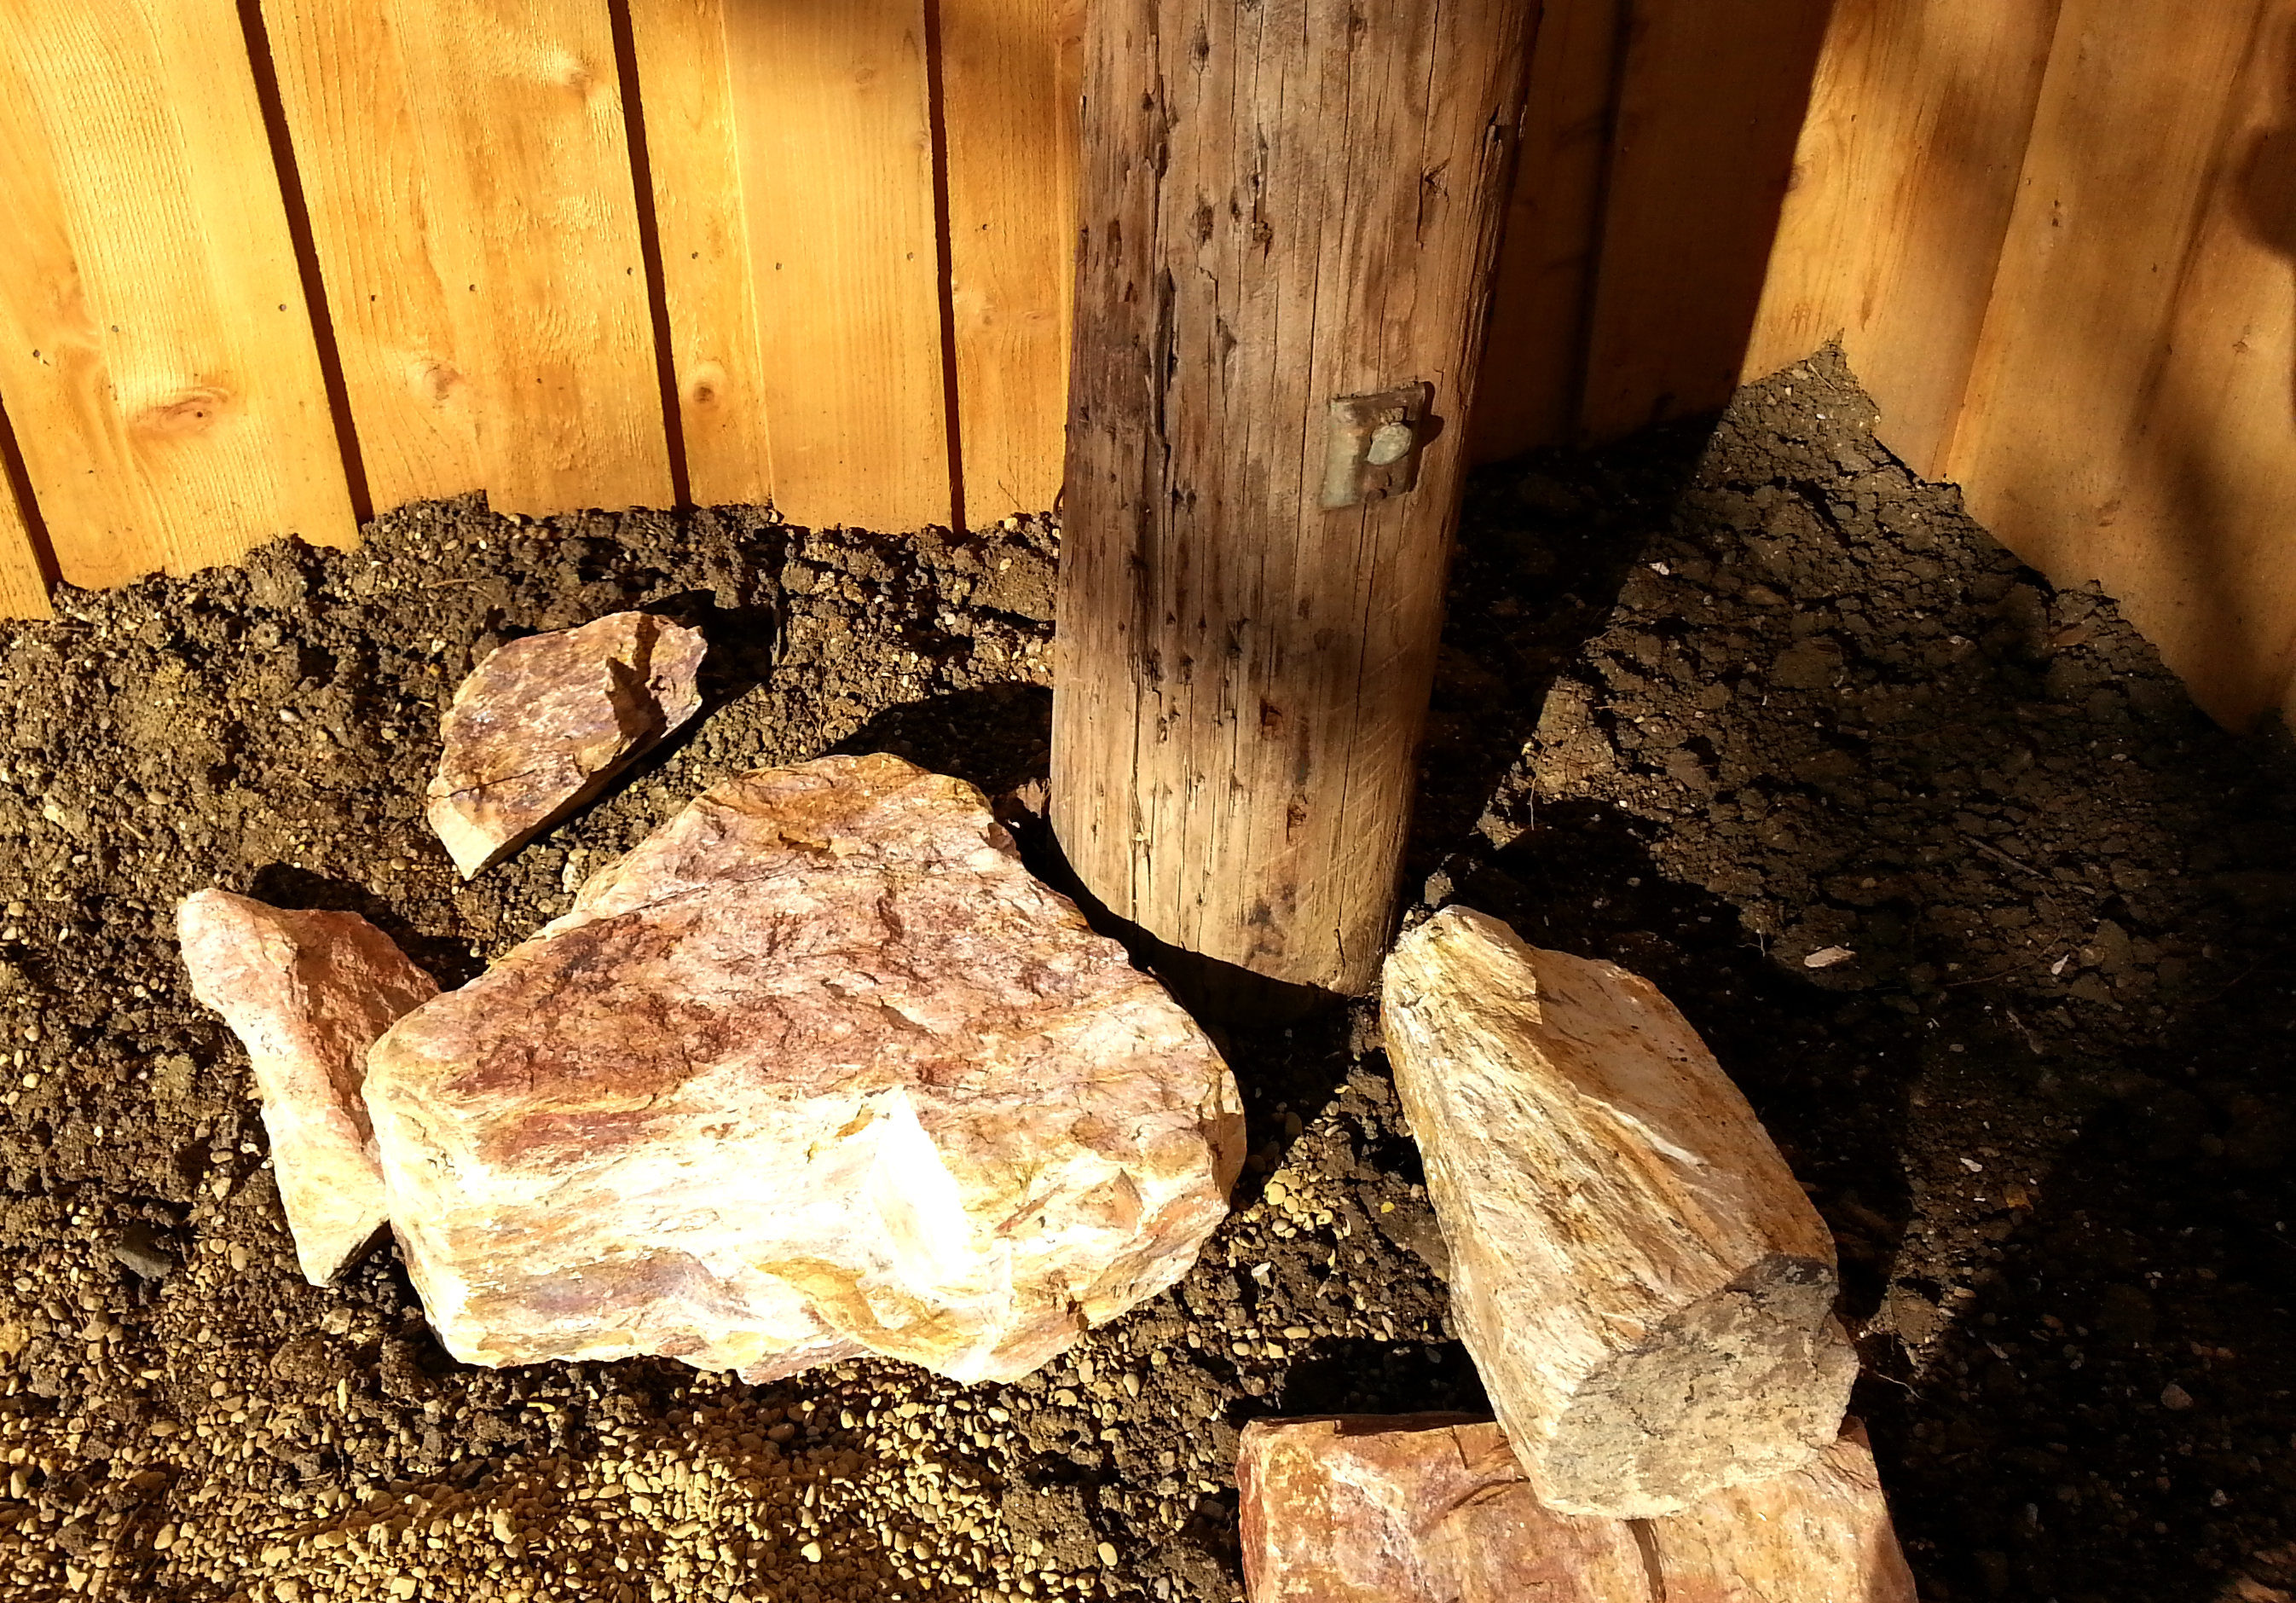
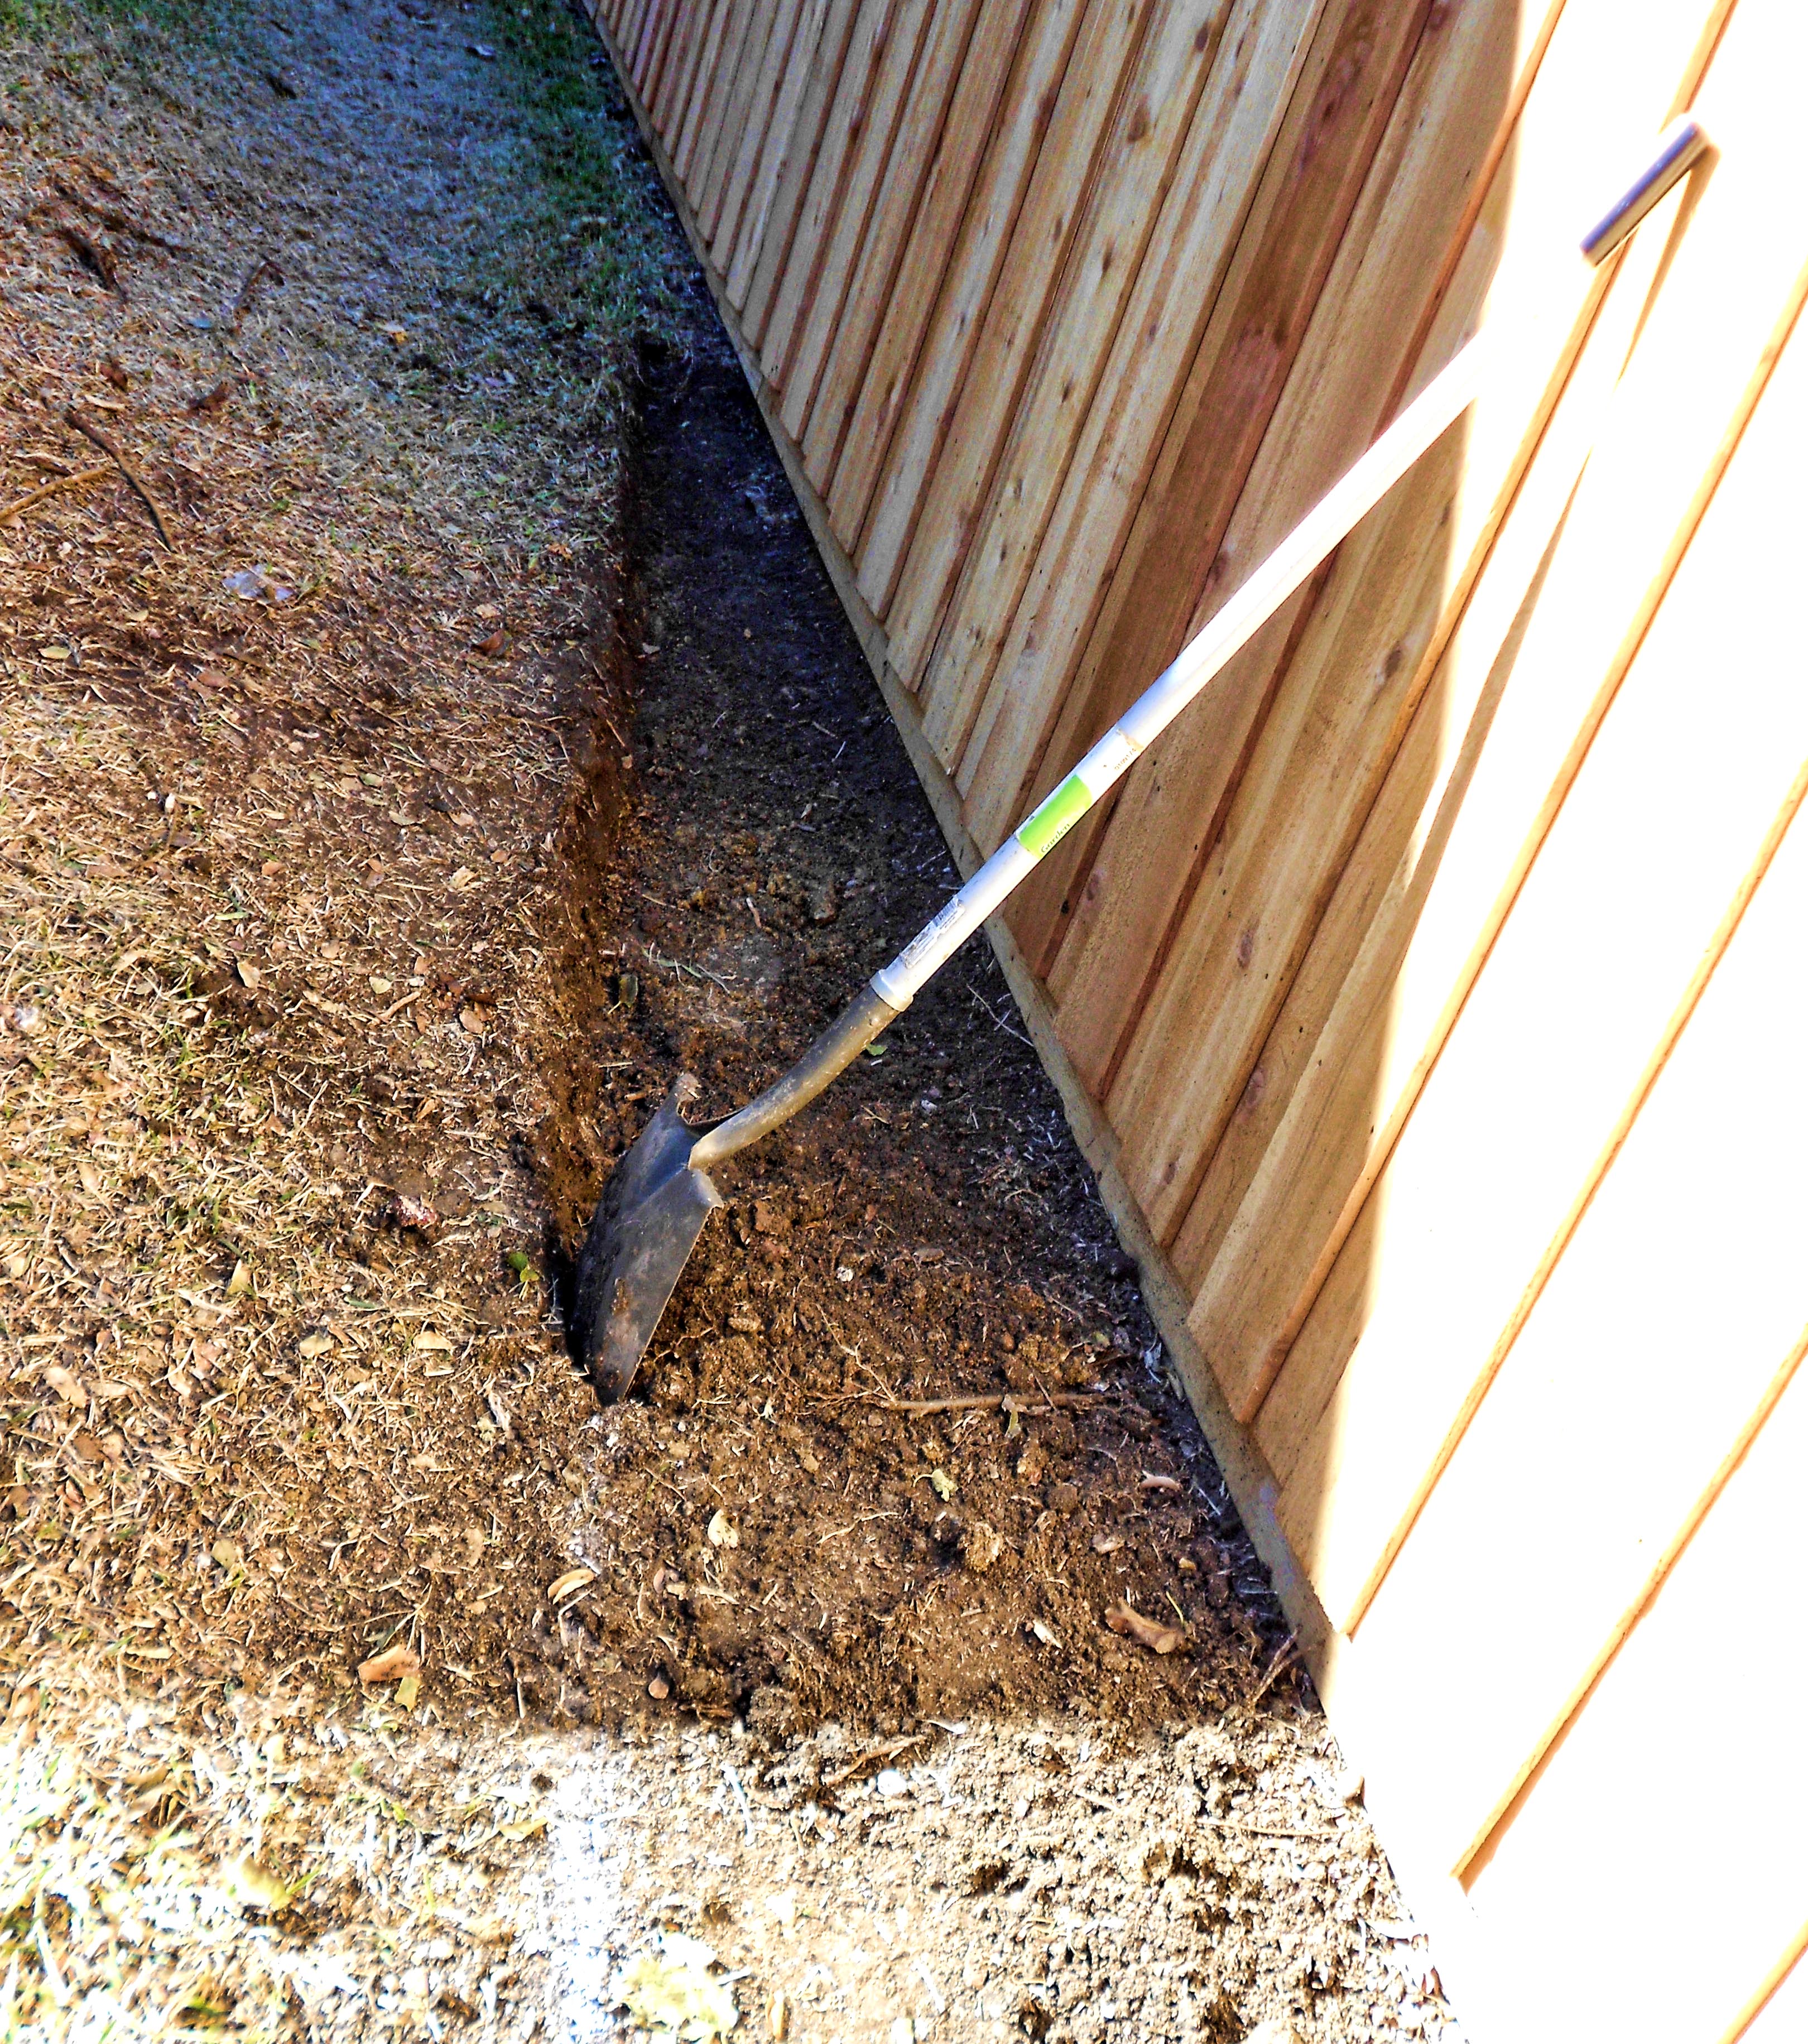
Repairing a yard can be a slow process. The ground should be moist before you begin. Remove any rocks and debris. Dig a section of ground, loosen/till the surrounding soil, amend the loosened dirt with “soil builder”, plant the grass plug and cover the edges with soil. Once you’ve completed an area, it’s important to water it in. Walk on or tamp the sod into the ground so it will make good contact with the soil underneath.  This procedure is for repairing areas. To sod a complete yard. The process varies slightly.

before_after

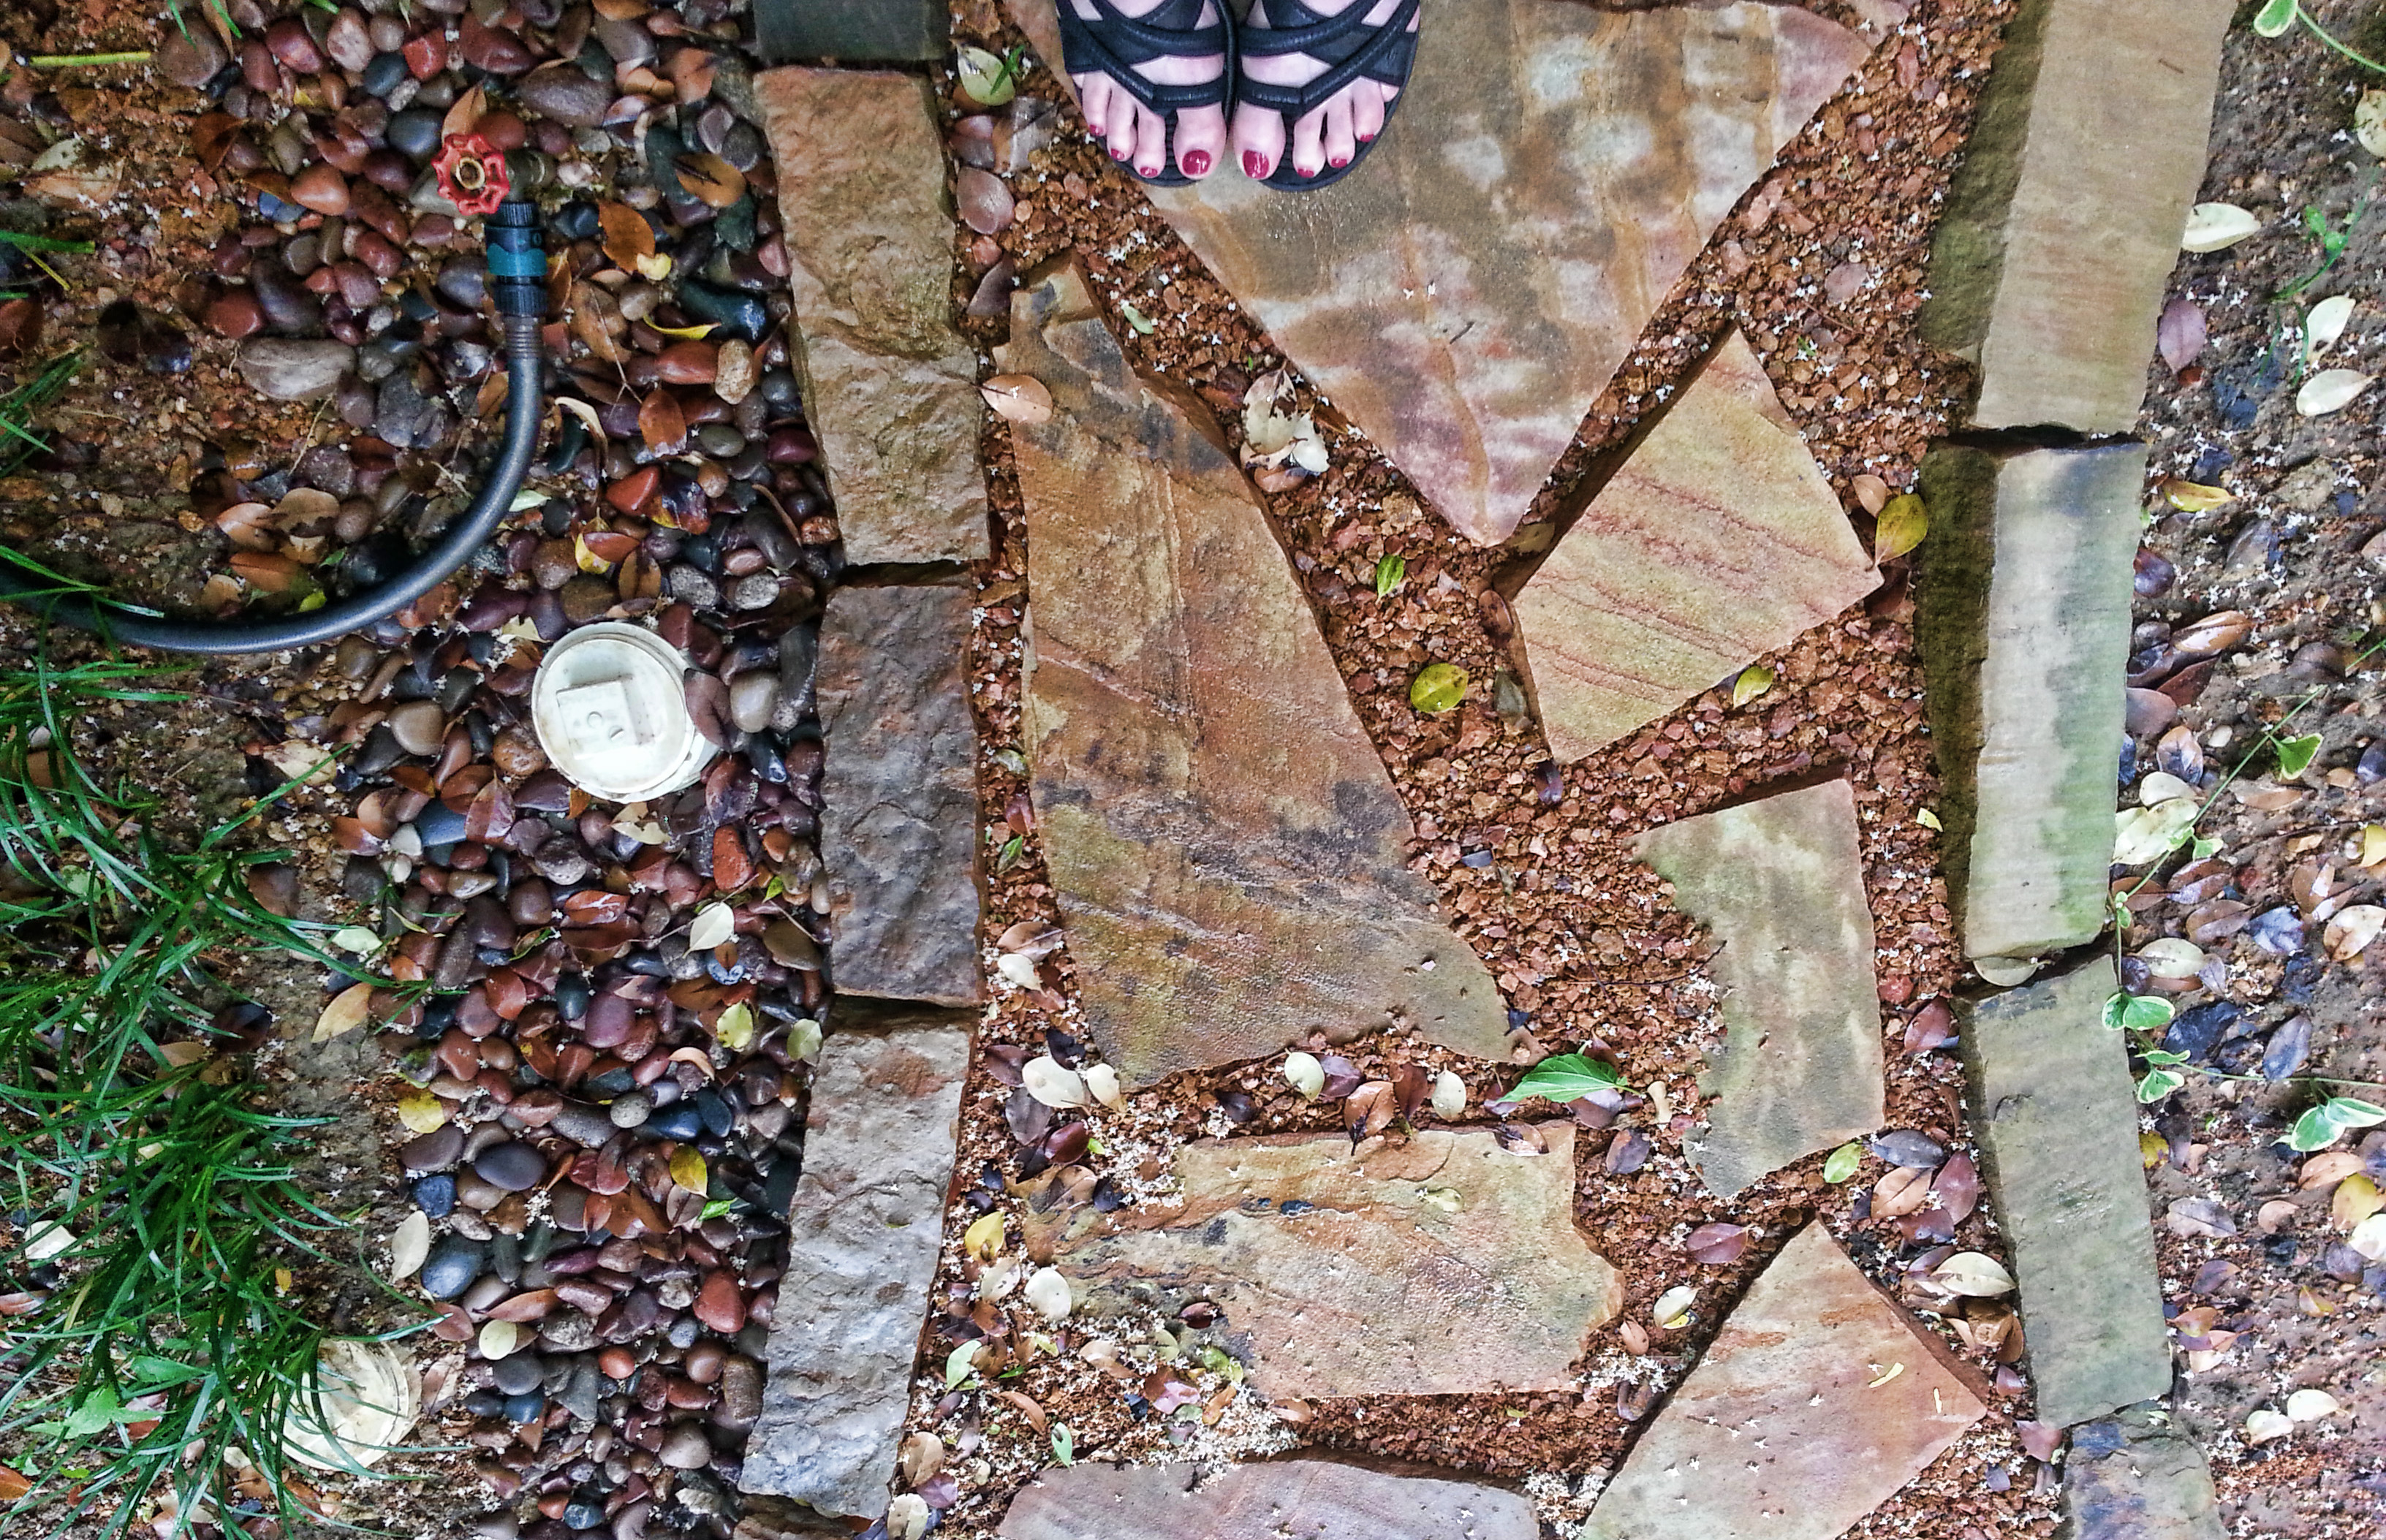
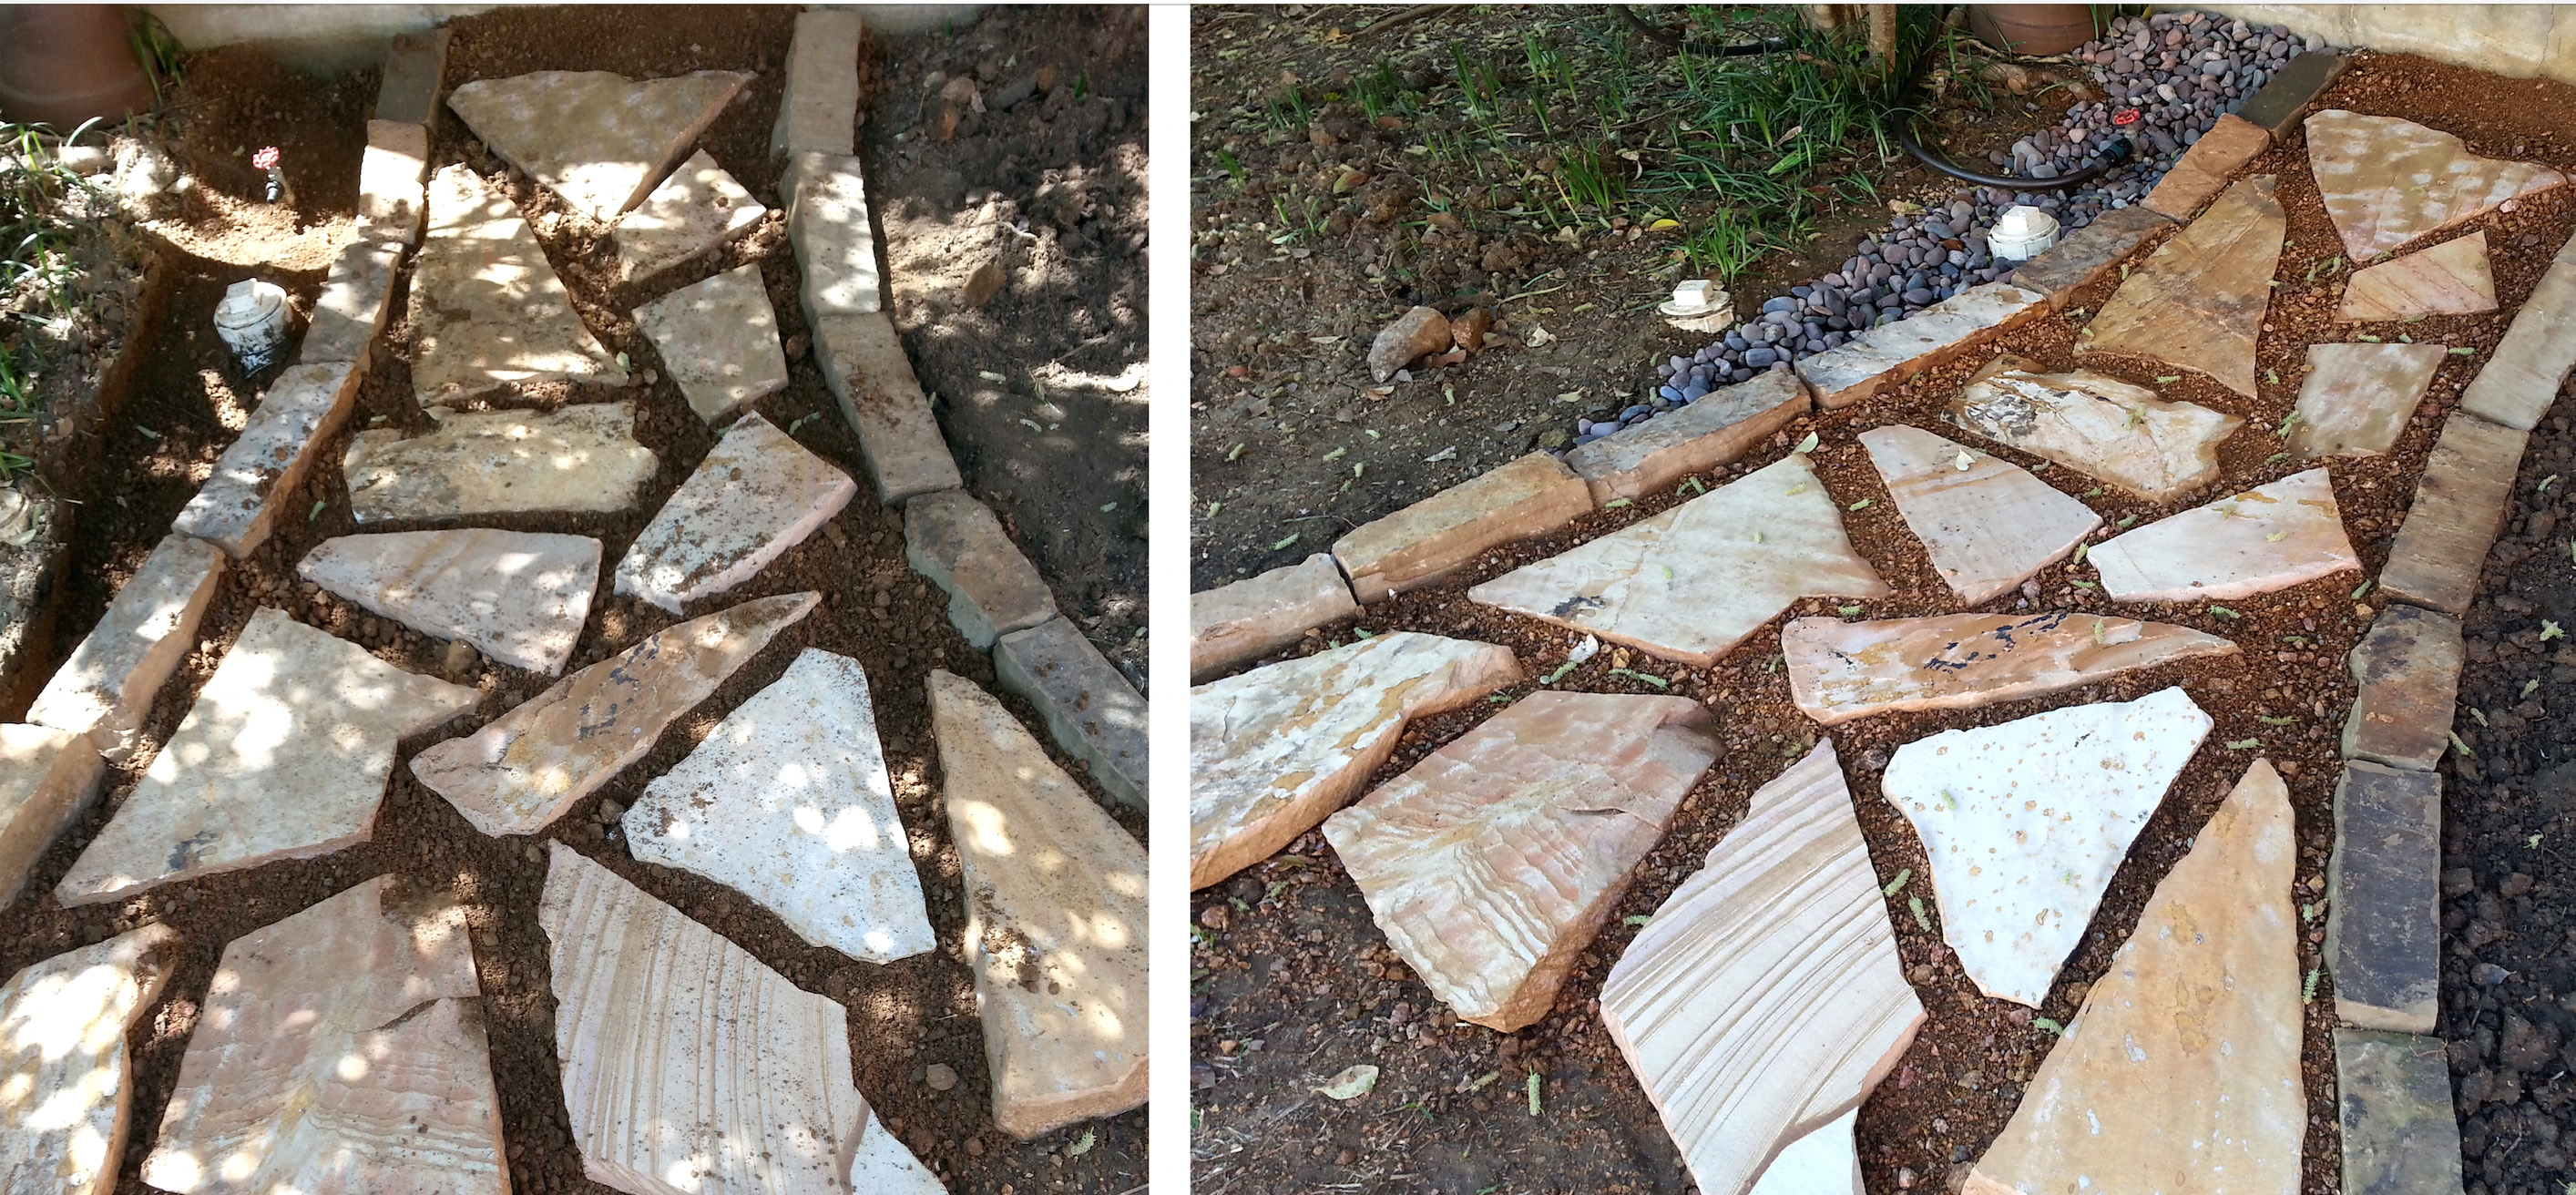
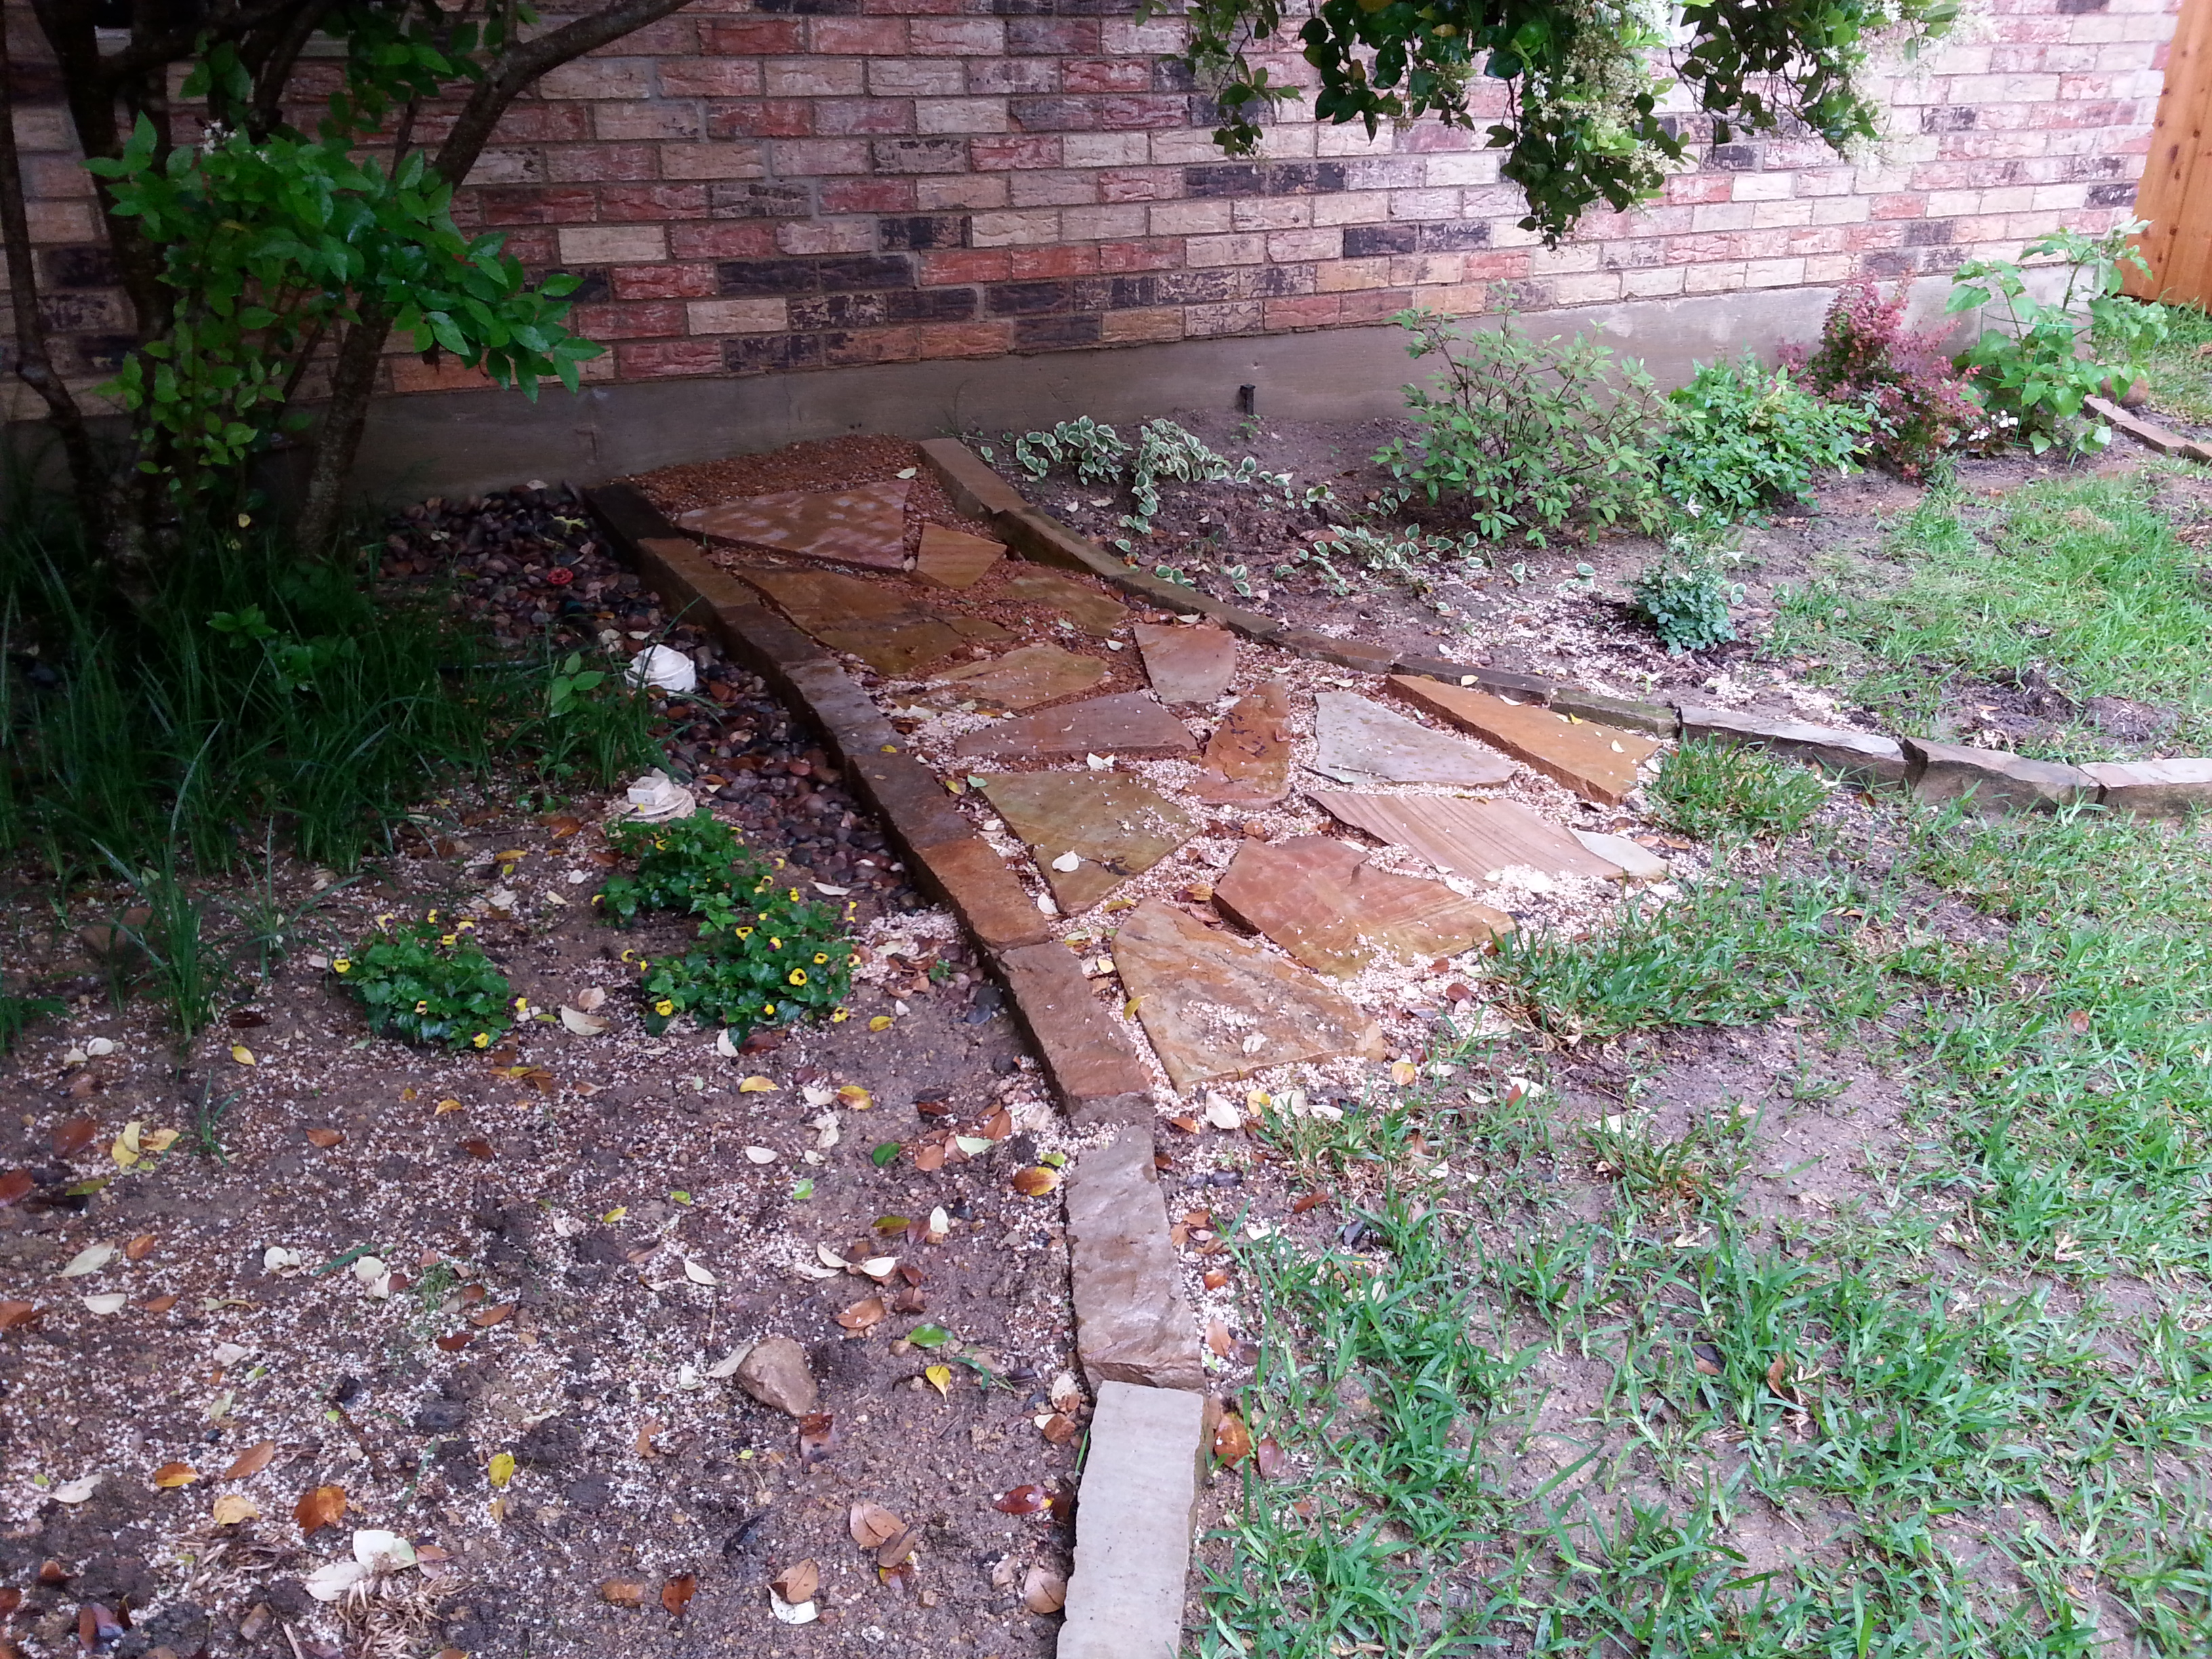
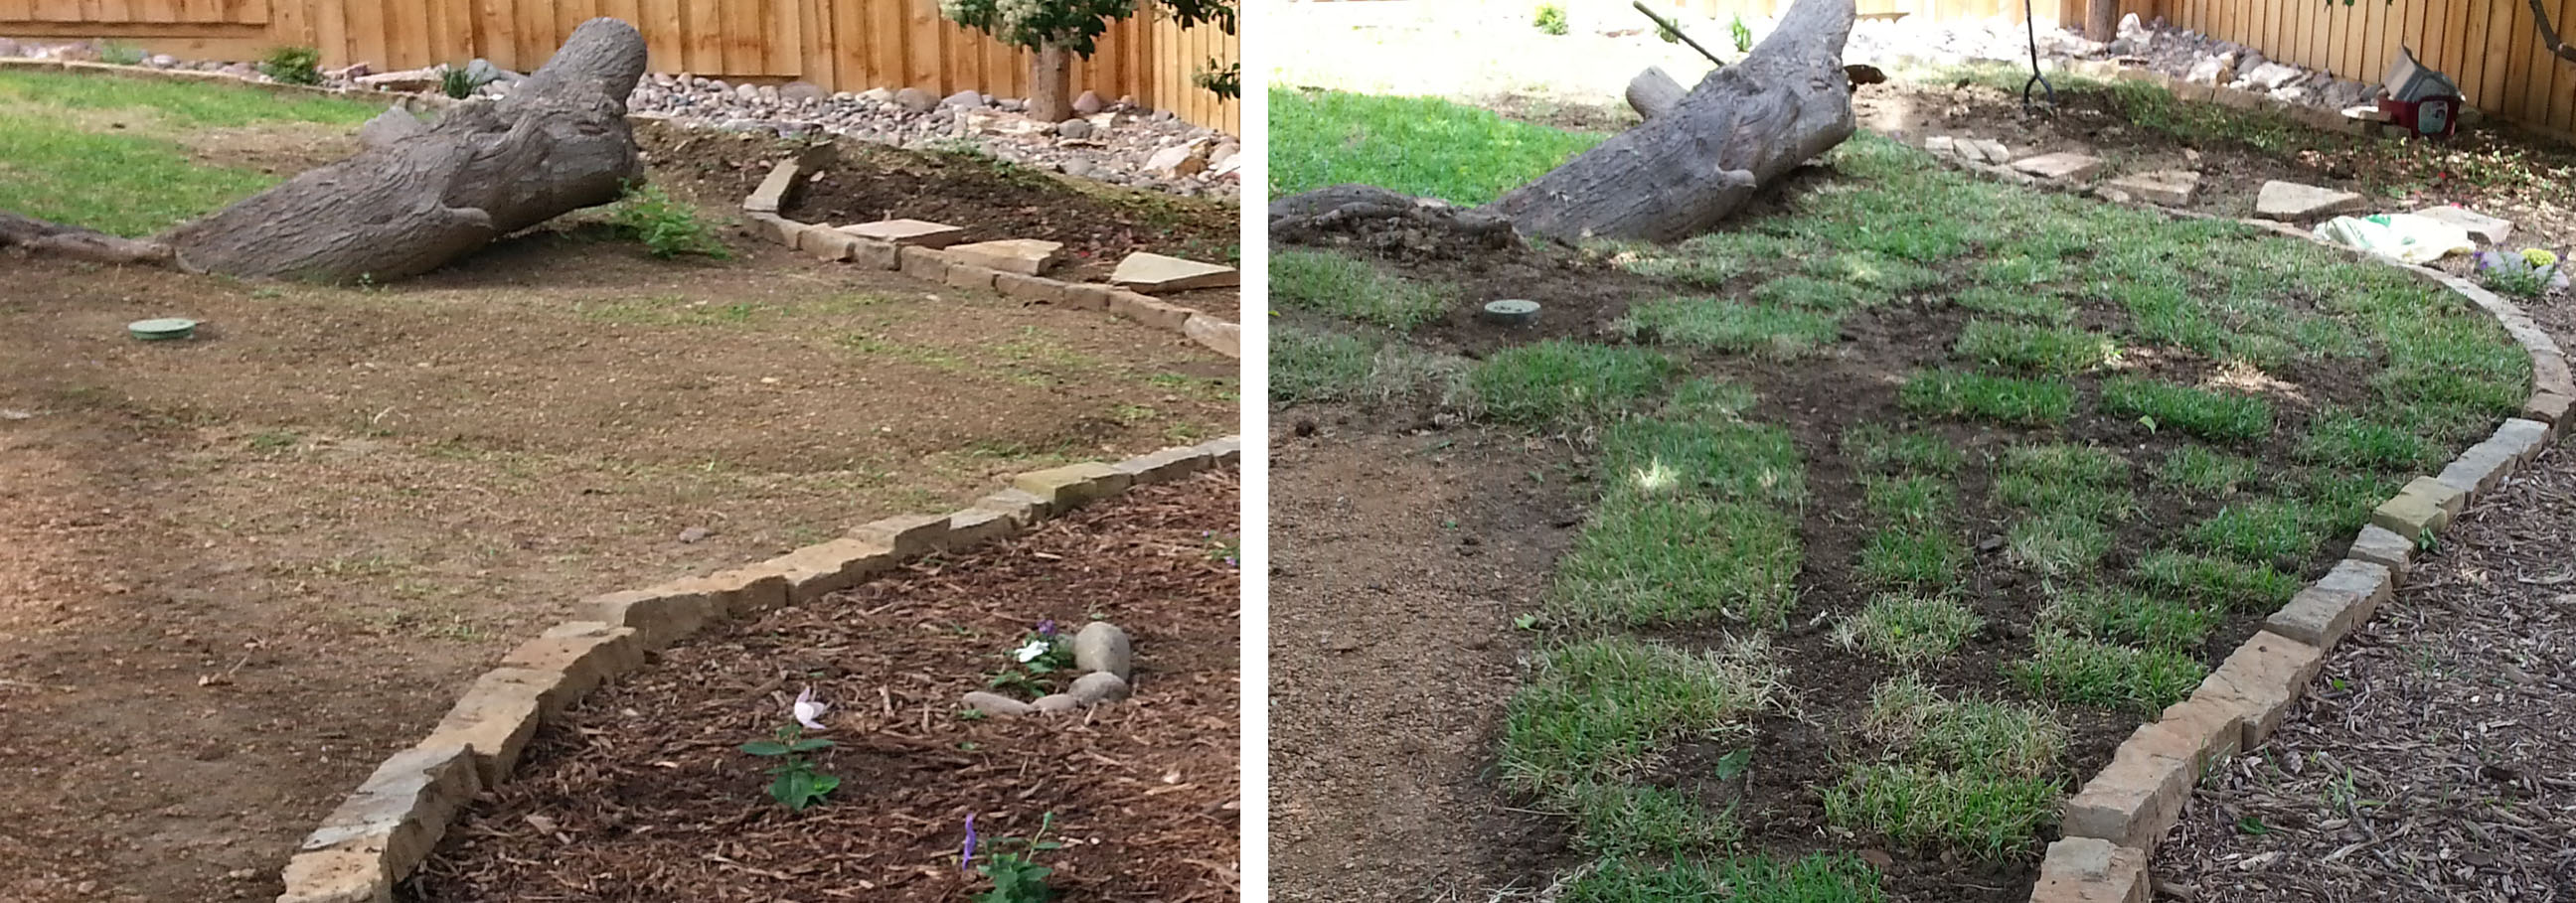
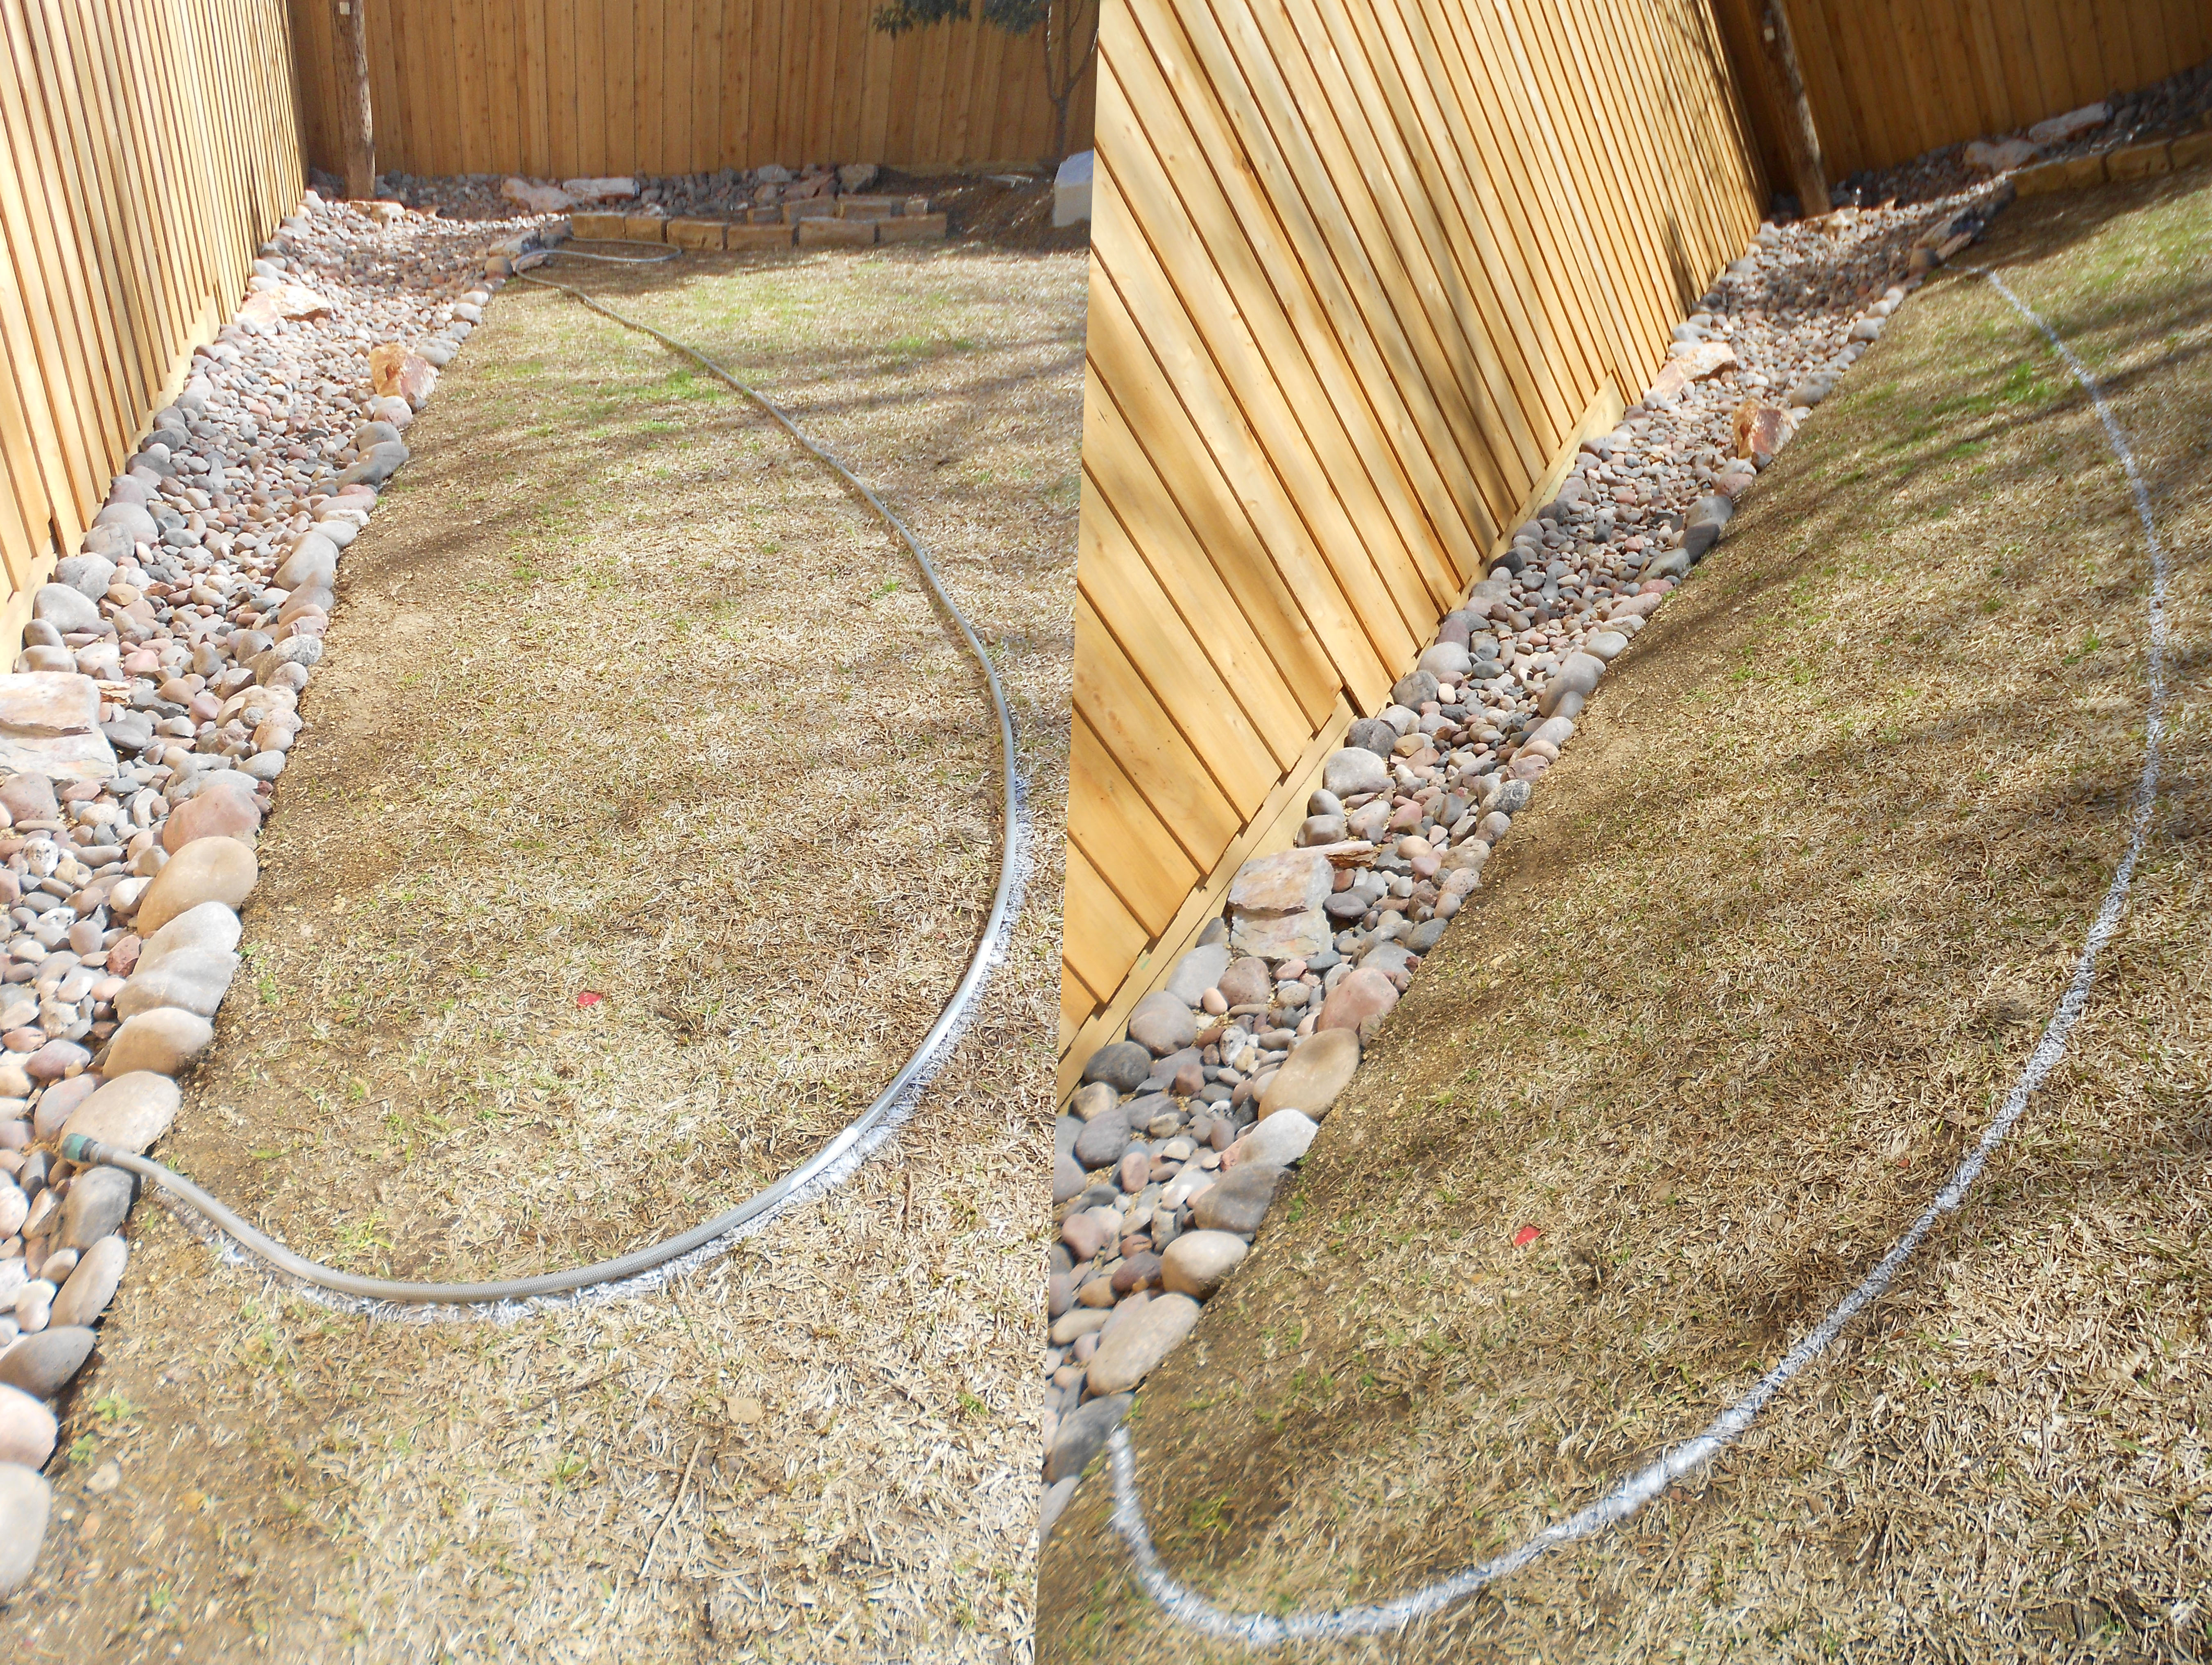
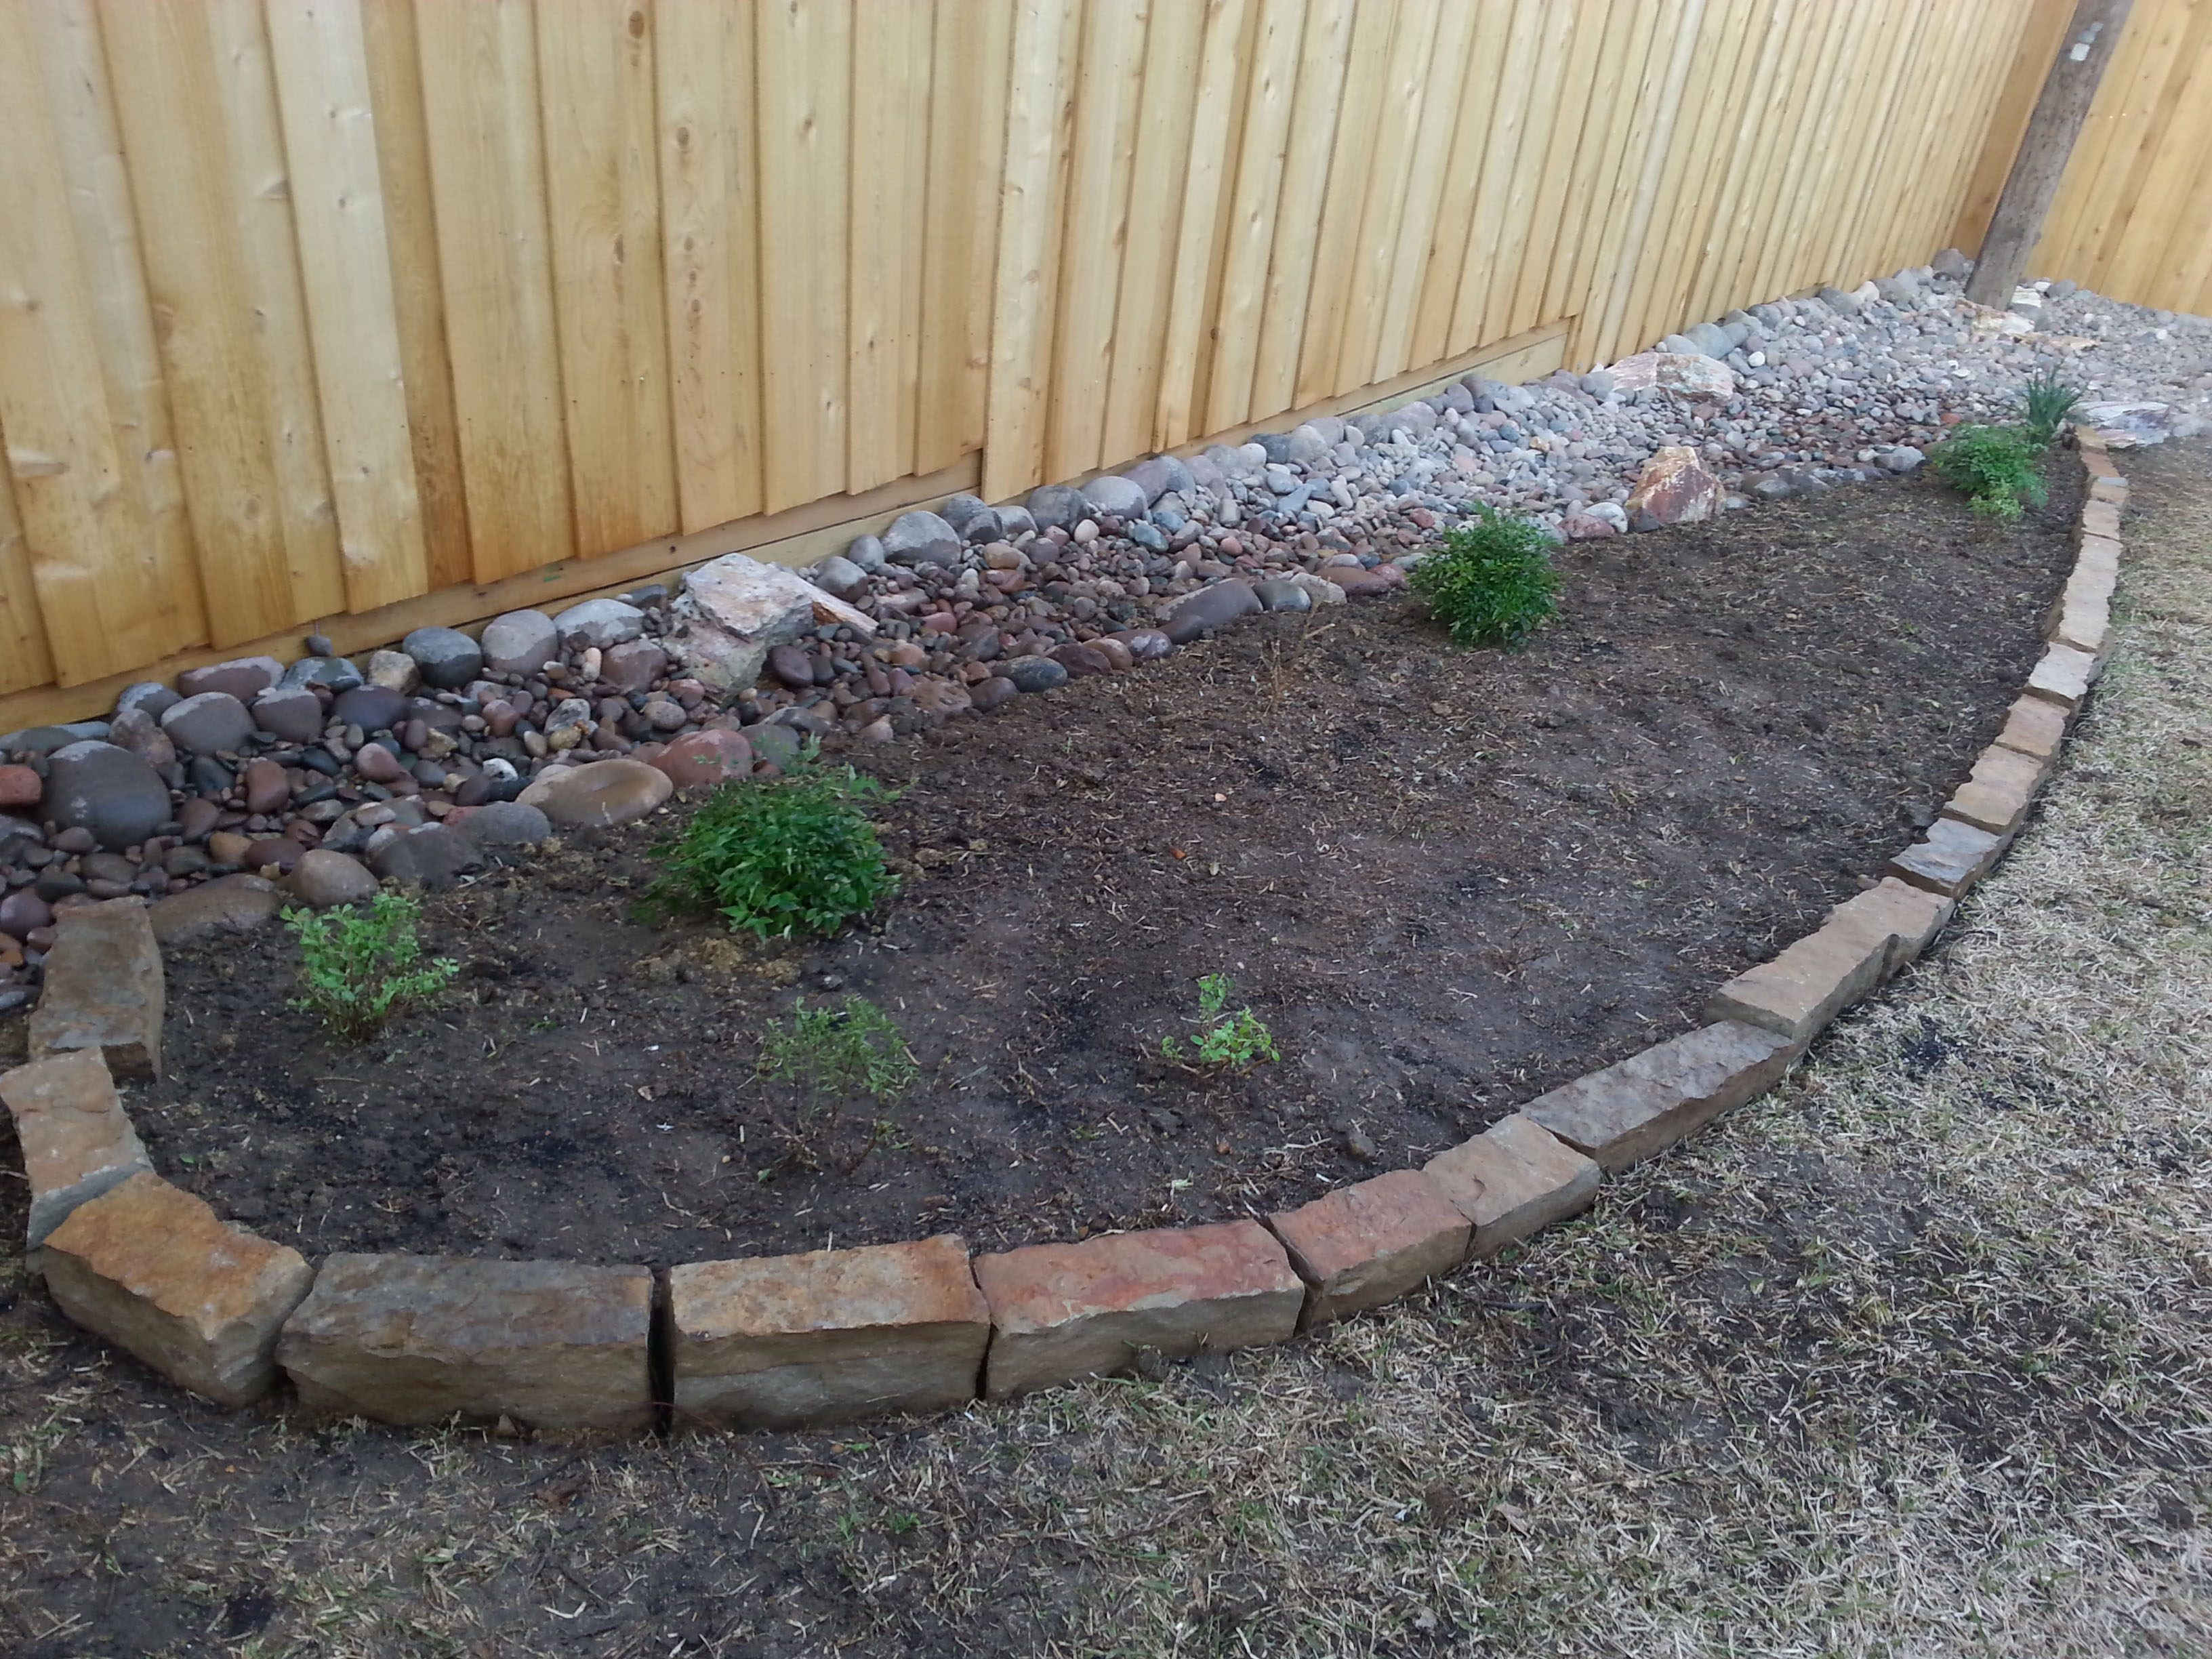
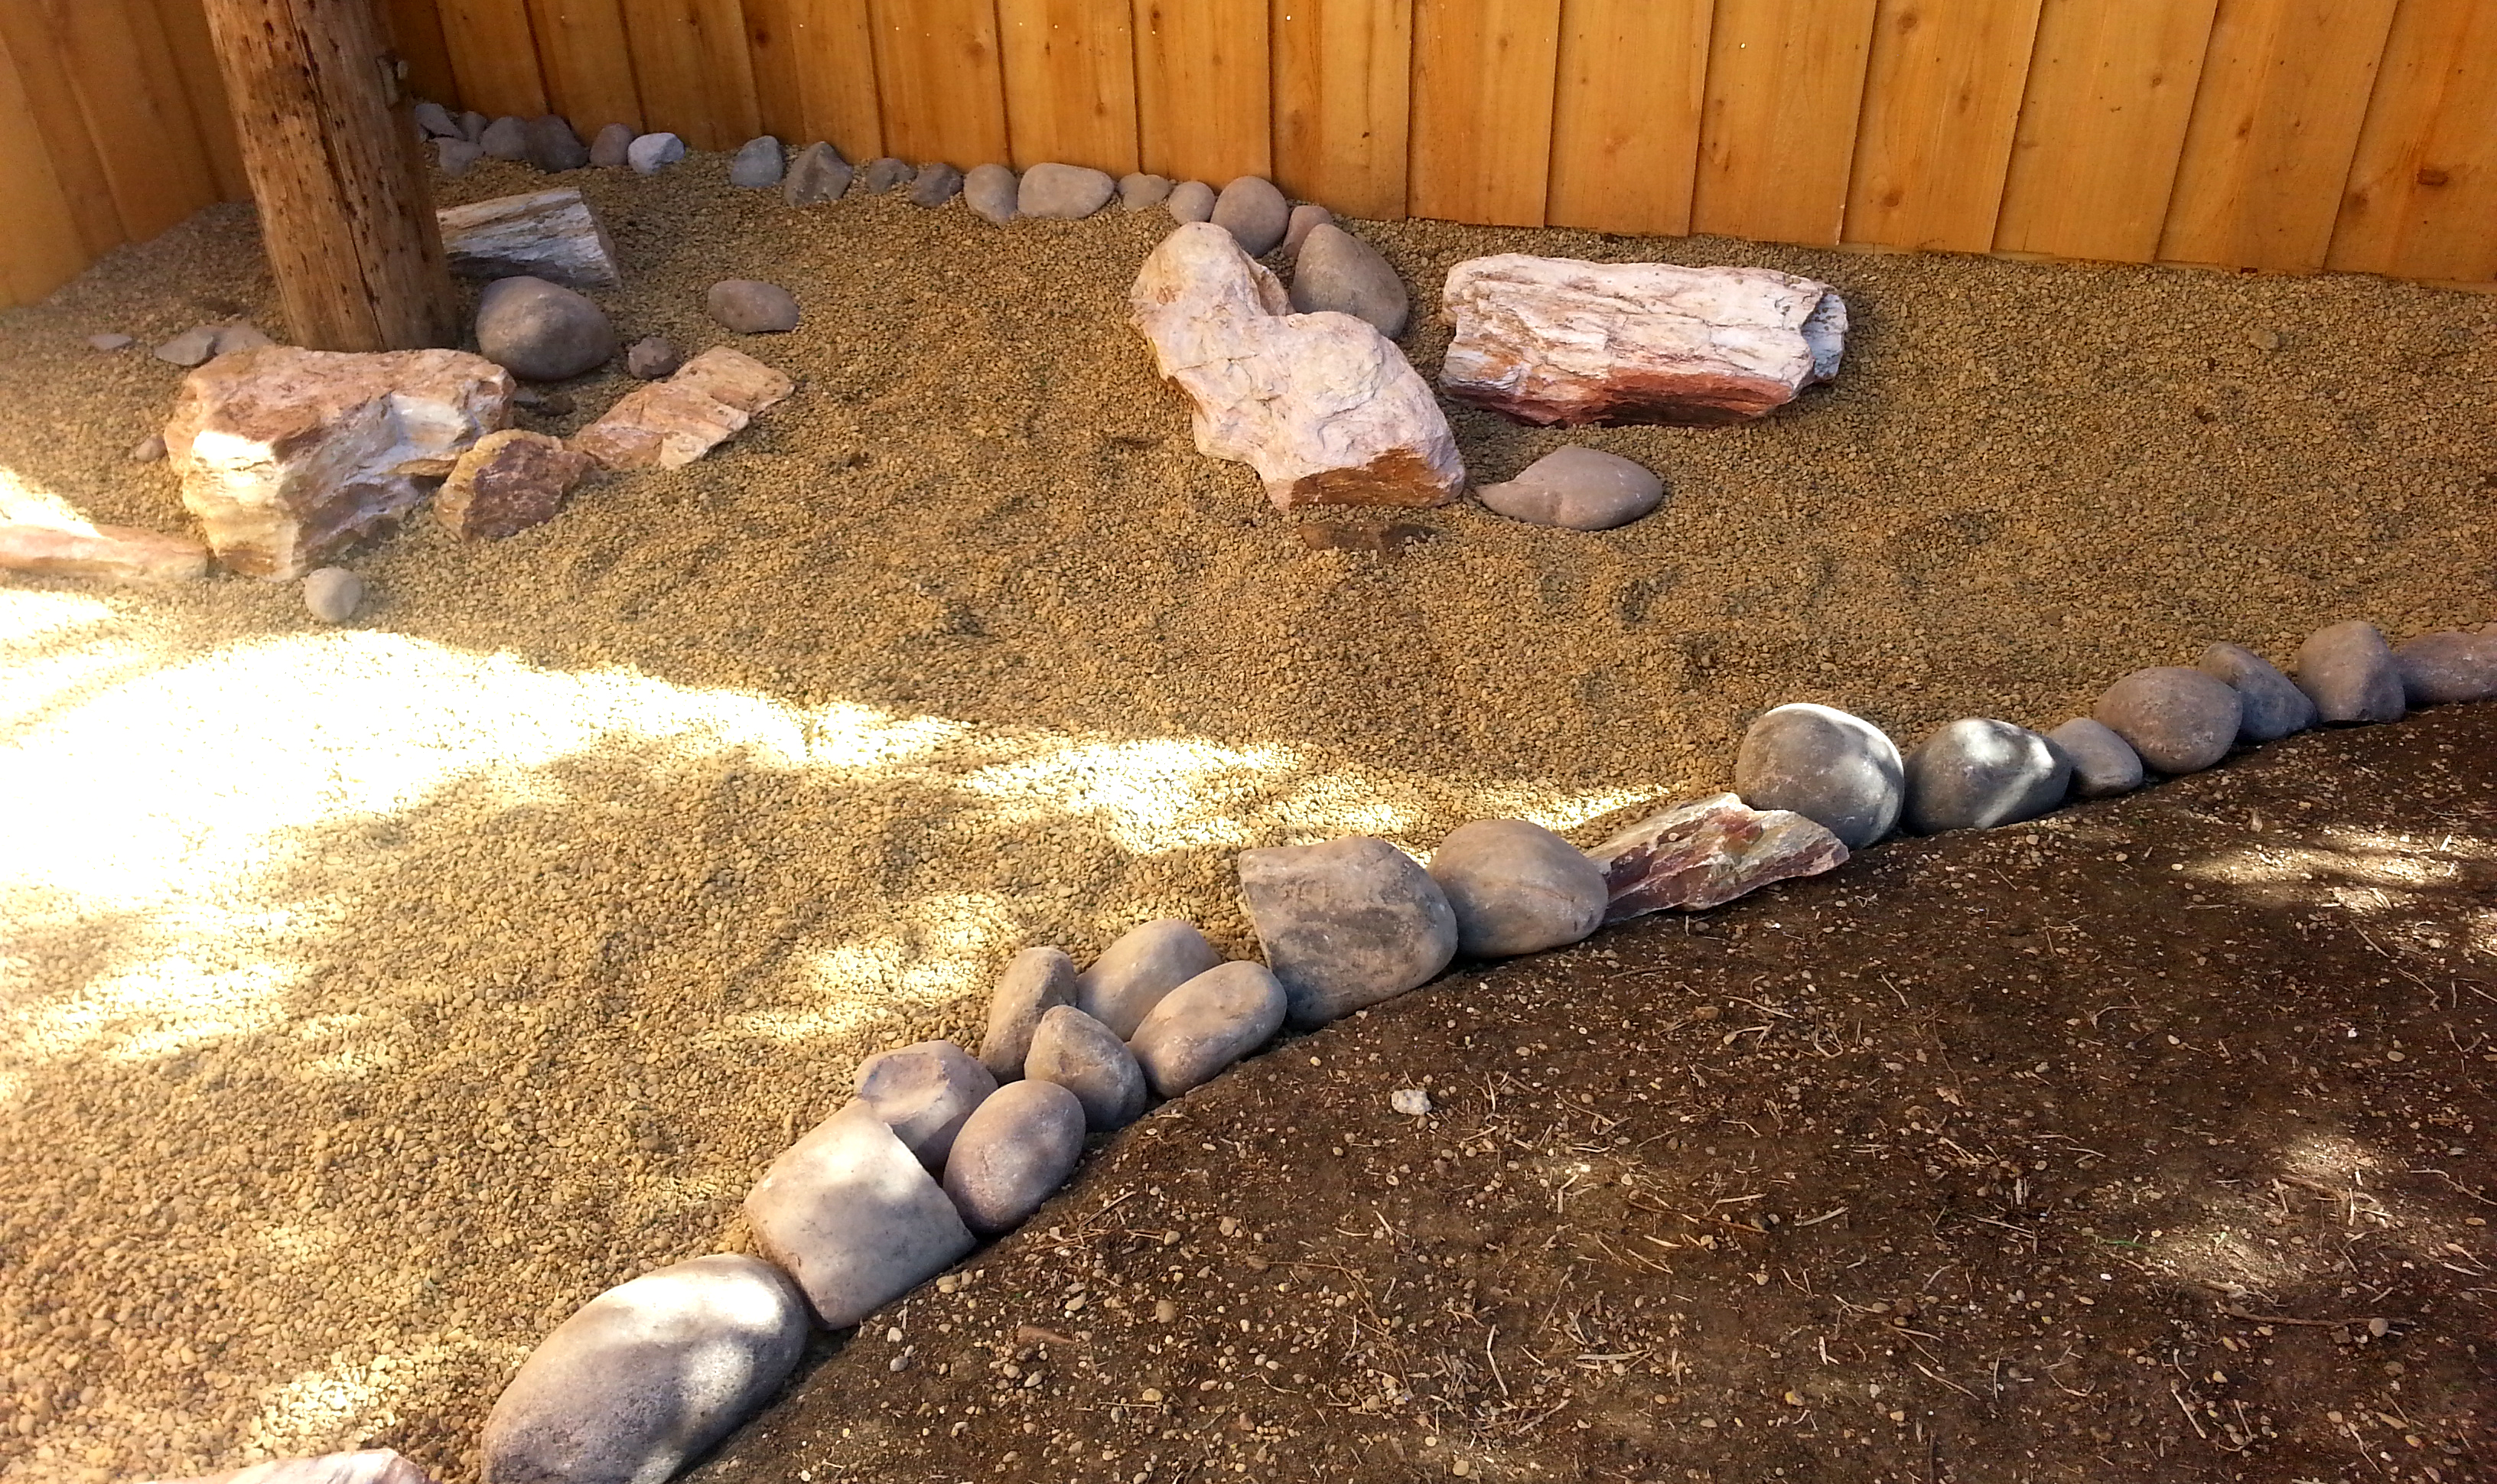
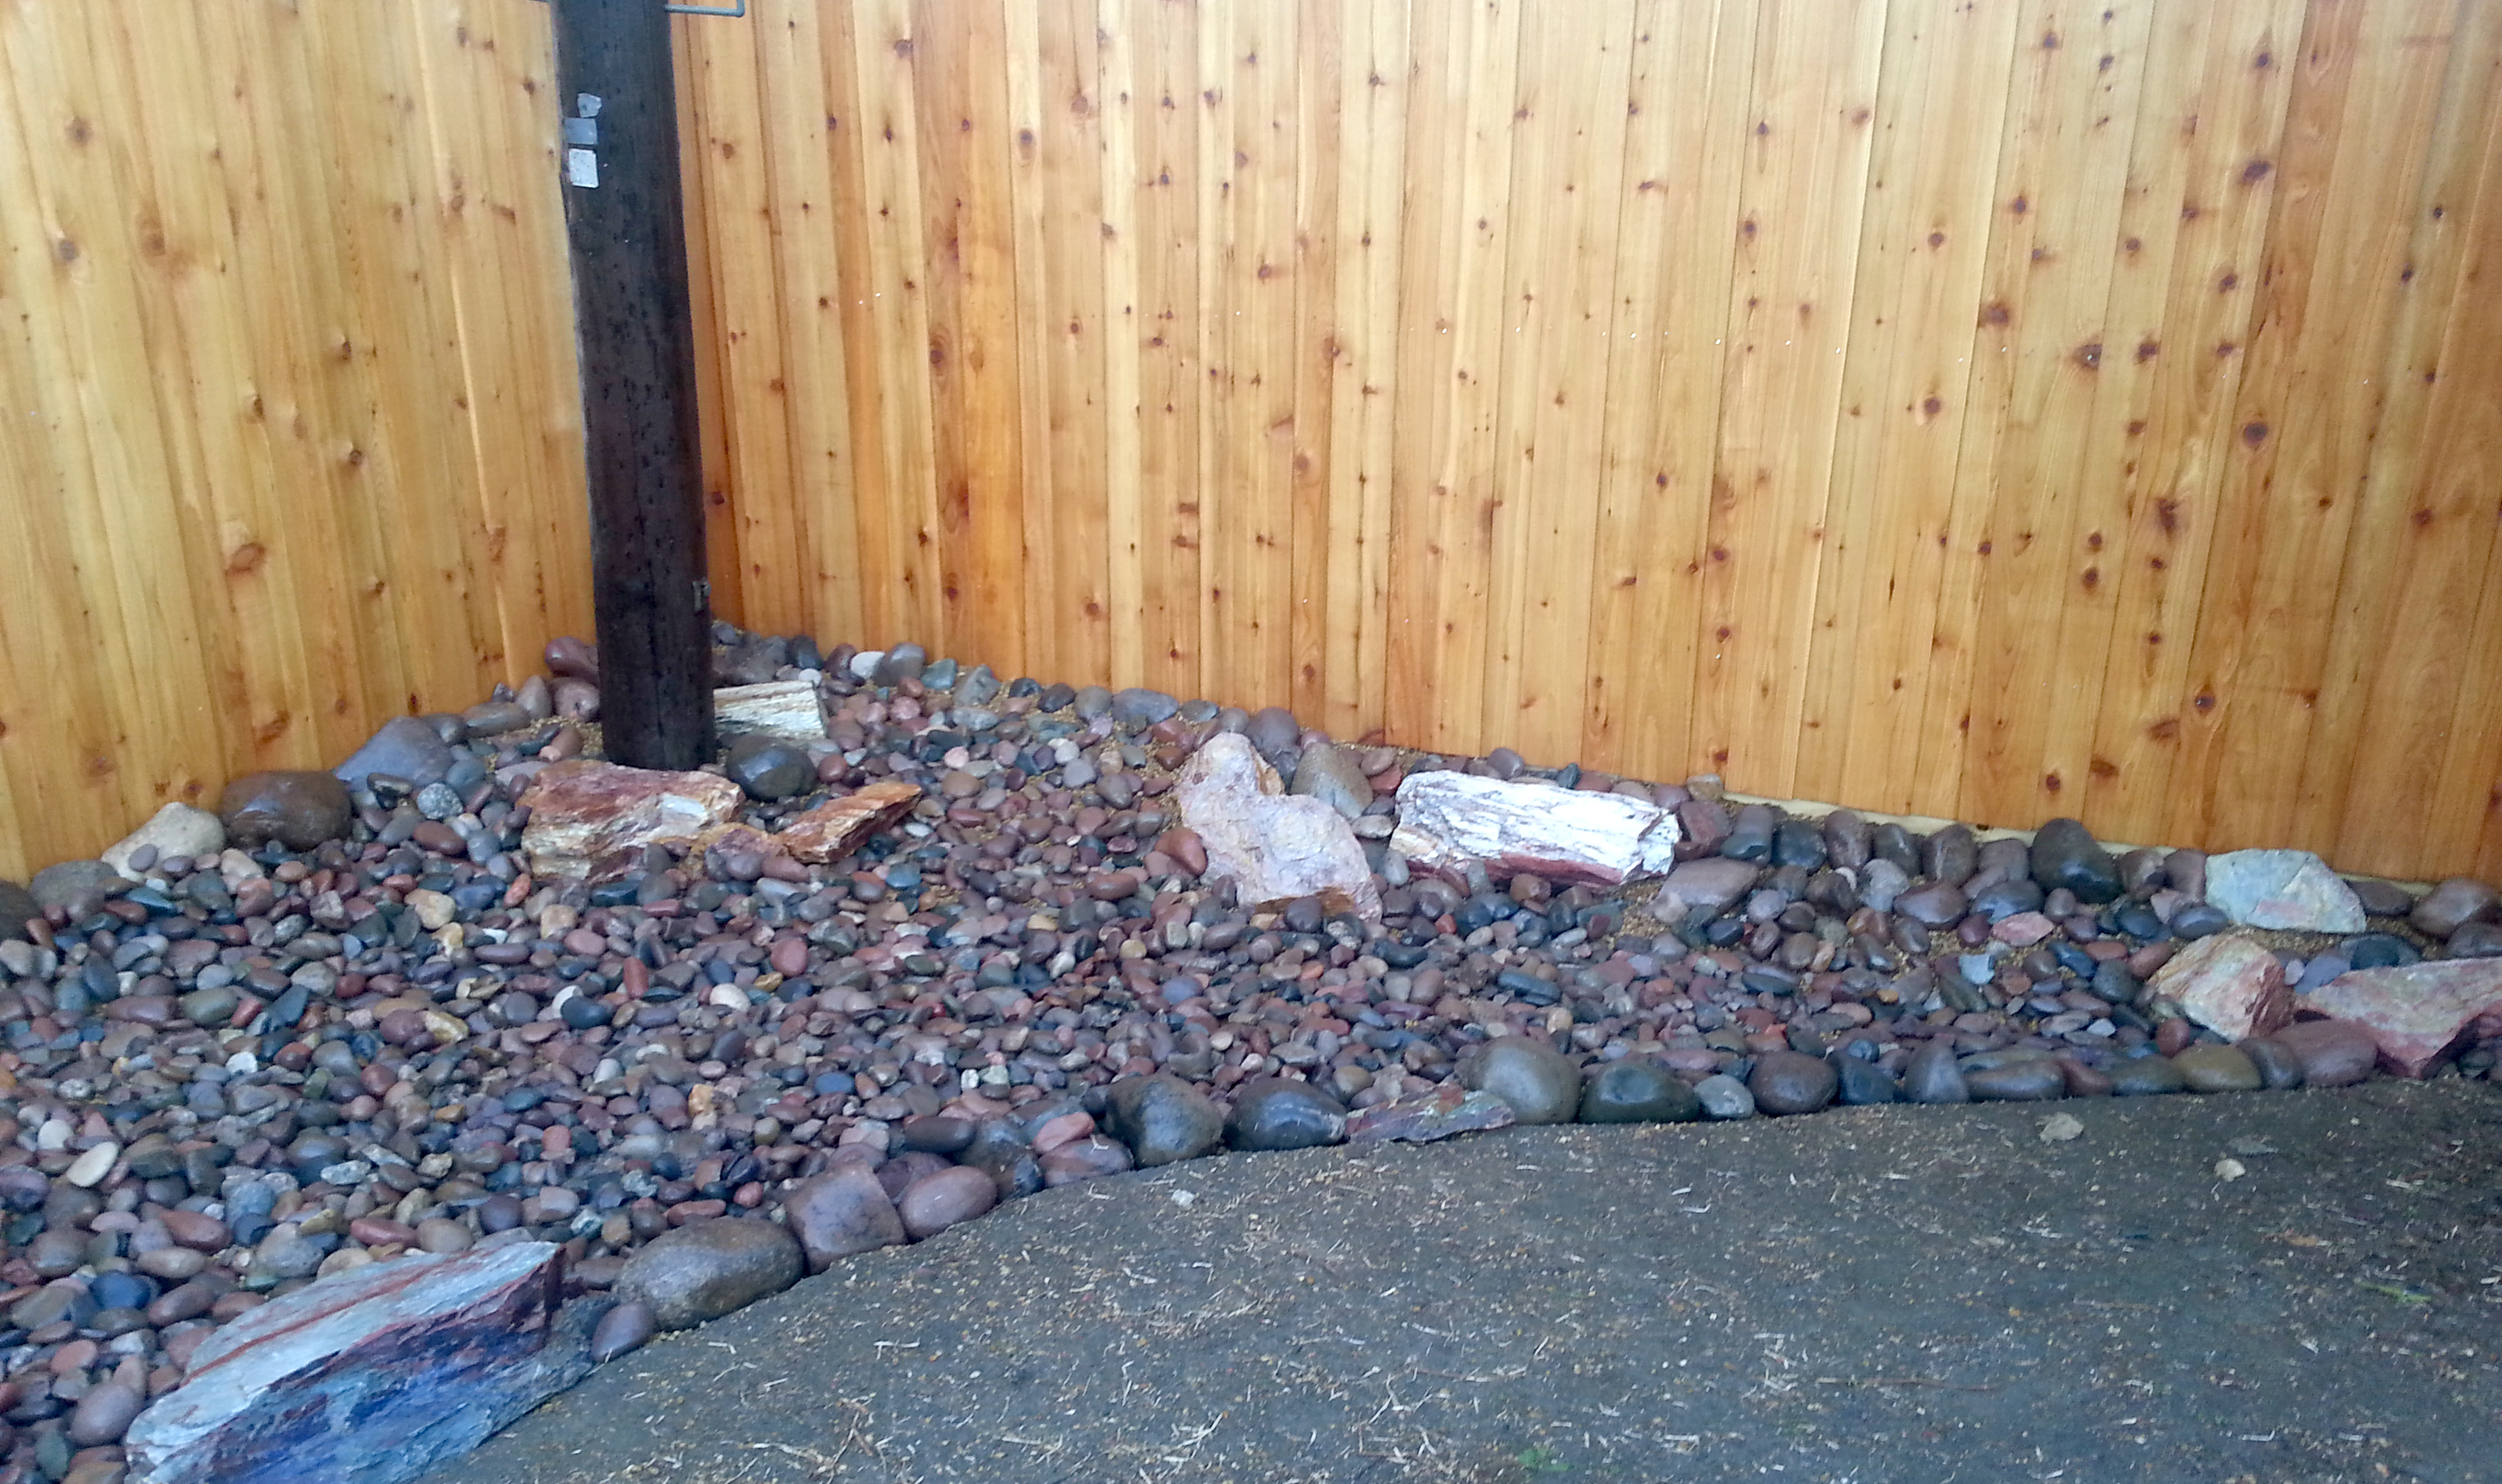
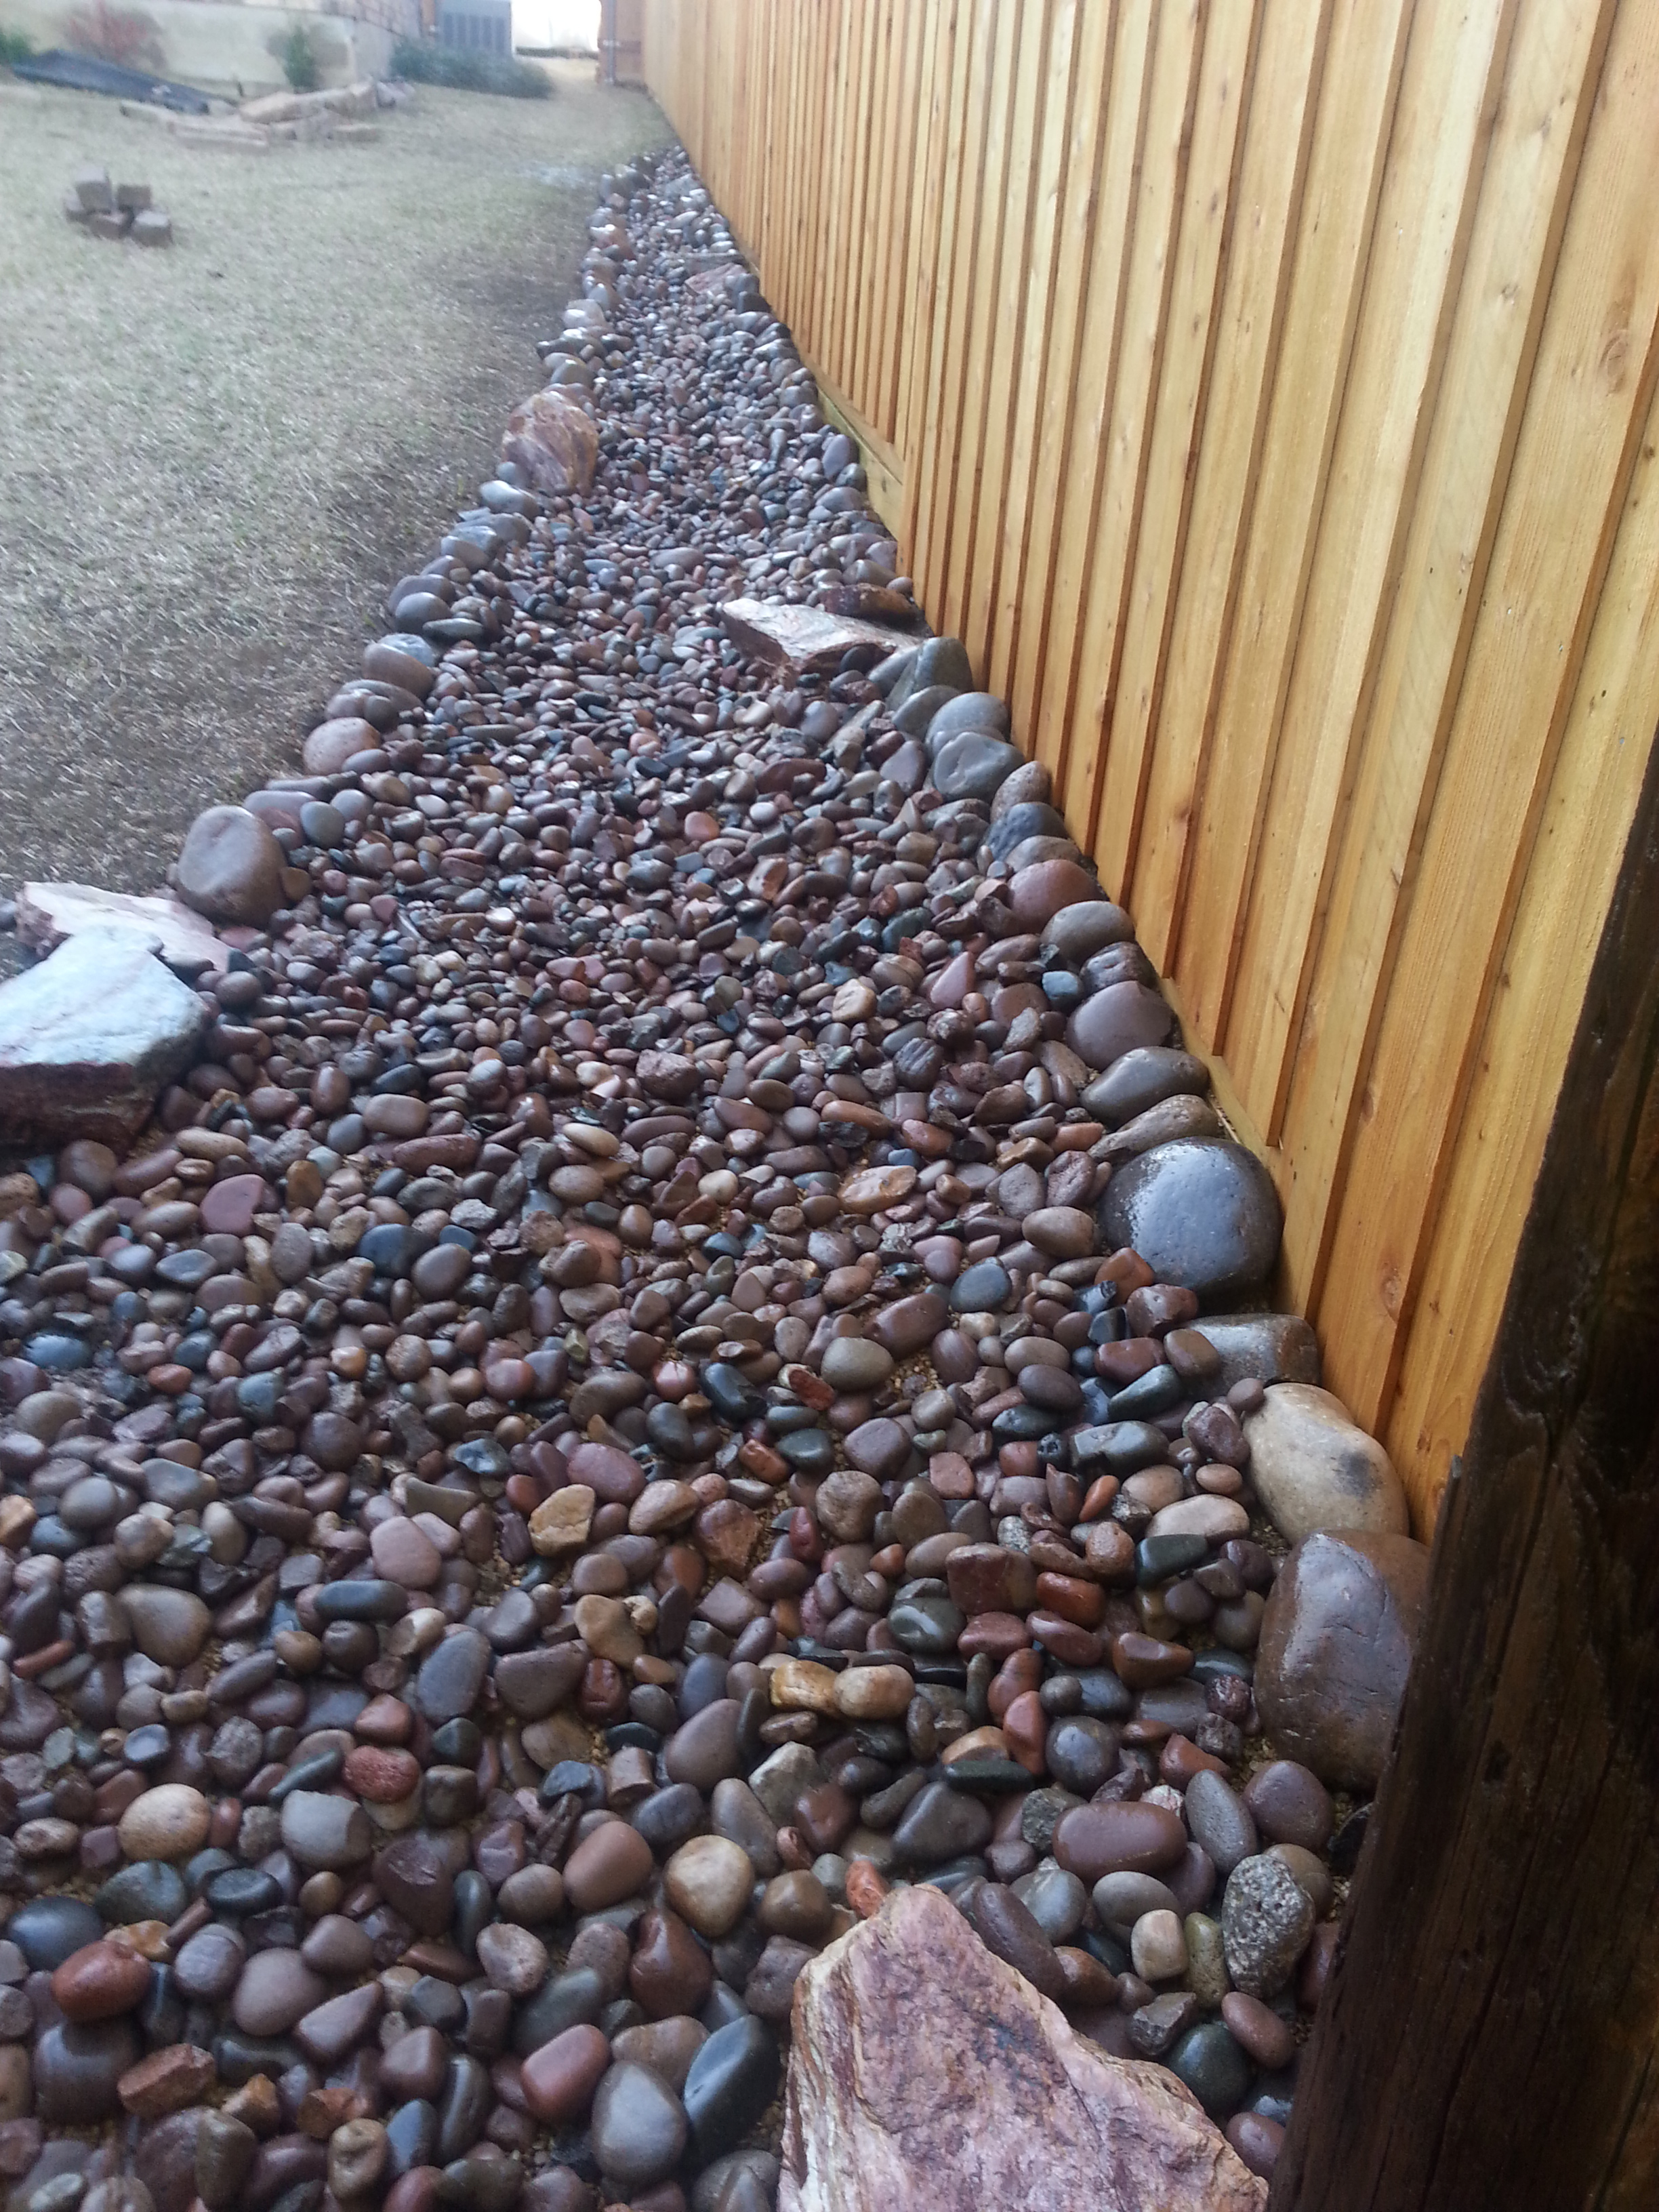
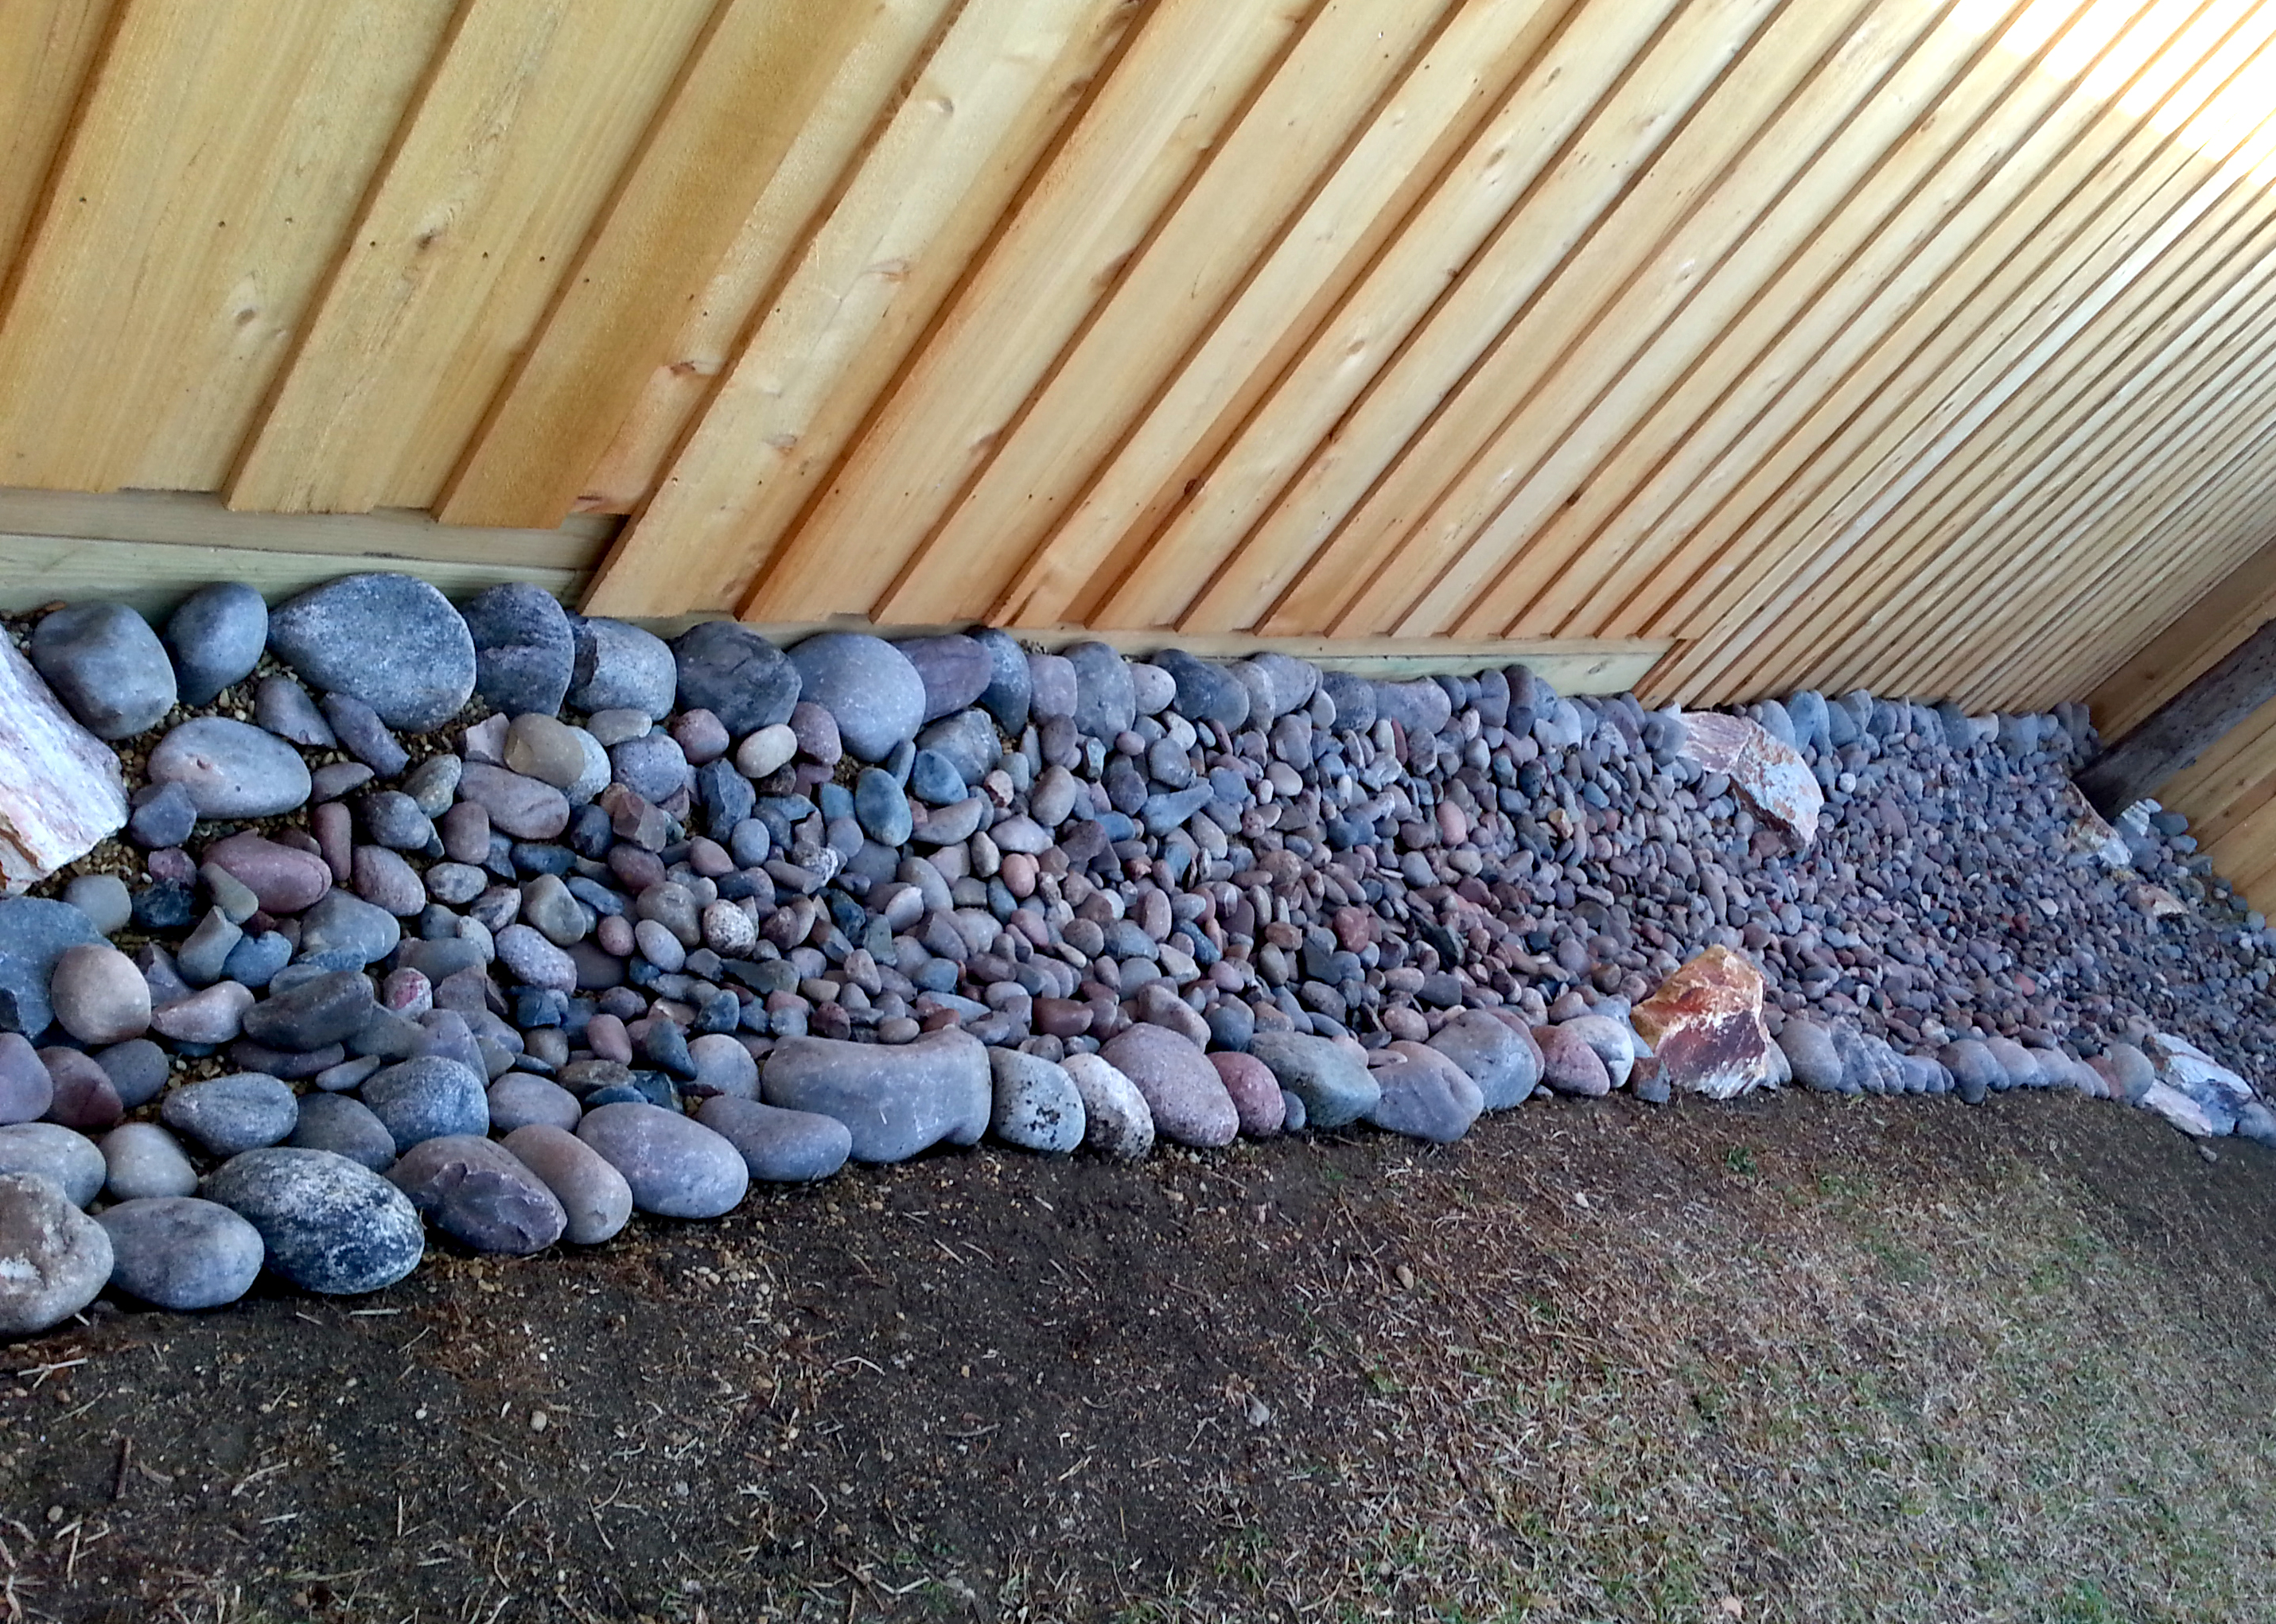
This project took a total of 6 days to complete. The first day I spent 4 hours on the pathway that leads from the front gate to the back and then the area along the bottom of the dry creek bed. Throughout the week, after work, I spent the last 2 hours of daylight sodding the center of the yard. Finally when Saturday rolled around I was able to finish the center and filled in random bald spots in the yard with the leftover scraps.

beforeafter2

Next comes the fun part, watering every day. The information I found online indicates you should water in the mornings, daily for 10 days. Followed by three times a week for several weeks then you should be able to begin a normal watering routine. My yard is so waterlogged, it’s a delicate balance. I water the top of the grass very lightly, so the surface is slightly damp. The yard stays wet from day-to-day, so a good soaking is not currently required. The grass is still green and I’m watching for dead spots. The Dallas area has seen it’s share of rain for the past couple of days and the forecast indicates continued rain for the next 7 days. This is a mixed blessing. The ground is too muddy for the grass to take root, but the rain has nutrients to help the growing process.  Only time will tell if my sod will take, grow, spread and flourish.

growbabygrow

Day 12: curves ahead

Now that the dry creek bed has been completed and the sewer line repaired, I was able to begin work on the multiple flowerbeds that will flank the yard.

To begin, I played around with an old garden hose. I tried different waves and curves, until I found a simple shape that worked perfectly for the space. The edge is curved so it will direct water into the creek. Once I landed on the final shape, I took white spray paint to mark along the hose to create a guide for digging.

flowerbed1

My yard is very eclectic, nothing is too structured or formal. The material I chose for creating all the flowerbeds was chop rock, a roughly cut stone brick, in colors that complement my house.

flowerbed2

I didn’t take a picture of the decomposed granite under each chop rock, but it’s there. I used the DG to level some areas of the rocks and it will help keep the chop rock from sinking into the yard. Yes, sand, is typically used instead of decomposed granite, but I had leftover DG from the patio redo. 🙂

Once the chop rock was installed, I tilled the bed and began planting the first of my drought tolerant plants.

flowerbed3

The majority of the plants will be perennials, which typically grow sloooow. Being the impatient gardener, I incorporated annuals to add color for the season. Of course as the perennials mature, I will plant less annuals to make sure the main stars of the bed have apple room to grow, spread and thrive.  Remember to mulch your beds. Mulch keeps the water from evaporating quickly in the hot Texas sun.

20150423_184314

As you can see, after two months, the plants are beginning to fill in.  I will take additional photos as the season progresses, so you can see how my plants fare.

In my first flowerbed, you will find:
3 Gulfstream Nandinas
1 Gold Star Esperanza
4 Salvia Greggii
3 Salvia May Night Mainacht
2 Trailing White Lantana
4 Angelona Serenita Purple
4 Verbena Homestead
10 White Vinca
2 Giant Liriope – which I will be moving to a new location, in the coming months.

One down. Three more flowerbeds to go!

Day 11: a stinky situation

I was raised to be optimistic, a glass half-full kinda gal. My plan was to have an awesome backyard by Spring 2015.  As they say . . . shit happens.

The backyard redo was put on hold so many times, I found it ALMOST amusing. You won’t find me complaining about the extremely, wet winter Dallas endured. We needed every drop. The water-logged ground slowed my progress by several months, but that didn’t sway me. I understand you can’t control the weather. You wait it out.

So believe me, when I say, the wet Dallas winter saved me from true heartache.

Unbeknownst to me, the main sewer line running through the backyard was about to fail in a big way. The line located 10-ft underground had broken in half. The only way to access the pipe was to use a backhoe. Needless to say, the repair destroyed a big portion of my yard.

backhoe2

sewer_10ft

Here’s my optimistic spin.
If the winter had been drier. I would have made more progress on the yard. If I had made more progress, all the work would have been destroyed.

So thankfully, it was a rainy Winter. I made little progress and lost little when they destroyed the yard in late January. Yes, there was damage, but it could have been MUCH worse. The major repair will be re-sodding. Not too bad considering.

I now have a shiny new sewer line to go with an updated backyard space that should be completed by mid Summer, hopefully.  🙂

guest bathroom 3: wallpaper woes

As luck would have it, the previous owners glued the wallpaper directly to the drywall. Not the best news. My choices were simple. Replace the drywall or paint over it.
I opted for the cheap choice, paint.

Before you even think about painting over wallpaper you must prep, prep and then prep again.
Below are the steps I followed before I painted my bathroom

Step One: Remove everything from the walls. Including: pictures, toilet paper holders, towel bars, mirrors, lights and any other fixtures to make painting a breeze.

Step Two: Remove any loose paper edges or tears. If removing loose wallpaper sections are damaging the drywall, apply wallpaper paste to the section and re-adhere to the wall. Allow sections to dry properly.

Step Three: Spackle and sandpaper. Just like you would prep a basic wall for paint you must prep your wallpaper wall. There are several options for spackling paste, I grew up using Patch-n-Paint but any brand will work for this step. Inspect the walls, fill every hole and indention you come across. Keep in mind, all the imperfections will become more obvious once you paint a flat color over the wallpaper.

Step Four: Hide the seams. This can be achieved using spackling paste. Just like you fill the holes left by nails, you can fill the seams where the two sections of wallpaper meet. This not only hides the seams when you paint but it also seals out any moisture than may come in contact with the paper.

Step Five: Add a thin line of clear caulk around the perimeter of the walls, at the joint seam where the paper meets the floor and ceiling. This will help seal the edges and keep the paper from peeling after you’ve painted. Make sure the caulk lays flat, smooth out with a wet finger as you go along.

Step Six: Primer. Paint your walls with an oil-based primer. The moisture in latex primers and paint may cause the wallpaper to bubble or peel. Once the first coat of primer has dried you might notice new imperfections. This is the perfect time to fix.  If needed, paint a second coat. Walls will typically need at least two coats of primer to hide the patterns completely.

Now you should be ready to paint your walls.

SAMSUNG

SAMSUNG

Check out these helpful links:
http://www.diynetwork.com/how-to/how-to-fix-common-wallpapering-problems/index.html#step1
http://www.benjaminmoore.com/en-us/for-your-home/painting-over-wallpaper

Day 10: when a trench becomes a dry creek bed

Creating my first ever dry creek bed has been a labor of love and a lesson in patience. Between rained-out weekends and pesky root systems I was able to slowly make progress.

Step One: The Trench
The main job was the trench. Digging along the fence line proved slow and back-breaking. Every few feet I fought with rock-hard top soil, pockets of clay and various roots. Once the trench was dug several waves of rainy days hit the Dallas area. The rain was a blessing. The downpour highlighted areas that needed modifications.

Step Two: Landscaping Fabric – not this time
For some, the second step, would be to place landscaping fabric to help control weeds. I opted to pass on this step, just means I will be pulling weeds, which is fine.

Step Three: Layering The Rocks
First, was boulder placement. I picked random areas along the trench to place the boulders. The boulders add visual interest. Second layer, pea gravel. It’s a cheap base filler. Third layer, large river rock. I used the larger river rock to edge the trench. Layer four, medium river rock to fill the balance of the trench. The final layer, small river rock randomly thrown over the medium river rock to add texture.  All in all, I shoveled, lifted and placed 3.5 tons worth of rocks.

trenchpea_gravel_layer

boulders2

large riverrock

creek bed

dry creek bed

bed

Day 9: in the trenches

On a half-decent day, I began working on one of the trenches that will flank the side of my yard. The plan is to create a dry river rock bed which should allow the water to flow naturally. This is an easy form of erosion control. I’m not changing the direction of the flow, just adding rocks underneath so precious soil will not be lost. I’m working with nature not against it.

Before I began to dig the trench, I used my trusty garden hose to map out the natural erosion line. I marked the edge of the hose with spray paint so I could easily create a natural, smooth edge as I go.

The digging of the trench is slow and I’m running into a lot of small roots. This is going to take longer than I had hoped. 🙂   I’ll keep you posted on the progress.

trench_linex

trench_line3

trench_line4

Day 8: parting of the patio

This was my final backyard project requiring a crew of strong, experienced men wielding jackhammers. The ask was simple. Remove existing concrete and replace with extra-thick slabs of flagstone.

The patio facelift turned out to be anything but easy. The homeowner before me covered the original 1964 patio with another layer of concrete. The removal was slow and extremely difficult. This “simple” project took 8 men, working in shifts for a total of six hours. When the project was completed, I was advised by Randy, he would have never bid so low, If he had known about the older concrete hidden underneath.

Randy honored his original bid. (thank you Randy)
I now have a wonderful space to work with.

Many thanks to Randy Johnson and his team.
Johnson’s Landscaping Services

Before photos:

before1

before3

before2

During photos:

during1during2

_

After Photos:

after2after3

_

after4

guest bathroom 2: let’s get started

In 2012, linoleum peeling up from around the tub was just the motivation needed to start a “small” bathroom refresh. I was foolishly under the impression that removing the floor would be quick and painless. Not true. Not even close. The previous home owners had apparently glued linoleum directly on top of another deteriorating floor. Removing both layers proved to be slow and tedious. First, I removed the edging, it was tricky and I left the wall above with minor dings and holes which I patched. Pulling up the floor required, a mallet, a hammer, a small pry bar, a chisel and a lot of arm strength for ripping up the larger sections.

Please note: When working with unknown materials and substances use caution. During the removal of the floor I wore long sleeves, gloves, goggles and a particle mask.

The actual floor was installed by a professional flooring company. My house is pier and beam and I wanted something that could move with the normal shifts. I opted for Luxury Vinyl Country Naturals Handscraped Wood by Burke in Light Oak. Two years later, I’m still extremely happy with the choice.

http://www.burkeflooring.com/products-flooring-luxury-vinyl-20-mil.php

SAMSUNG

Day 7: The Fence

Three days, one broken auger, an irritated neighbor and a whole lot of cash later; my gorgeous new fence is complete. I’ve decided not to bore you with the blow by blow, since I can’t categorize this as a personal DIY project. I will however, share before and after photos.

rustedshed_gone

_

before_after_

newfence