where did 2018 go?

When I was little, I couldn’t wait to be an adult, it seemed like turning 21 would take forever. Today, the years disappear with a blink. Every day has become more precious.

2018 was filled with happiness, sorrow, love and heartbreak. I was also blessed with a once in a lifetime trip to Belize and a fun-filled girls trip to Napa. All the while my blog gathered dust.

In 2019, I plan to write at least one DIY blog, per month. The blogs will feature projects around my house or tasty, somewhat-healthy recipes.

Originally, the DIY blog was created to keep my family up-to-date with my various projects. Through the years I have gained additional followers, which I’m grateful.

As 2018 becomes a memory, take a moment to appreciate all the good. Be inspired to do something outside of your comfort zone. I know I will.

leaf me alone

Dealing with a shoulder impingement issue, has really cramped my style. I’ve been unable to work in the yard for the past several months – and it is KILLING me. Every time I walk outside I see a project that needs to be tackled. Yes, I could pay someone to come out an do the work, but I truly love getting my hands dirty. I’m going to be as patient as someone like me, can be.

The Mullberry tree has decided to start dropping leaves, a little earlier than normal. I think the very wet Spring followed by our hot Summer stressed it out a little. Normally I would whip out the broom to clear the leaves off my deck, but unfortunately even that has become painful, so……. I treated myself to a battery-powered blower. This model isn’t for tackling serious mounds of leaves (unless you’ve got several backup batteries) but for the deck, sidewalk and driveway, this little baby hasn’t disappointed and not having to deal with a cord is a bonus.

I was able to clear the deck in less than one minute, plus the battery swaps out with my edger and reciporating saw, so I’ve got backup batteries, if I wanted to tackle the full yard (after my shoulder has healed, of course)

blower_before-and-after

http://www.ryobitools.com/outdoor/products/details/18v-one-plus-lithium-plus-jet-fan-blower


happiness is cauliflower soup with smoked gouda


Roasted cauliflower for dinner wasn’t exactly an exciting proposition. So I decided to flip through the pages of the latest issue of EatingWell magazine for inspiration. As luck would have it, the perfect recipe was staring back at me.  🙂

EatingWell
Jan-Feb 2016 issue, page 85

http://www.eatingwell.com/recipes/cauliflower_soup_smoked_gouda.html

As I glanced over the list of ingredients, I noticed only two ingredients I didn’t have on hand. First, whole-wheat bread for the croutons. I had leftover sourdough  – good enough. The second ingredient was dry white wine. Again, no worries, I used white wine vinegar instead.

Can’t remember the last time I came across a recipe and actually had all enough ingredients to complete the meal. This soup was my dinner destiny.

soup_prepA super easy recipe with just a few main ingredients. The majority of items on the list can readily be found in most kitchens.

The ingredient list below was pulled from EatingWell’s website.
The changes I made to the recipe are noted in blue.

  • 3 cups cubed whole-wheat bread   sliced sourdough bread
  • 2 tablespoons extra-virgin olive oil  grapeseed oil
  • 1/2 teaspoon ground white pepper
  • 1 tablespoon chopped fresh thyme   used dried 
  • 1/4 teaspoon garlic powder   didn’t make the croutons
  • 1 large sweet onion, chopped
  • 1/4 teaspoon salt
  • 2 tsp smoked paprika  1-1/2 tsp smoked sweet paprika, 1/2 tsp smoked hot paprika
  • 1/4 cup dry white wine   white wine vinegar
  • 1 head cauliflower (about 2 pounds), cored and chopped
  • 4 cups low-sodium chicken broth or no-chicken broth, divided
  • 2 teaspoons cornstarch
  • 3/4 cup shredded smoked Gouda
  • 1/4 cup heavy cream

This delightful soup was served with a slice of sourdough bread, for dipping. Because of several substitutions, I will not even venture to guess the final calorie count. This soup is high in Vitamin C and contains a good dose of Folate and Calcium.

Wonderfully creamy, flavorful and filling, this soup will be added to the rotation. Thank you, EatingWell magazine, for this sublime recipe.

To find out how to make your very own savory batch of Cauliflower Soup with Smoked Gouda, please use the link at top.

tasty_soup2

a nourishing thought

For 2016, I’ve decided to expand my recipe repertoire.

Under no circumstance would I ever refer to myself as a foodie or a gourmet. The mere thought of such a label makes me laugh.

With easy access to recipes in magazines, Pinterest and a zillion other sites, I should be able to locate a few keepers.

This endeavor is strictly a selfish experiment. A reason to try new dishes and splurge on random must-have kitchen gadgets.

I’m looking for simple, somewhat healthy and flavorful recipes. As most Americans, I need to boost my vegetable consumption and up the healthy fiber.  I want to limit sugar, unhealthy carbs, red meat and diary.

Sugar is my friend.  Sugar is my foe. Sugar is my foe. Sugar is my foe. Sugar is my foe. Sugar is my foe.  Maybe I’ll even lose my sweet tooth along the way. . . . probably not, but here’s to hoping.


A year ago…..

A year ago, I decided to revitalize my boring backyard. Today, I can happily say, I’ve made decent progress, even with major setbacks along the way.

This coming year I will continue working on the erosion issues that seem to plague half of my yard. With a little extra love and continued tilling I hope the flower beds will be a little more hospitable this Spring.  I might even plant a tree or two.

In the meantime, I thought it might be fun to share a couple of before and after pics from this year.

before_after4

before_after2

before_after8

before_after6b

before_after3

before_after5

before_after7b

before_after1

20151002_180653

Day 18: a very sod story

You may remember I had to repair my yard after a sewer line repair. Part of the repair included re-sodding large sections of the yard with St. Augustine in early May 2015.  After the initial installation Dallas endured one of the wettest Springs in recent history. The rain was a mixed blessing. The rain replenished parched earth and filled area lakes. The rain also eroded areas of my sloped yard which I’m stilling trying to resolve.

A slow, soggy start followed by a hot, dry summer, I’m thrilled to announce the grass has finally begun to flourish. A very happy ending to a sod story. 🙂

Sod_after_1

sod_after_2

sod_after 2

20150925_181935

Day 17: getting it right

rockgarden

I must admit with complete humility, my success rate with flowers has been less than 60% this season.

When I started in November my soil was typical for the Dallas area. A mix of sand, heavy clay and everything in between. Not ideal, but very workable.

Then it happened, BAM! A major sewer line break running through the center of my yard. After the repair was completed, the plumping company took the gloppy sewage mess and mixed it into the clay.  This created large areas of concrete-like patches of earth throughout the yard. I was extremely frustrated.

Next came the rain. To say it rained a lot is an understatement. The record rainfall helped compact the clay soil even further.

Flowers planted near the sewer repair typically died over time. At first I chalked it up to the wet ground, but that was just a symptom of a bigger issue.

When I dug holes for my flowers I noticed the soil was thick with clay. The clay content might have been as high as 95%. This is where I messed up. I amended only the soil in the newly dug holes. Unfortunately I didn’t think long term. Most roots can’t break through heavy clay. So you’re stuck with flowers that remain small, weak and unable to thrive. It was an expensive lesson. Soil quality matters – A LOT, and that includes the entire flower bed, not just where you dig.

Now, I’m digging with a purpose. First up, the flower bed against the deck. It’s in bad shape.  I started to notice the bed didn’t dry out like other areas of my yard. The clay was creating a barrier between the surface soil and the ground below. Basically I’m dealing with a layer referred to as “hardpan”.  Joy.

To start, I’ve removed all the existing flowers. I’m currently working to break up the clay and amend the entire flowerbed with peat, humus, composite and other various organic material. Improving the bed will be a slow process and I figure I won’t plant anything new until next Spring. The plan for the balance of this year is to till, amend and let the materials settle. Repeating the process every few months. Hopefully this will give me a jump-start for next Spring.

soil prep2

Day 16: flower bed follow-up

I started adding plants to my first flower bed beginning in February 2015. I began with drought tolerant perennials that would be the main feature; Salvia Greggii, Nandina, Texas Sage and Giant Liriope.

In late April I added annuals; Gold Star Esperanza, May Night Salvia, Trailing Lantana, Angelona, Verbena,  Vinca and another Texas Sage. I wanted to use annuals to fill the bare spots until the perennials filled in.

Out of the perennials planted, only the Liriope flourished. The Salvia and Nandina are still struggling and the first Texas Sage died. I truly believe it’s the soil. I plan to amend the soil in the late fall once all the annuals die off. My yard is made of heavy clay and unfortunately it takes multiple seasons to improve the soil composition. I must be patient.

Overall I’m really enjoying my first flower bed. The perennials aren’t as peppy as I would like. My second Texas Sage is finally starting to take hold. The Esperanza shot straight up overnight and the annuals are as happy as can be in the Texas heat.

flowerbed_dc the beginning

flowerbed_dc3-today

flowerbed_dc3-today2 copy

Burlap Banner

Apparently burlap banners have become a trendy must-have for various celebrations, including baby showers. Unfortunately I was unaware of top banner trends, so I turned to Pinterest for inspiration.

With easy instructions found on Pinterest and a list of supplies, I was off to my local Michael’s, a Dallas area craft store.

Materials Needed:
B&W Printer & Paper – to print off the Letters for the banner
Fabric Paint – I selected Navy for this project
Scissors
X-acto Knife
Stencil brush
Blue Painter’s tape
Twine
Burlap fabric
Clear Nail polish

First up, figure out how large each burlap piece should be.
When considering the size, you must take into account how many letters are needed and the size of the wall the banner will hang.  If the letters are too big the banner will look horsey. Too small and it will get lost on the wall. After testing out a couple of sizes, I landed on 6″ w x 8″ h rectangles.

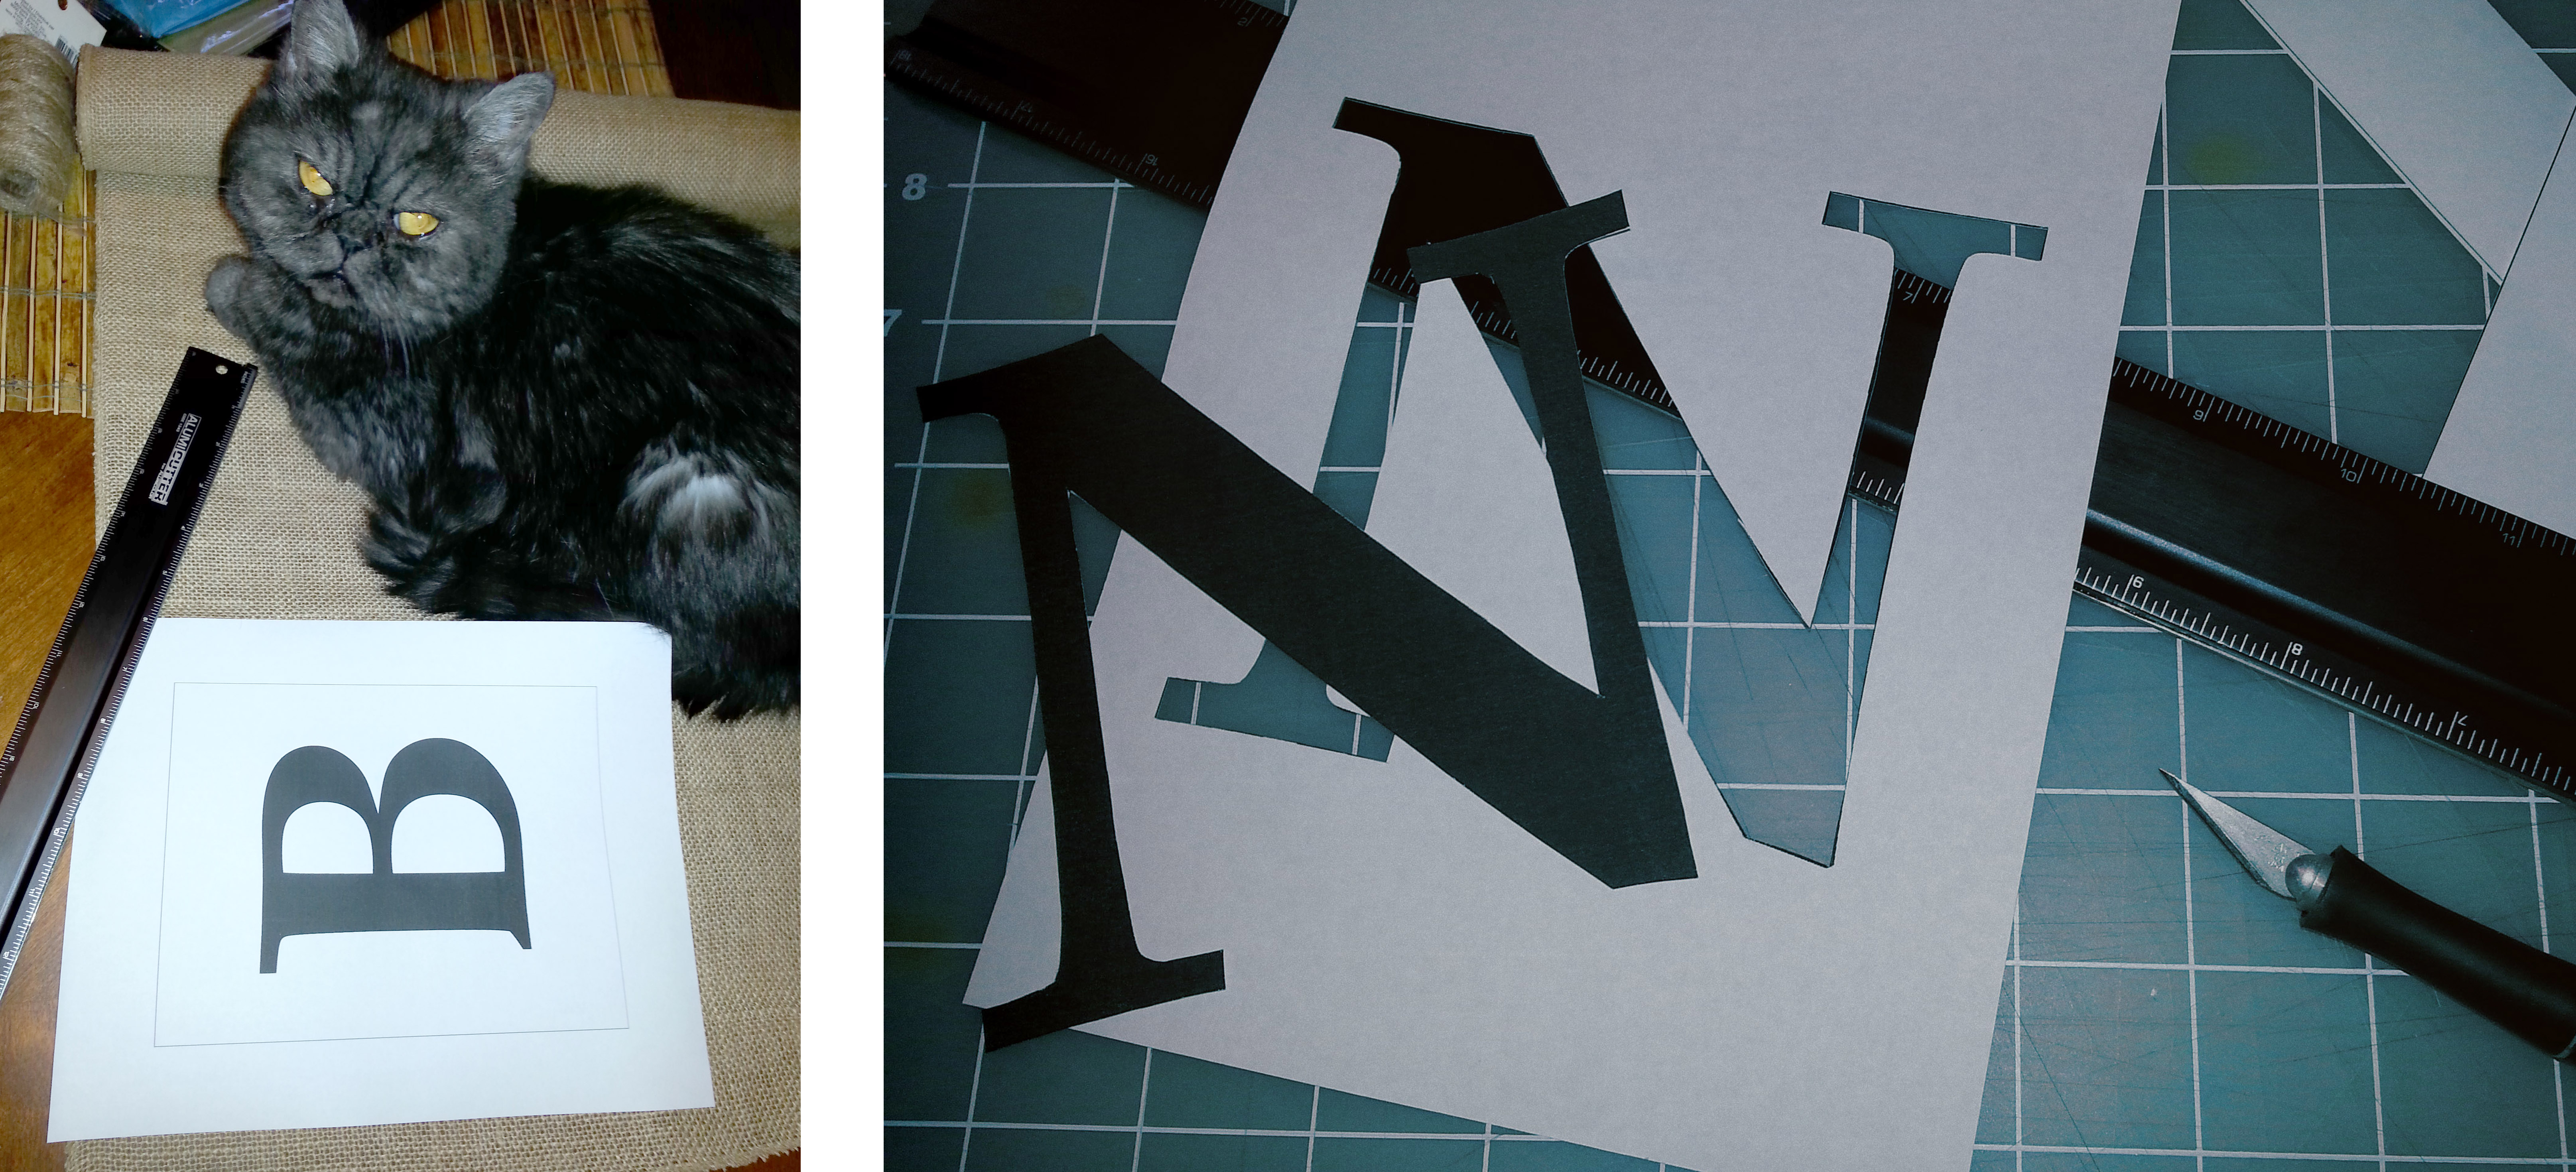
Next is creating your stencil. You can always opt for pre-cut stencil letters at your local craft store but since I have access to a printer. I made my own.

With the aid of my cat Trinity and my computer, I designed the letters using Adobe Illustrator. I created a 6″ x 8″ black key-lined box and inserted a letter in the center as large as it would go and still look nice.  For my chosen font I used Palatino and the size of each letter was 450pts.

Each letter should be printed on a separate piece of paper. Cut around each letter very carefully, avoid cutting into the white areas. Finally cut out your box’s outline. The remaining white portion is the stencil.

stenil2

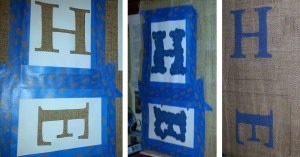
Place the stencils on the burlap, arranging far enough apart so the squares do not overlap. Use a pencil to outline each square. This will serve as a cutting guide for the squares once the paint has dried.

Tape the stencils down securely. You don’t want anything to move around once you start.

Grab your stipple brush and start dabbing the paint on the letters. I chose to remove the tape shortly after I was done allowing the letters to dry fully over the balance of the afternoon.

tri_banner

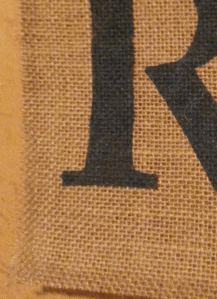
Once all the letters were completely dry, I started to cut the squares, following the pencil lines. Unexpectedly the burlap started to fray as I cut, not good.

Apparently working with burlap has a downside and before I could continue with the project I had to find a solve for the banner that was unraveling before my eyes.

The “fix” for frayed edges depends on who you ask and what you find online.
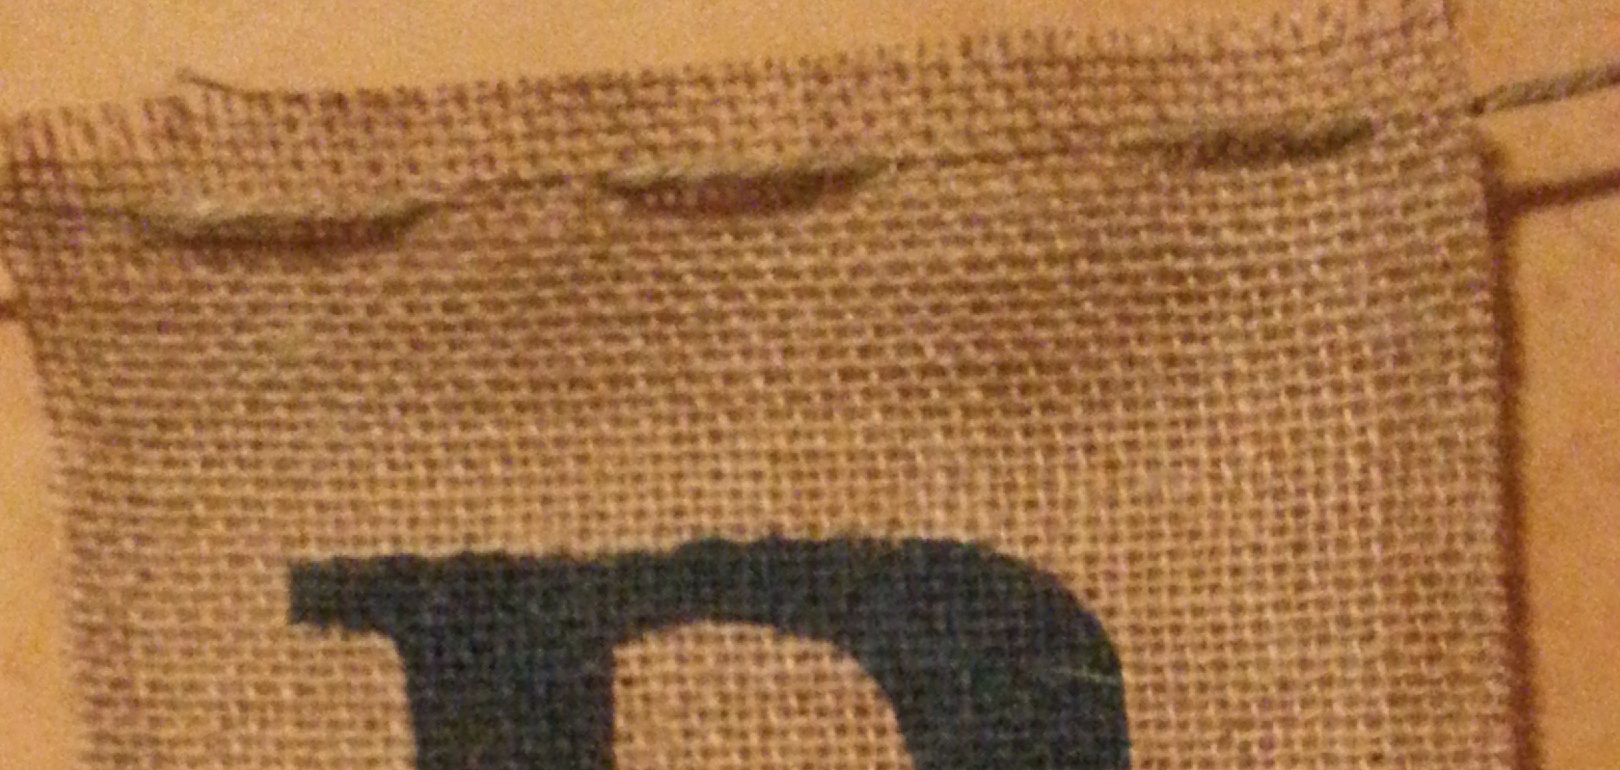
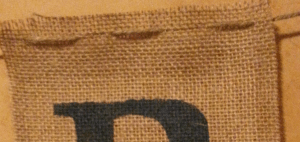
With the craft store closed, I opted for clear nail polish.  The nail polish dries slightly darker than the raw burlap so I created a half inch border on all sides so it would look intentional.

Screen Shot 2015-08-12 at 12.56.24 PM

After the nail polish borders dried it was time to add the twine/string. To make the twine easier to thread, I used a large “eyed” needle to guide the twine through each square. The weave on burlap is pretty open so adding the twine was a quick process.

Screen Shot 2015-08-12 at 1.09.08 PM

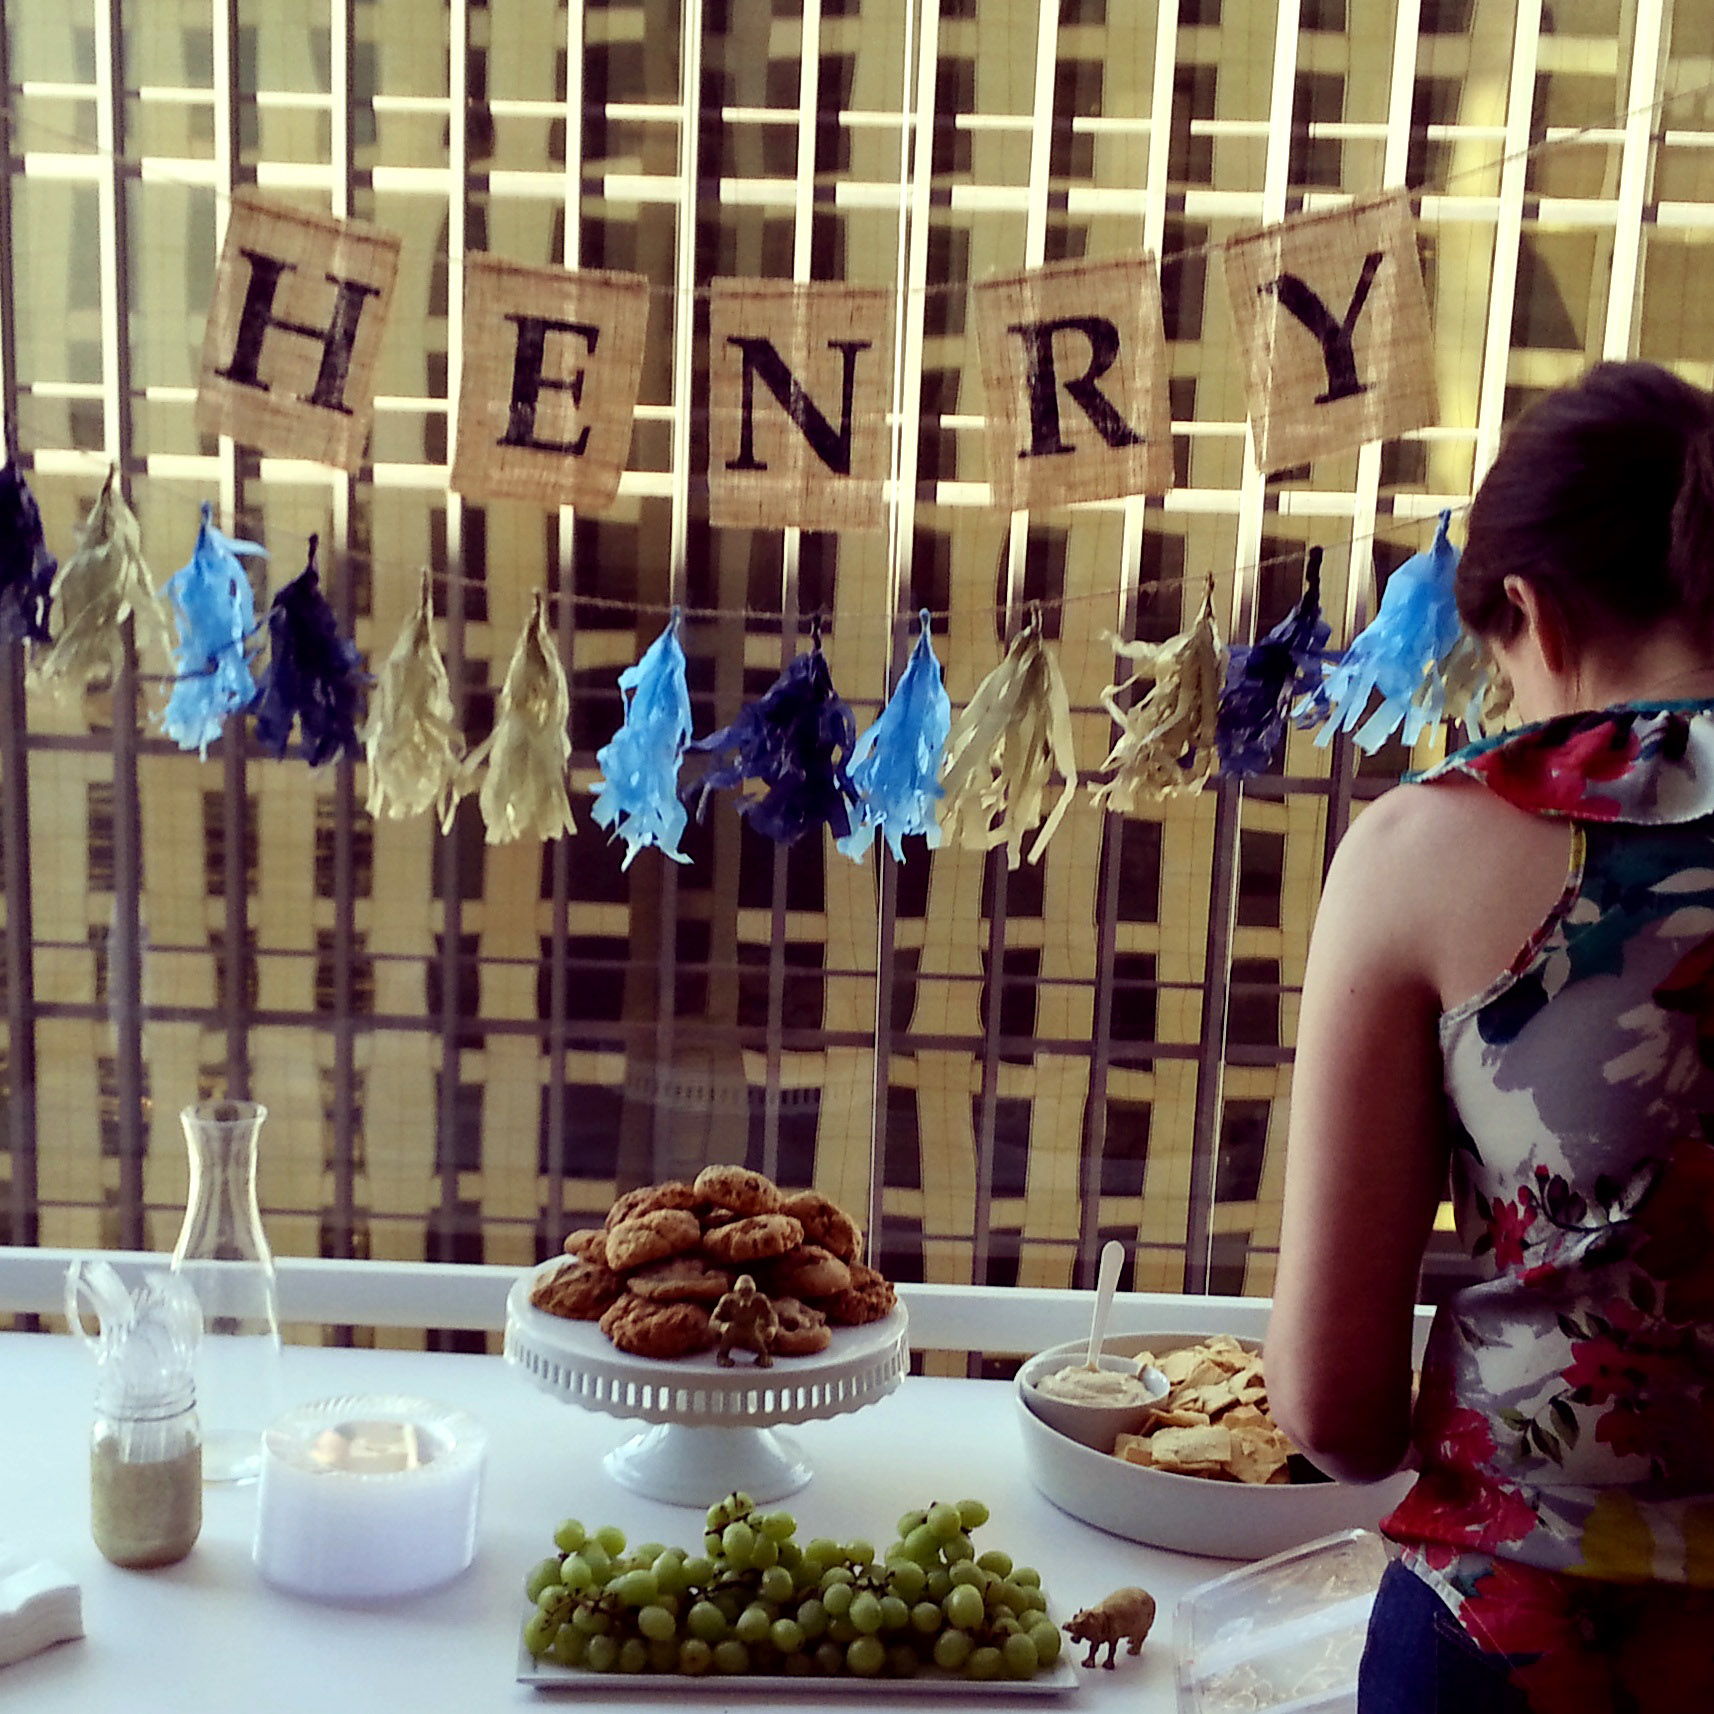
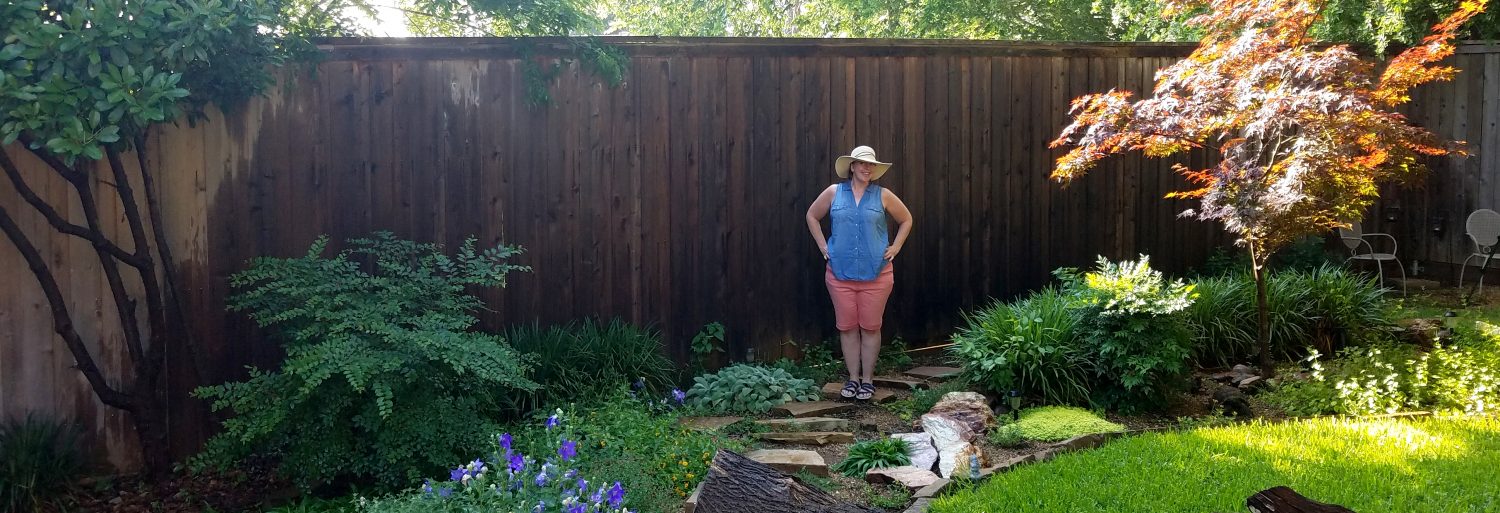
I’m very happy with how the banner turned out.
Success!

final_banner

Day 15 : going back to bed

letthereberain

A little over a month ago, with the first flowerbed complete, I decided to tackle the next two beds on my “to do” list. It was the weekend of April 4th, a golden opportunity. The next wave of rain was predicted to hit later in the week.

The design for my backyard, showed three medium-sized flowerbeds with one large bed meandering across a good portion of the yard, for a total of four. I deviated from the plan slightly, nothing major, as you can see below. The goal is an organic space.

planschange

The new flowerbeds against the house were pretty basic. I had already outlined the shape in February when I constructed the flagstone path to the facet. The ground had dried just enough to be easily manipulated. It’s difficult to work with compacted mud, but if you time it just right, after a good rain (say 7 to 10 days) the ground is primed for easy digging.

For the two beds, I wanted to concentrate on getting the chop rock borders set. Tilling and mulching the beds will come later, once the soil has dried a bit more.

The plan of attack was as follows:
1. Remove the existing border and stepping stones
2. Use the garden hose to figure the shape of the beds.
3. Spray paint along the edge of the hose, creating a dig line.
4. Dig the new edge just wide enough to accommodate the chop rock
5. Place the leftover decomposed granite (sand works too) into the newly cut edge.
6. Insert the chop rock.

flowerbeds3

old_new_borderline

Building the two beds took the weekend, about 5 hours each day. I didn’t leave the chop rock above the ground very high. Creating a structure that holds water against the house is never recommended. The flowerbeds are more like edging, allowing the water to escape as needed. The flowerbed along the dry creek bed is higher than the beds flanking the house, this was intentional.

The images below, were taken this morning, a little over a month after the beds were installed.  The Dallas area had another massive storm roll through in the wee hours of the morning.

The yard is a lake, but the new sod has started to spread and the contrast in color against the chop rock makes me happy. I’m still waiting to till, mulch and plant new flowers in the two beds. The rain is a constant this May. I might get a dry day, once a week, but that’s not helpful. At this rate, the beds will be prepped and ready by July/August. The hottest months during a Texas Summer. Joy!

flowerbeds_after rain

flowerbeds_after rain_side

3 flowerbeds_after rain