Day 17: getting it right

rockgarden

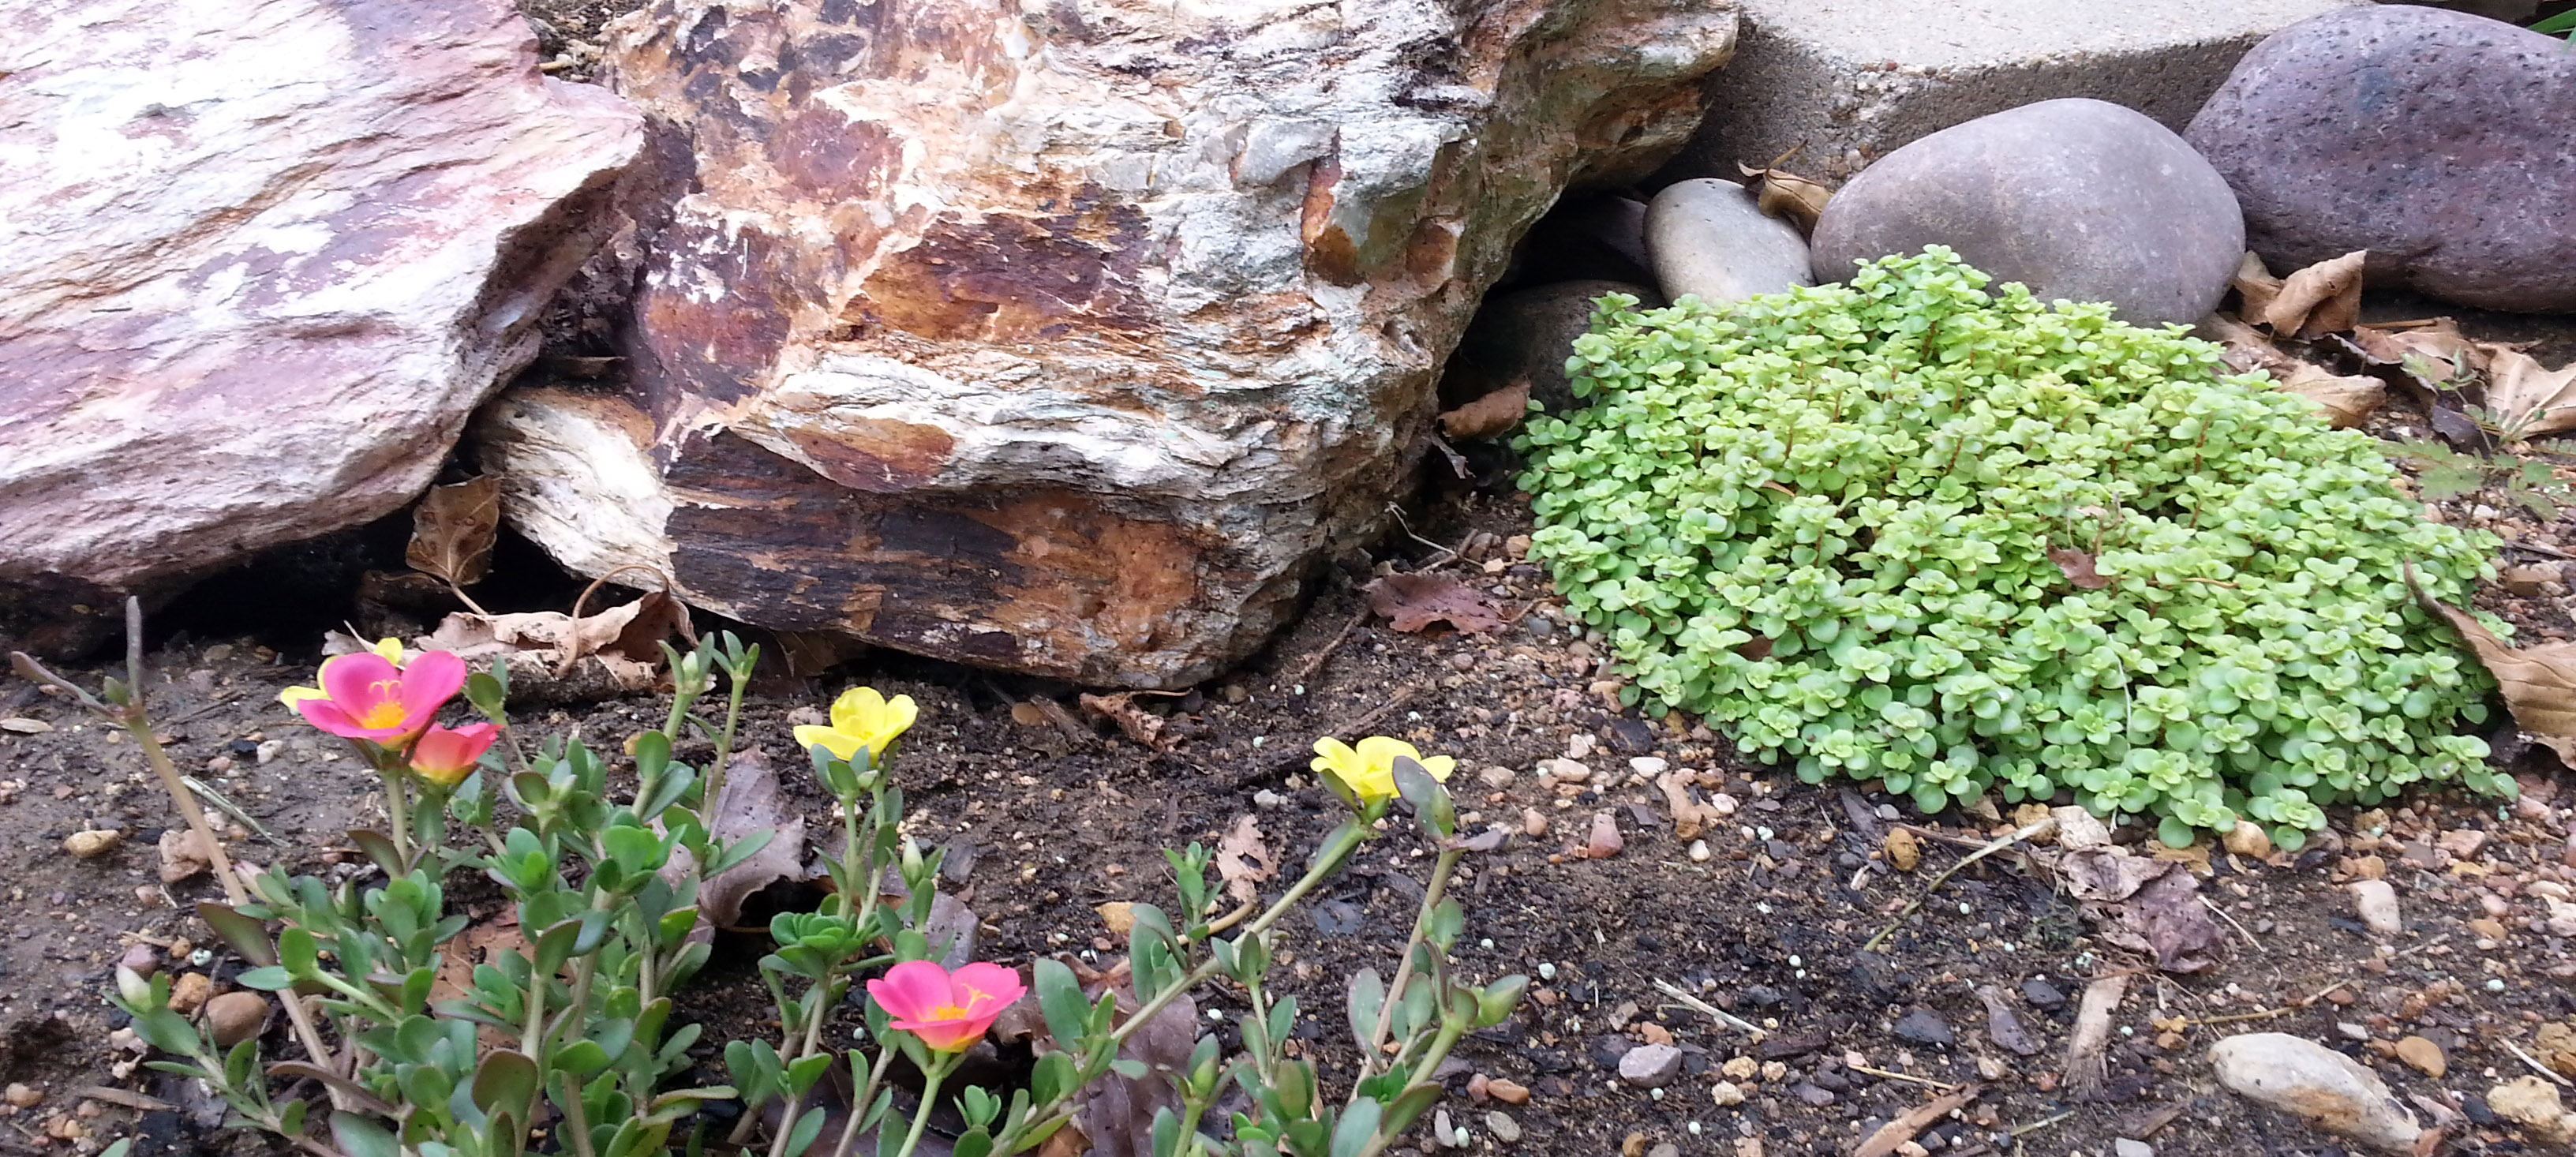
I must admit with complete humility, my success rate with flowers has been less than 60% this season.

When I started in November my soil was typical for the Dallas area. A mix of sand, heavy clay and everything in between. Not ideal, but very workable.

Then it happened, BAM! A major sewer line break running through the center of my yard. After the repair was completed, the plumping company took the gloppy sewage mess and mixed it into the clay.  This created large areas of concrete-like patches of earth throughout the yard. I was extremely frustrated.

Next came the rain. To say it rained a lot is an understatement. The record rainfall helped compact the clay soil even further.

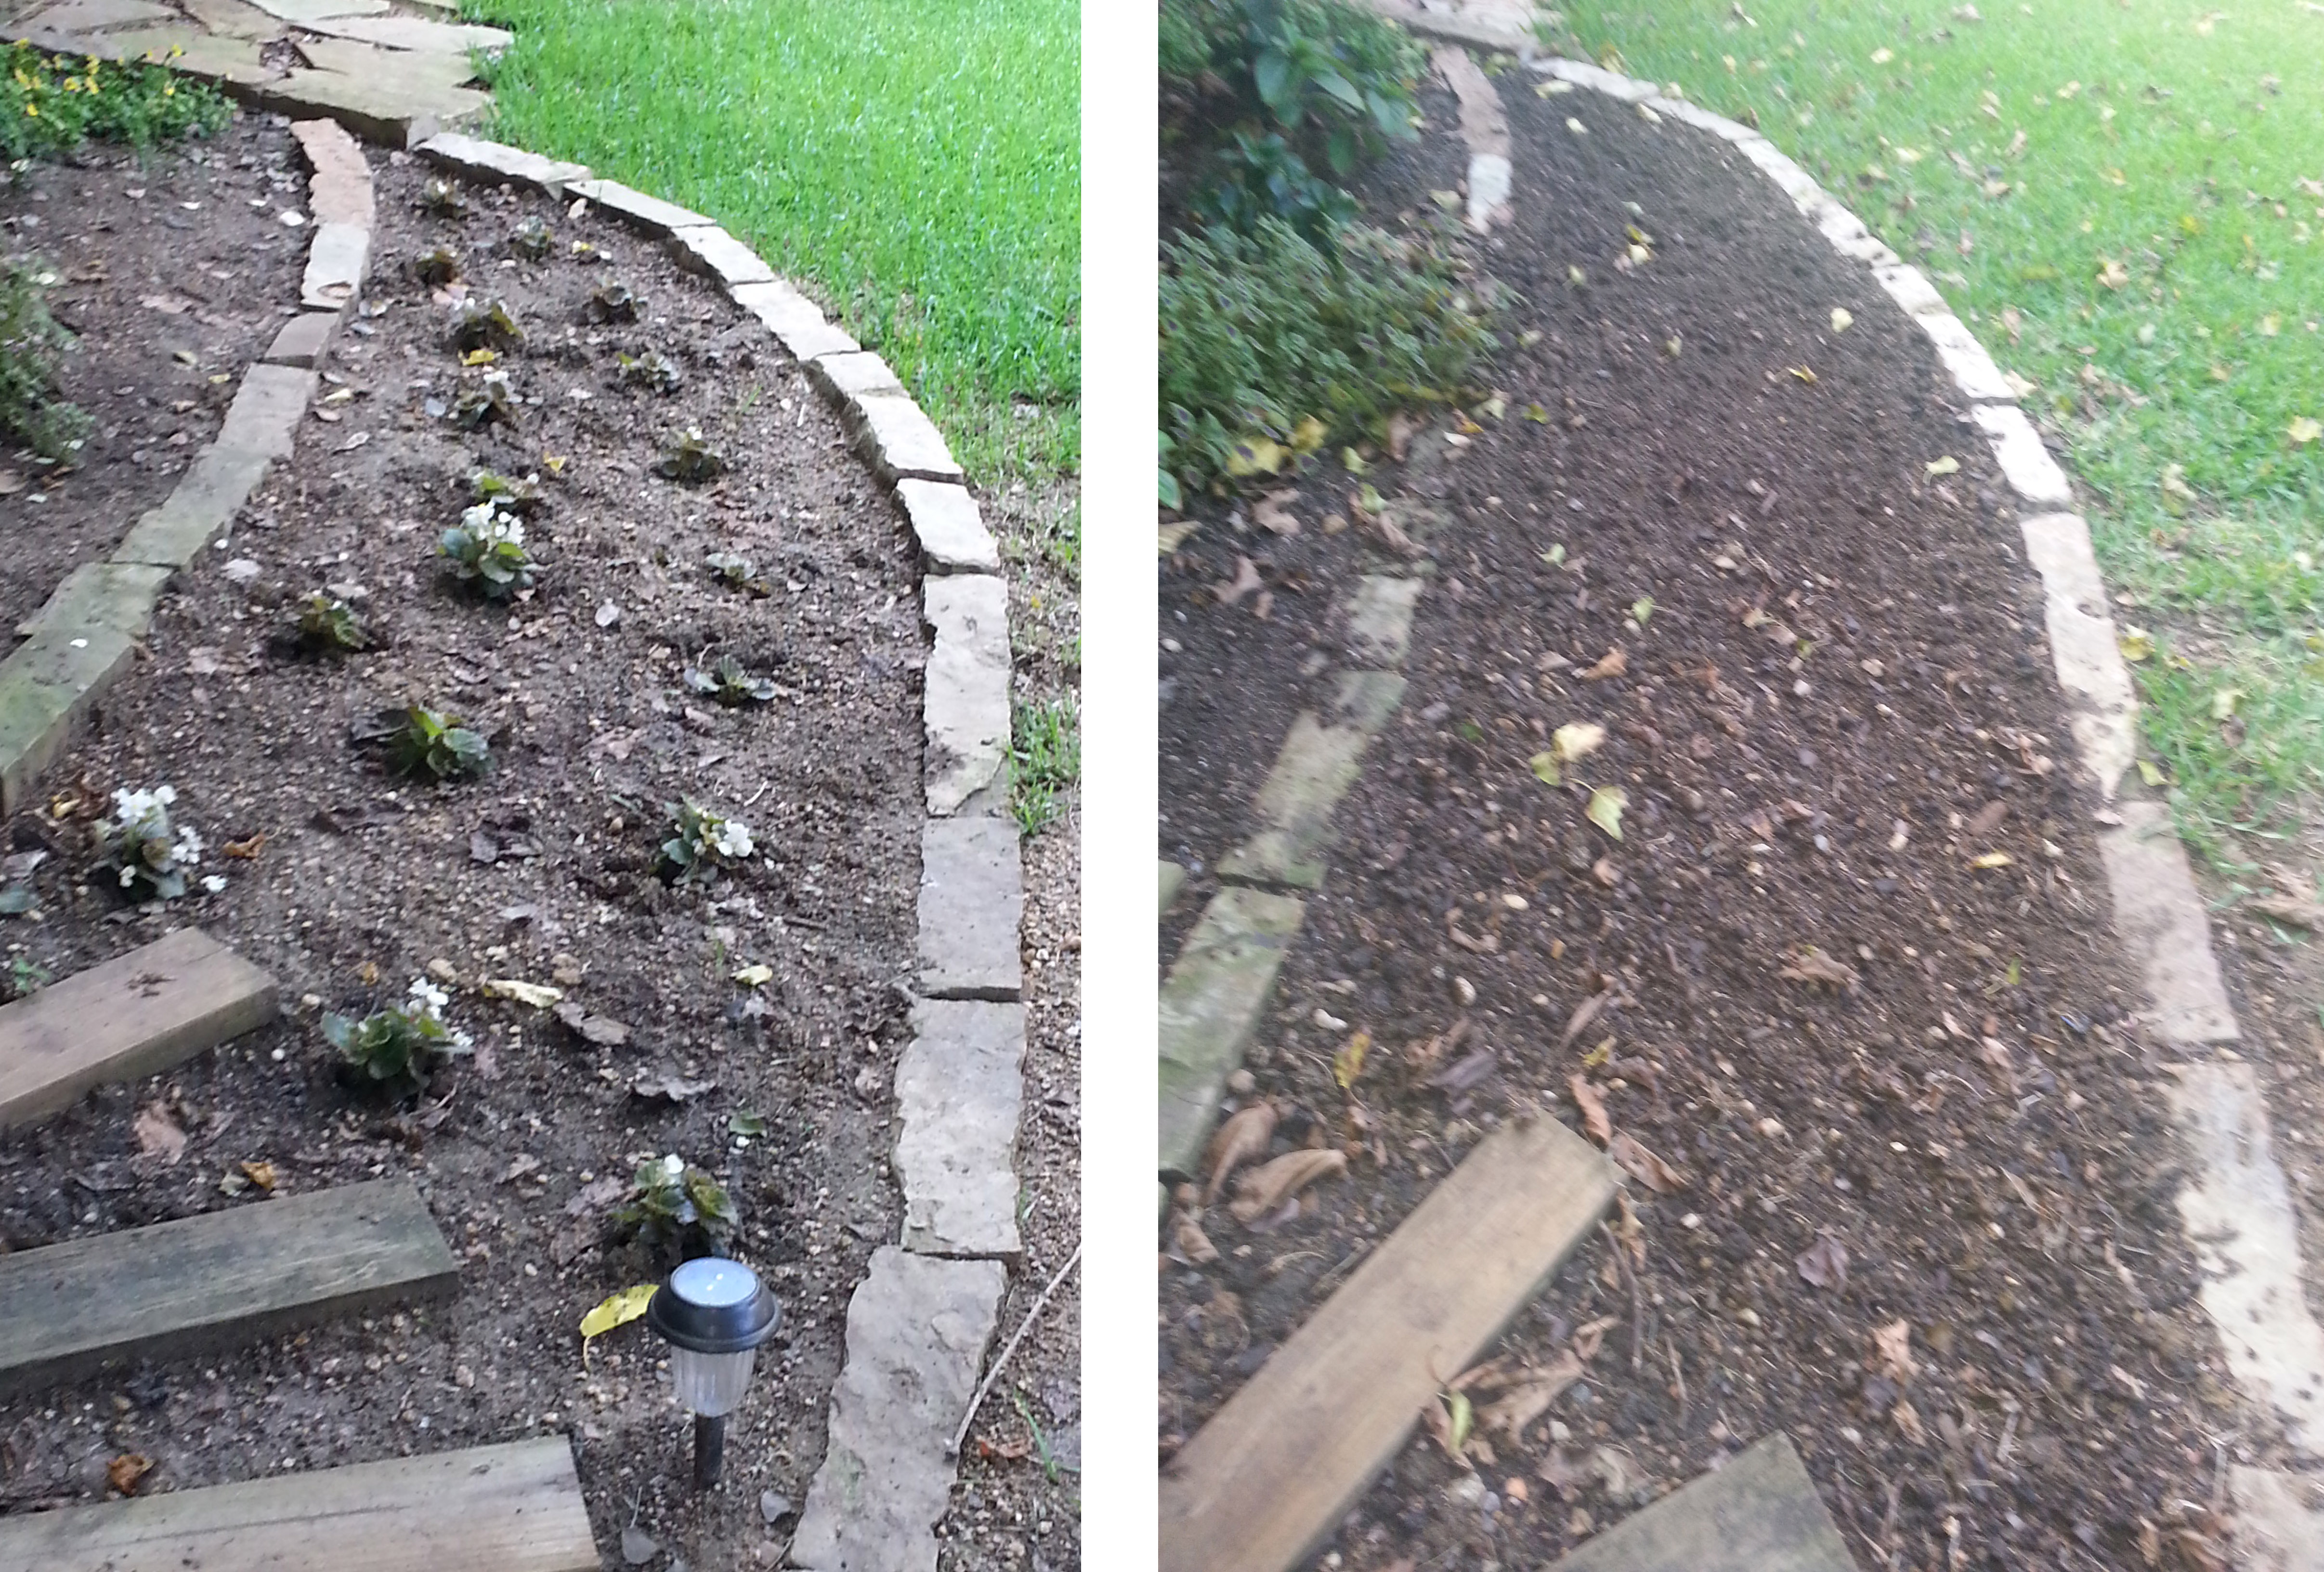
Flowers planted near the sewer repair typically died over time. At first I chalked it up to the wet ground, but that was just a symptom of a bigger issue.

When I dug holes for my flowers I noticed the soil was thick with clay. The clay content might have been as high as 95%. This is where I messed up. I amended only the soil in the newly dug holes. Unfortunately I didn’t think long term. Most roots can’t break through heavy clay. So you’re stuck with flowers that remain small, weak and unable to thrive. It was an expensive lesson. Soil quality matters – A LOT, and that includes the entire flower bed, not just where you dig.

Now, I’m digging with a purpose. First up, the flower bed against the deck. It’s in bad shape.  I started to notice the bed didn’t dry out like other areas of my yard. The clay was creating a barrier between the surface soil and the ground below. Basically I’m dealing with a layer referred to as “hardpan”.  Joy.

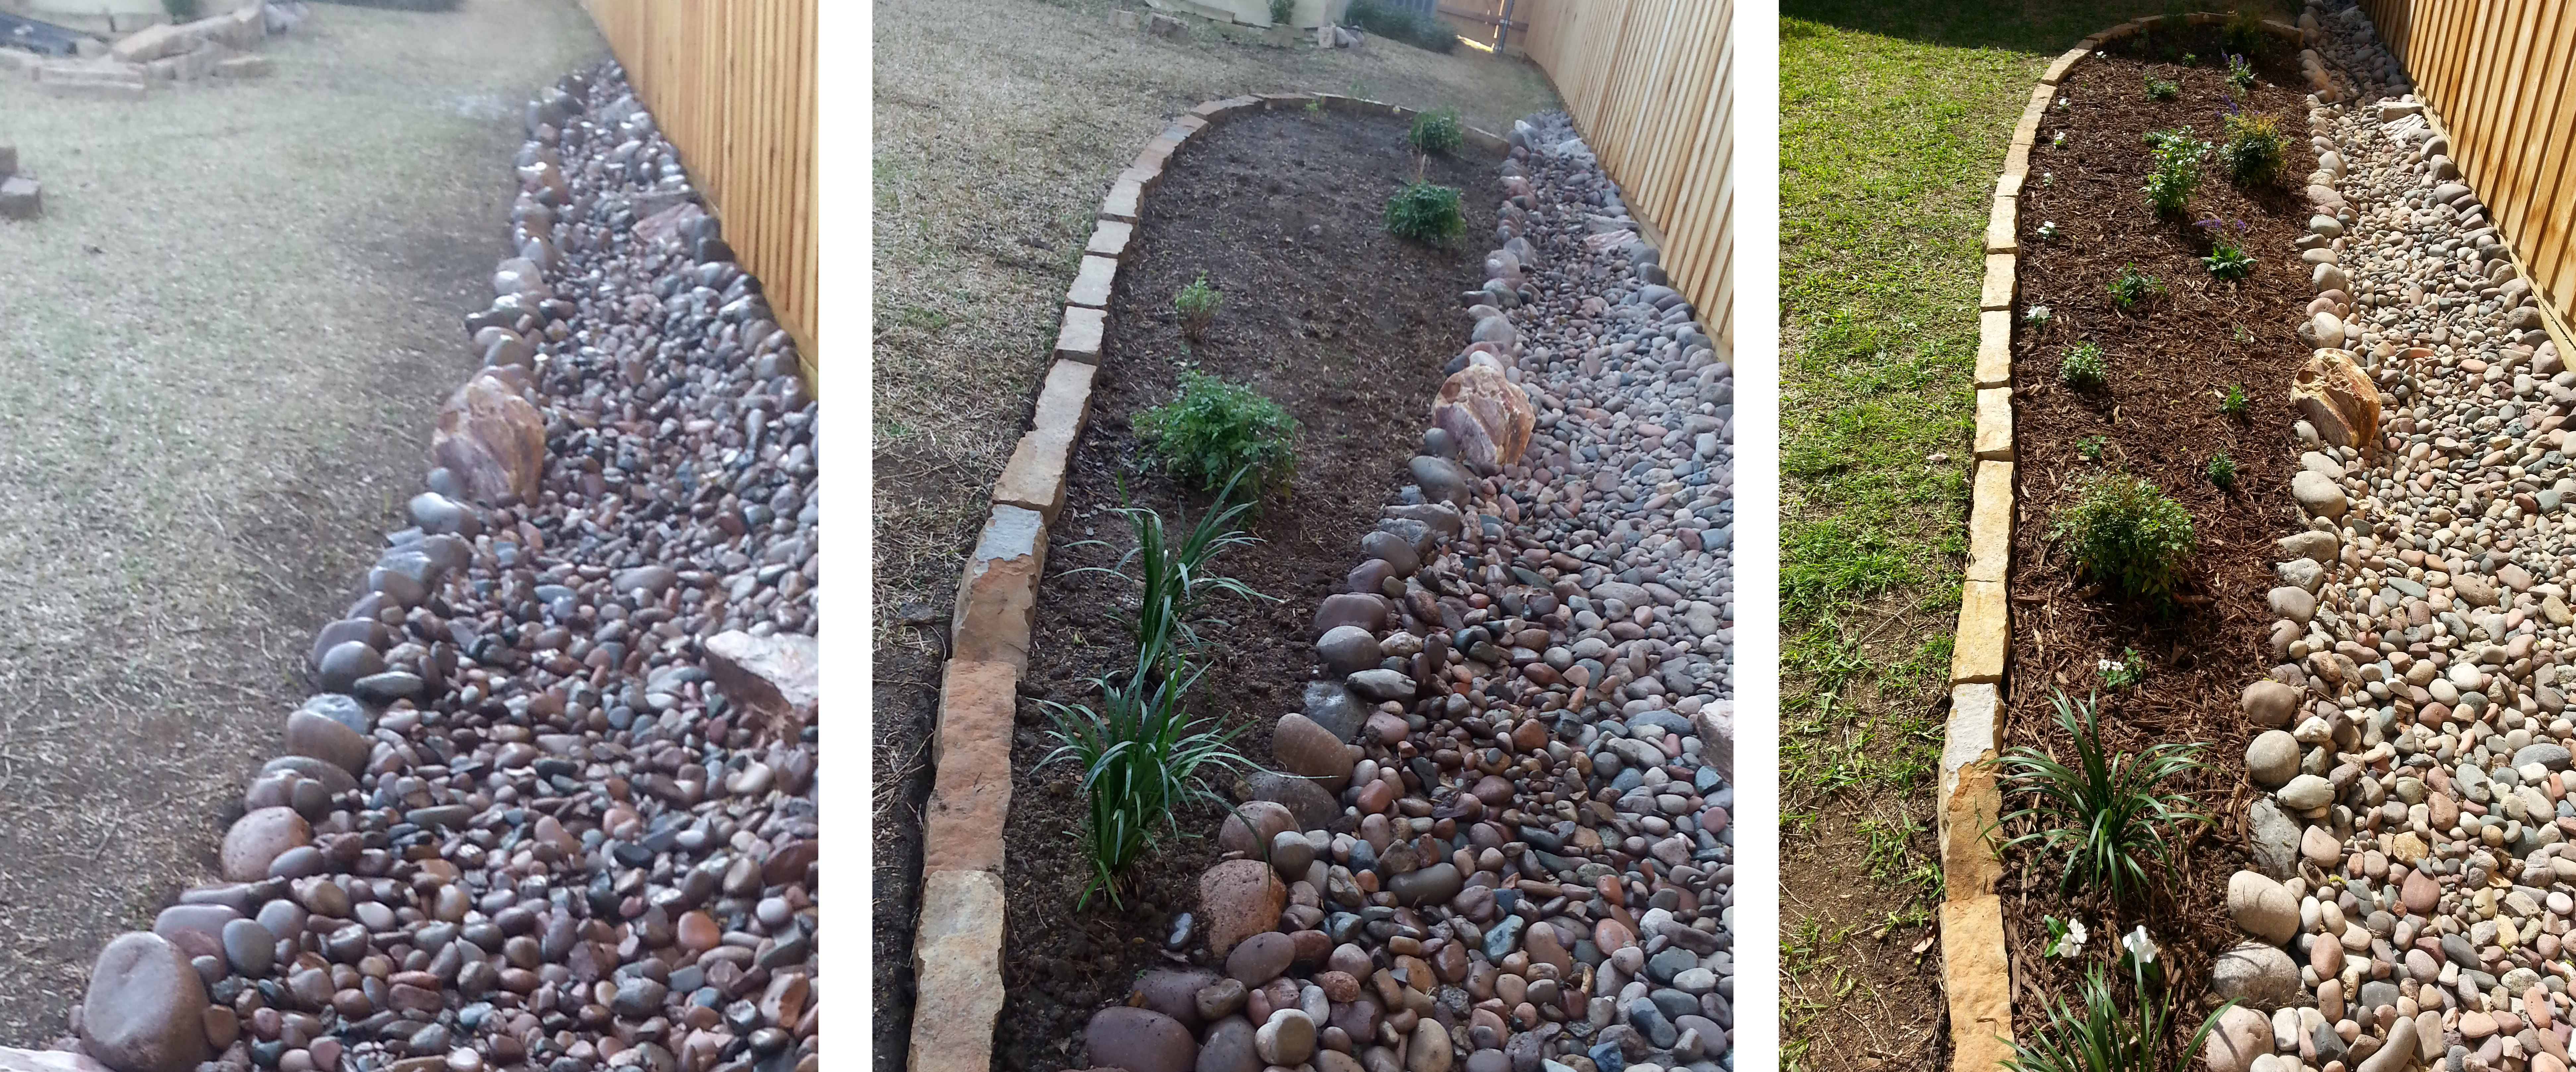
To start, I’ve removed all the existing flowers. I’m currently working to break up the clay and amend the entire flowerbed with peat, humus, composite and other various organic material. Improving the bed will be a slow process and I figure I won’t plant anything new until next Spring. The plan for the balance of this year is to till, amend and let the materials settle. Repeating the process every few months. Hopefully this will give me a jump-start for next Spring.

soil prep2

Day 16: flower bed follow-up

I started adding plants to my first flower bed beginning in February 2015. I began with drought tolerant perennials that would be the main feature; Salvia Greggii, Nandina, Texas Sage and Giant Liriope.

In late April I added annuals; Gold Star Esperanza, May Night Salvia, Trailing Lantana, Angelona, Verbena,  Vinca and another Texas Sage. I wanted to use annuals to fill the bare spots until the perennials filled in.

Out of the perennials planted, only the Liriope flourished. The Salvia and Nandina are still struggling and the first Texas Sage died. I truly believe it’s the soil. I plan to amend the soil in the late fall once all the annuals die off. My yard is made of heavy clay and unfortunately it takes multiple seasons to improve the soil composition. I must be patient.

Overall I’m really enjoying my first flower bed. The perennials aren’t as peppy as I would like. My second Texas Sage is finally starting to take hold. The Esperanza shot straight up overnight and the annuals are as happy as can be in the Texas heat.

flowerbed_dc the beginning

flowerbed_dc3-today

flowerbed_dc3-today2 copy

Burlap Banner

Apparently burlap banners have become a trendy must-have for various celebrations, including baby showers. Unfortunately I was unaware of top banner trends, so I turned to Pinterest for inspiration.

With easy instructions found on Pinterest and a list of supplies, I was off to my local Michael’s, a Dallas area craft store.

Materials Needed:
B&W Printer & Paper – to print off the Letters for the banner
Fabric Paint – I selected Navy for this project
Scissors
X-acto Knife
Stencil brush
Blue Painter’s tape
Twine
Burlap fabric
Clear Nail polish

First up, figure out how large each burlap piece should be.
When considering the size, you must take into account how many letters are needed and the size of the wall the banner will hang.  If the letters are too big the banner will look horsey. Too small and it will get lost on the wall. After testing out a couple of sizes, I landed on 6″ w x 8″ h rectangles.

Next is creating your stencil. You can always opt for pre-cut stencil letters at your local craft store but since I have access to a printer. I made my own.

With the aid of my cat Trinity and my computer, I designed the letters using Adobe Illustrator. I created a 6″ x 8″ black key-lined box and inserted a letter in the center as large as it would go and still look nice.  For my chosen font I used Palatino and the size of each letter was 450pts.

Each letter should be printed on a separate piece of paper. Cut around each letter very carefully, avoid cutting into the white areas. Finally cut out your box’s outline. The remaining white portion is the stencil.

stenil2

Place the stencils on the burlap, arranging far enough apart so the squares do not overlap. Use a pencil to outline each square. This will serve as a cutting guide for the squares once the paint has dried.

Tape the stencils down securely. You don’t want anything to move around once you start.

Grab your stipple brush and start dabbing the paint on the letters. I chose to remove the tape shortly after I was done allowing the letters to dry fully over the balance of the afternoon.

tri_banner

Once all the letters were completely dry, I started to cut the squares, following the pencil lines. Unexpectedly the burlap started to fray as I cut, not good.

Apparently working with burlap has a downside and before I could continue with the project I had to find a solve for the banner that was unraveling before my eyes.

The “fix” for frayed edges depends on who you ask and what you find online.
With the craft store closed, I opted for clear nail polish.  The nail polish dries slightly darker than the raw burlap so I created a half inch border on all sides so it would look intentional.

Screen Shot 2015-08-12 at 12.56.24 PM

After the nail polish borders dried it was time to add the twine/string. To make the twine easier to thread, I used a large “eyed” needle to guide the twine through each square. The weave on burlap is pretty open so adding the twine was a quick process.

Screen Shot 2015-08-12 at 1.09.08 PM

I’m very happy with how the banner turned out.
Success!

final_banner