Day 15 : going back to bed

letthereberain

A little over a month ago, with the first flowerbed complete, I decided to tackle the next two beds on my “to do” list. It was the weekend of April 4th, a golden opportunity. The next wave of rain was predicted to hit later in the week.

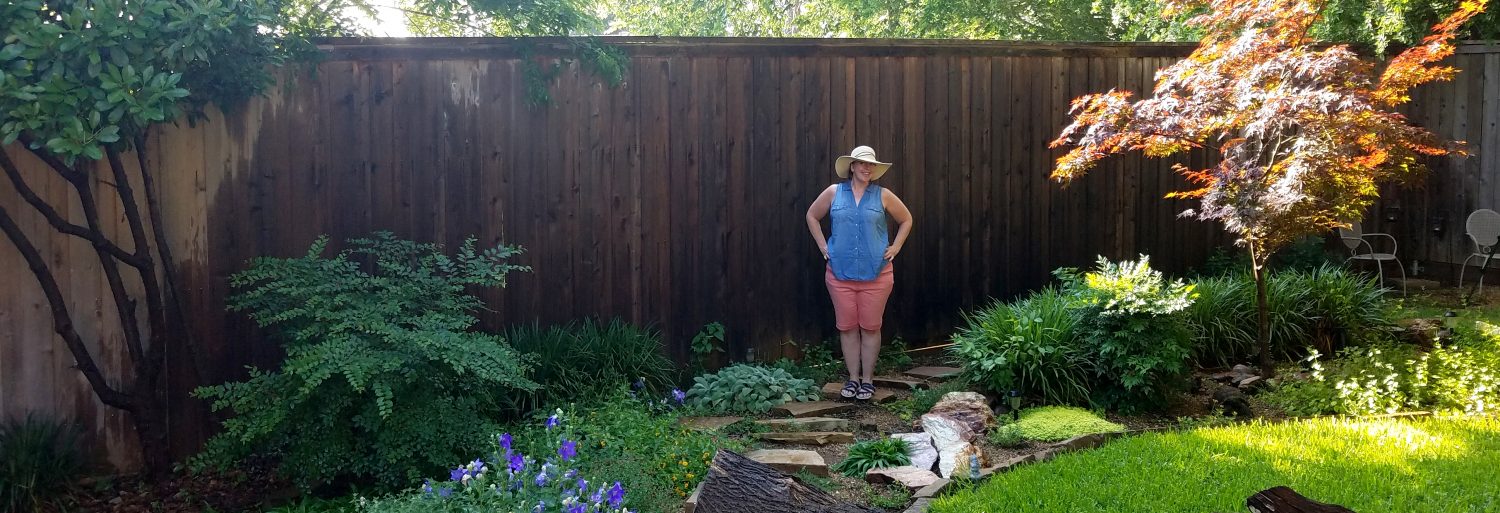
The design for my backyard, showed three medium-sized flowerbeds with one large bed meandering across a good portion of the yard, for a total of four. I deviated from the plan slightly, nothing major, as you can see below. The goal is an organic space.

planschange

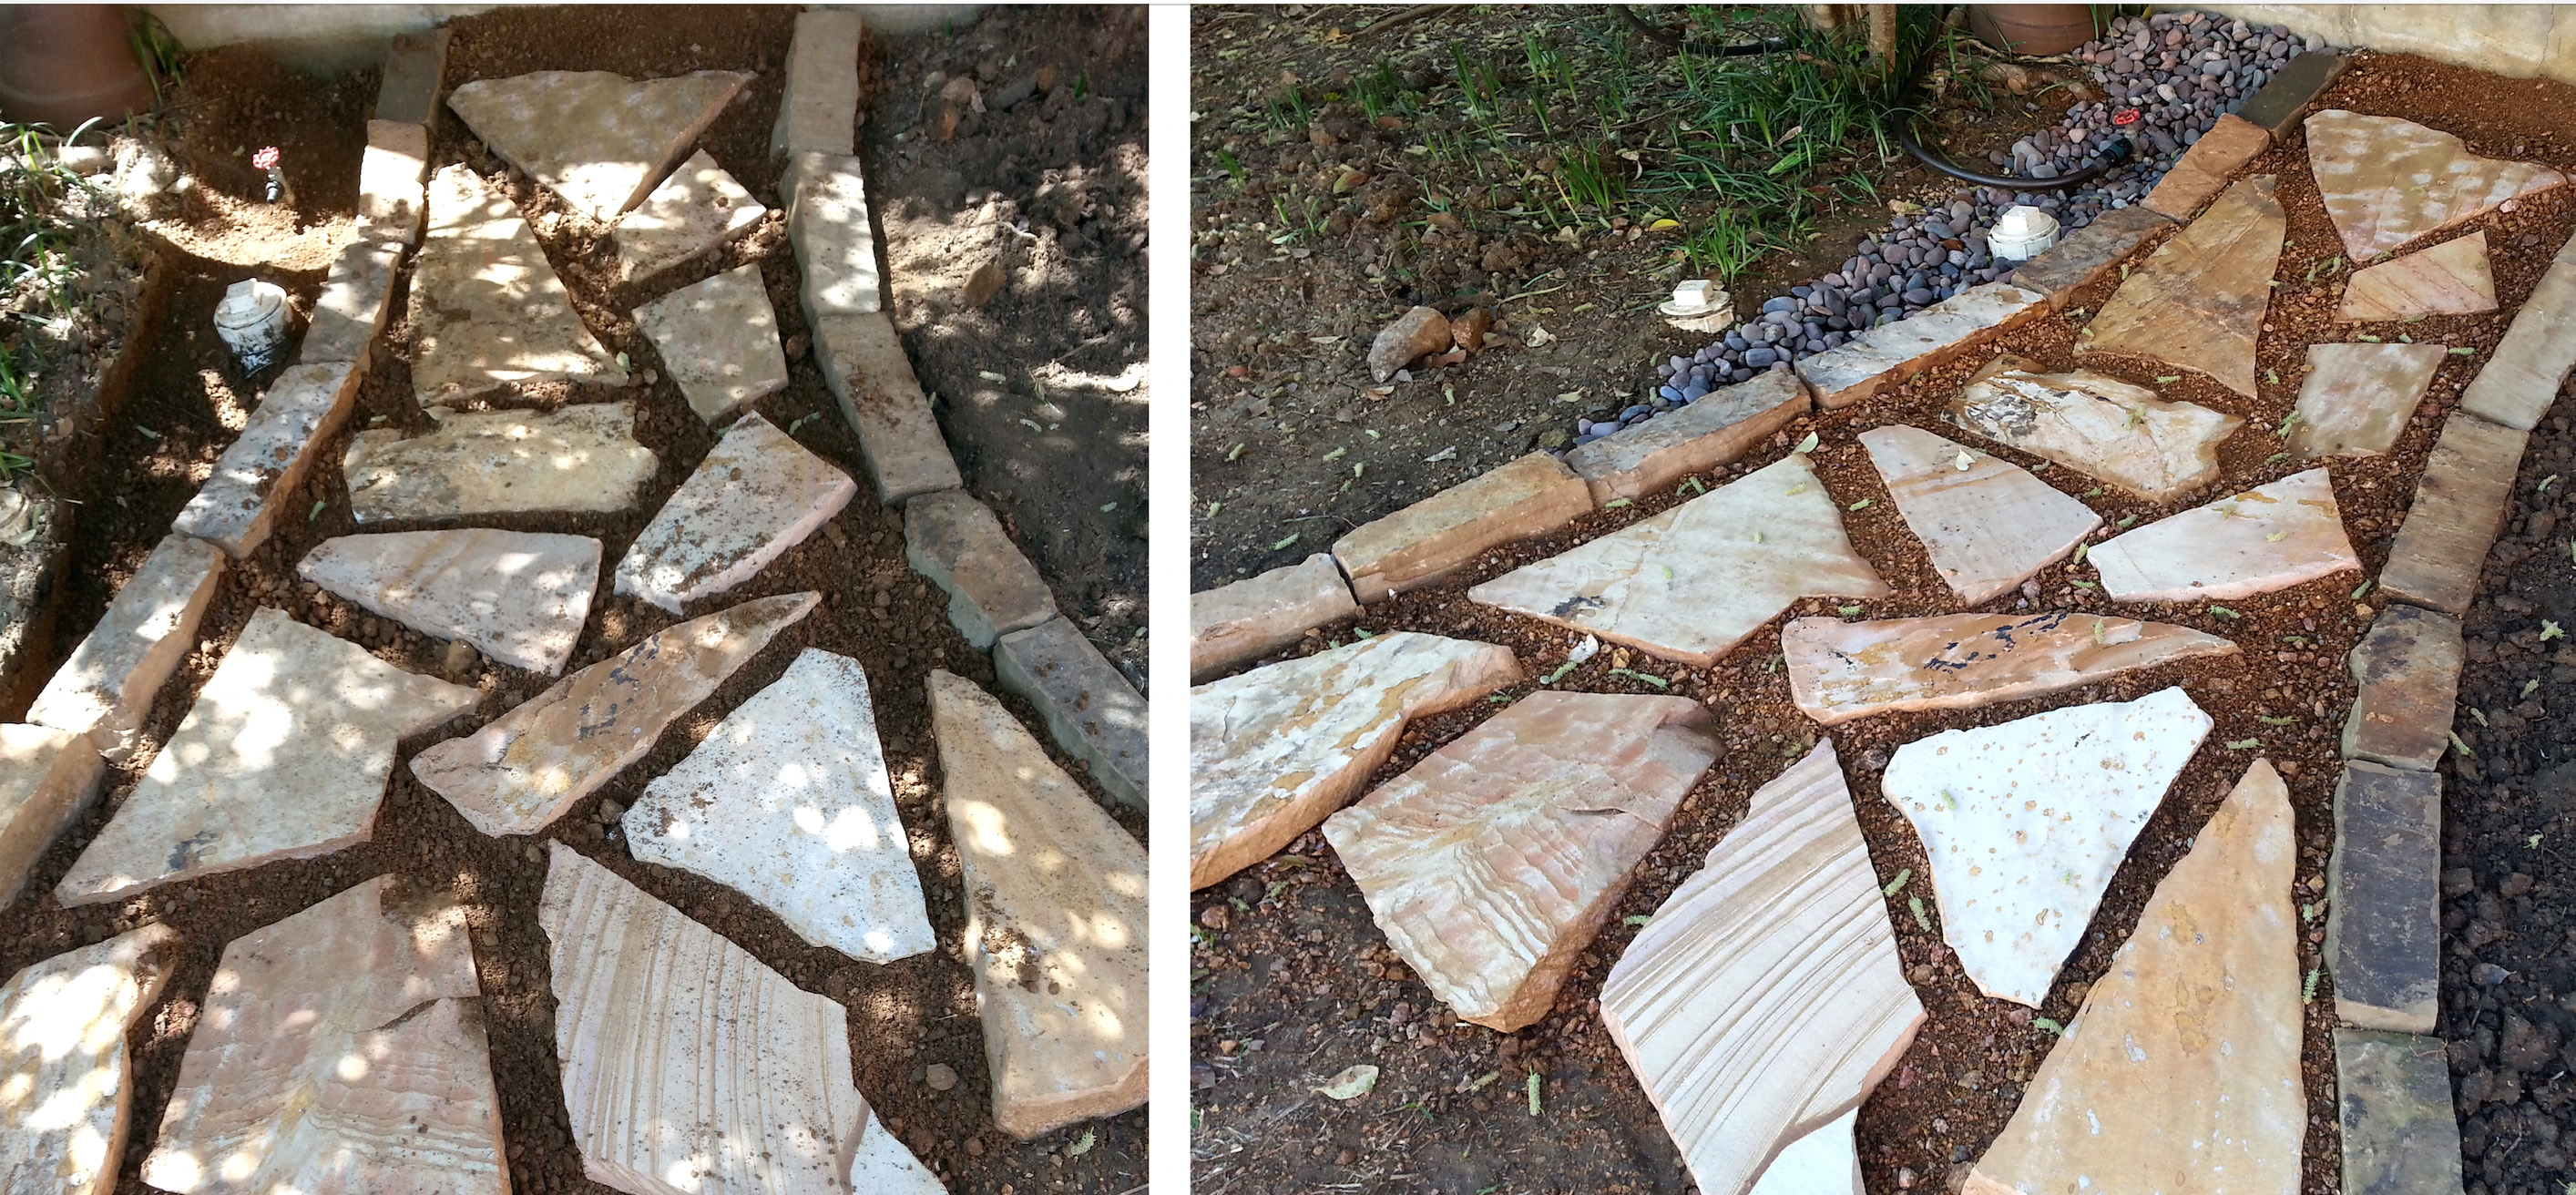
The new flowerbeds against the house were pretty basic. I had already outlined the shape in February when I constructed the flagstone path to the facet. The ground had dried just enough to be easily manipulated. It’s difficult to work with compacted mud, but if you time it just right, after a good rain (say 7 to 10 days) the ground is primed for easy digging.

For the two beds, I wanted to concentrate on getting the chop rock borders set. Tilling and mulching the beds will come later, once the soil has dried a bit more.

The plan of attack was as follows:
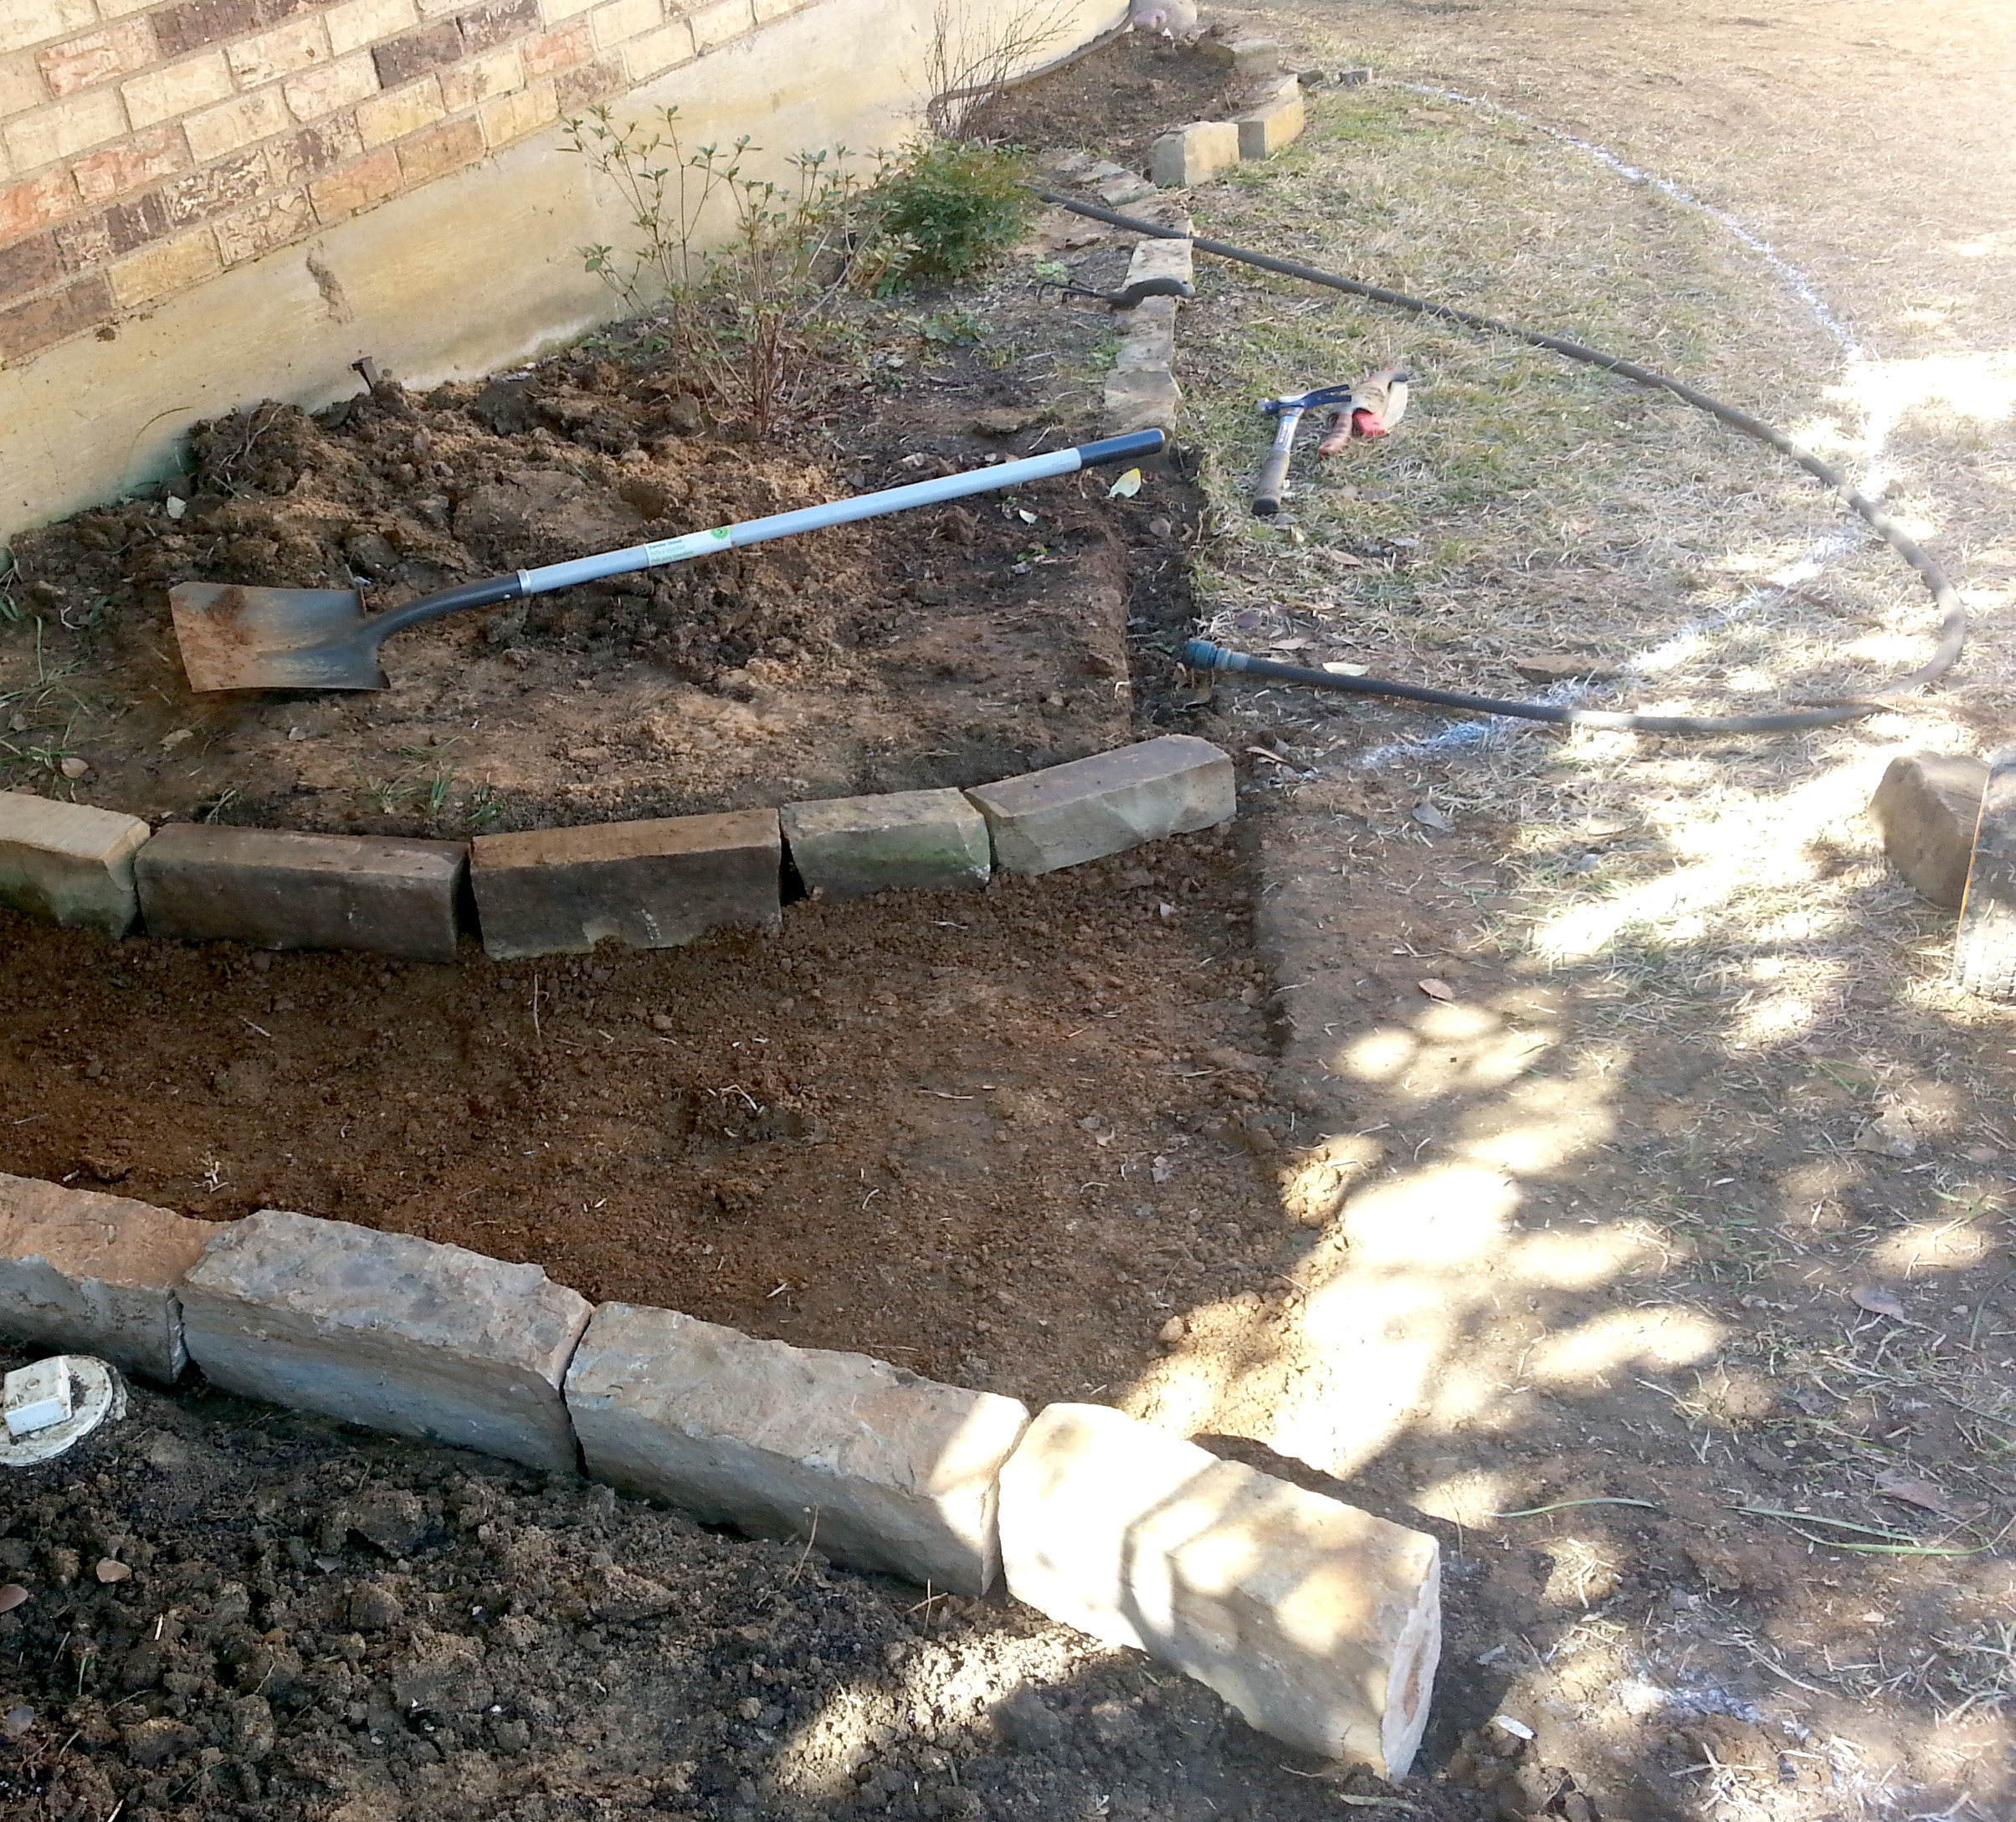
1. Remove the existing border and stepping stones
2. Use the garden hose to figure the shape of the beds.
3. Spray paint along the edge of the hose, creating a dig line.
4. Dig the new edge just wide enough to accommodate the chop rock
5. Place the leftover decomposed granite (sand works too) into the newly cut edge.
6. Insert the chop rock.

flowerbeds3

old_new_borderline

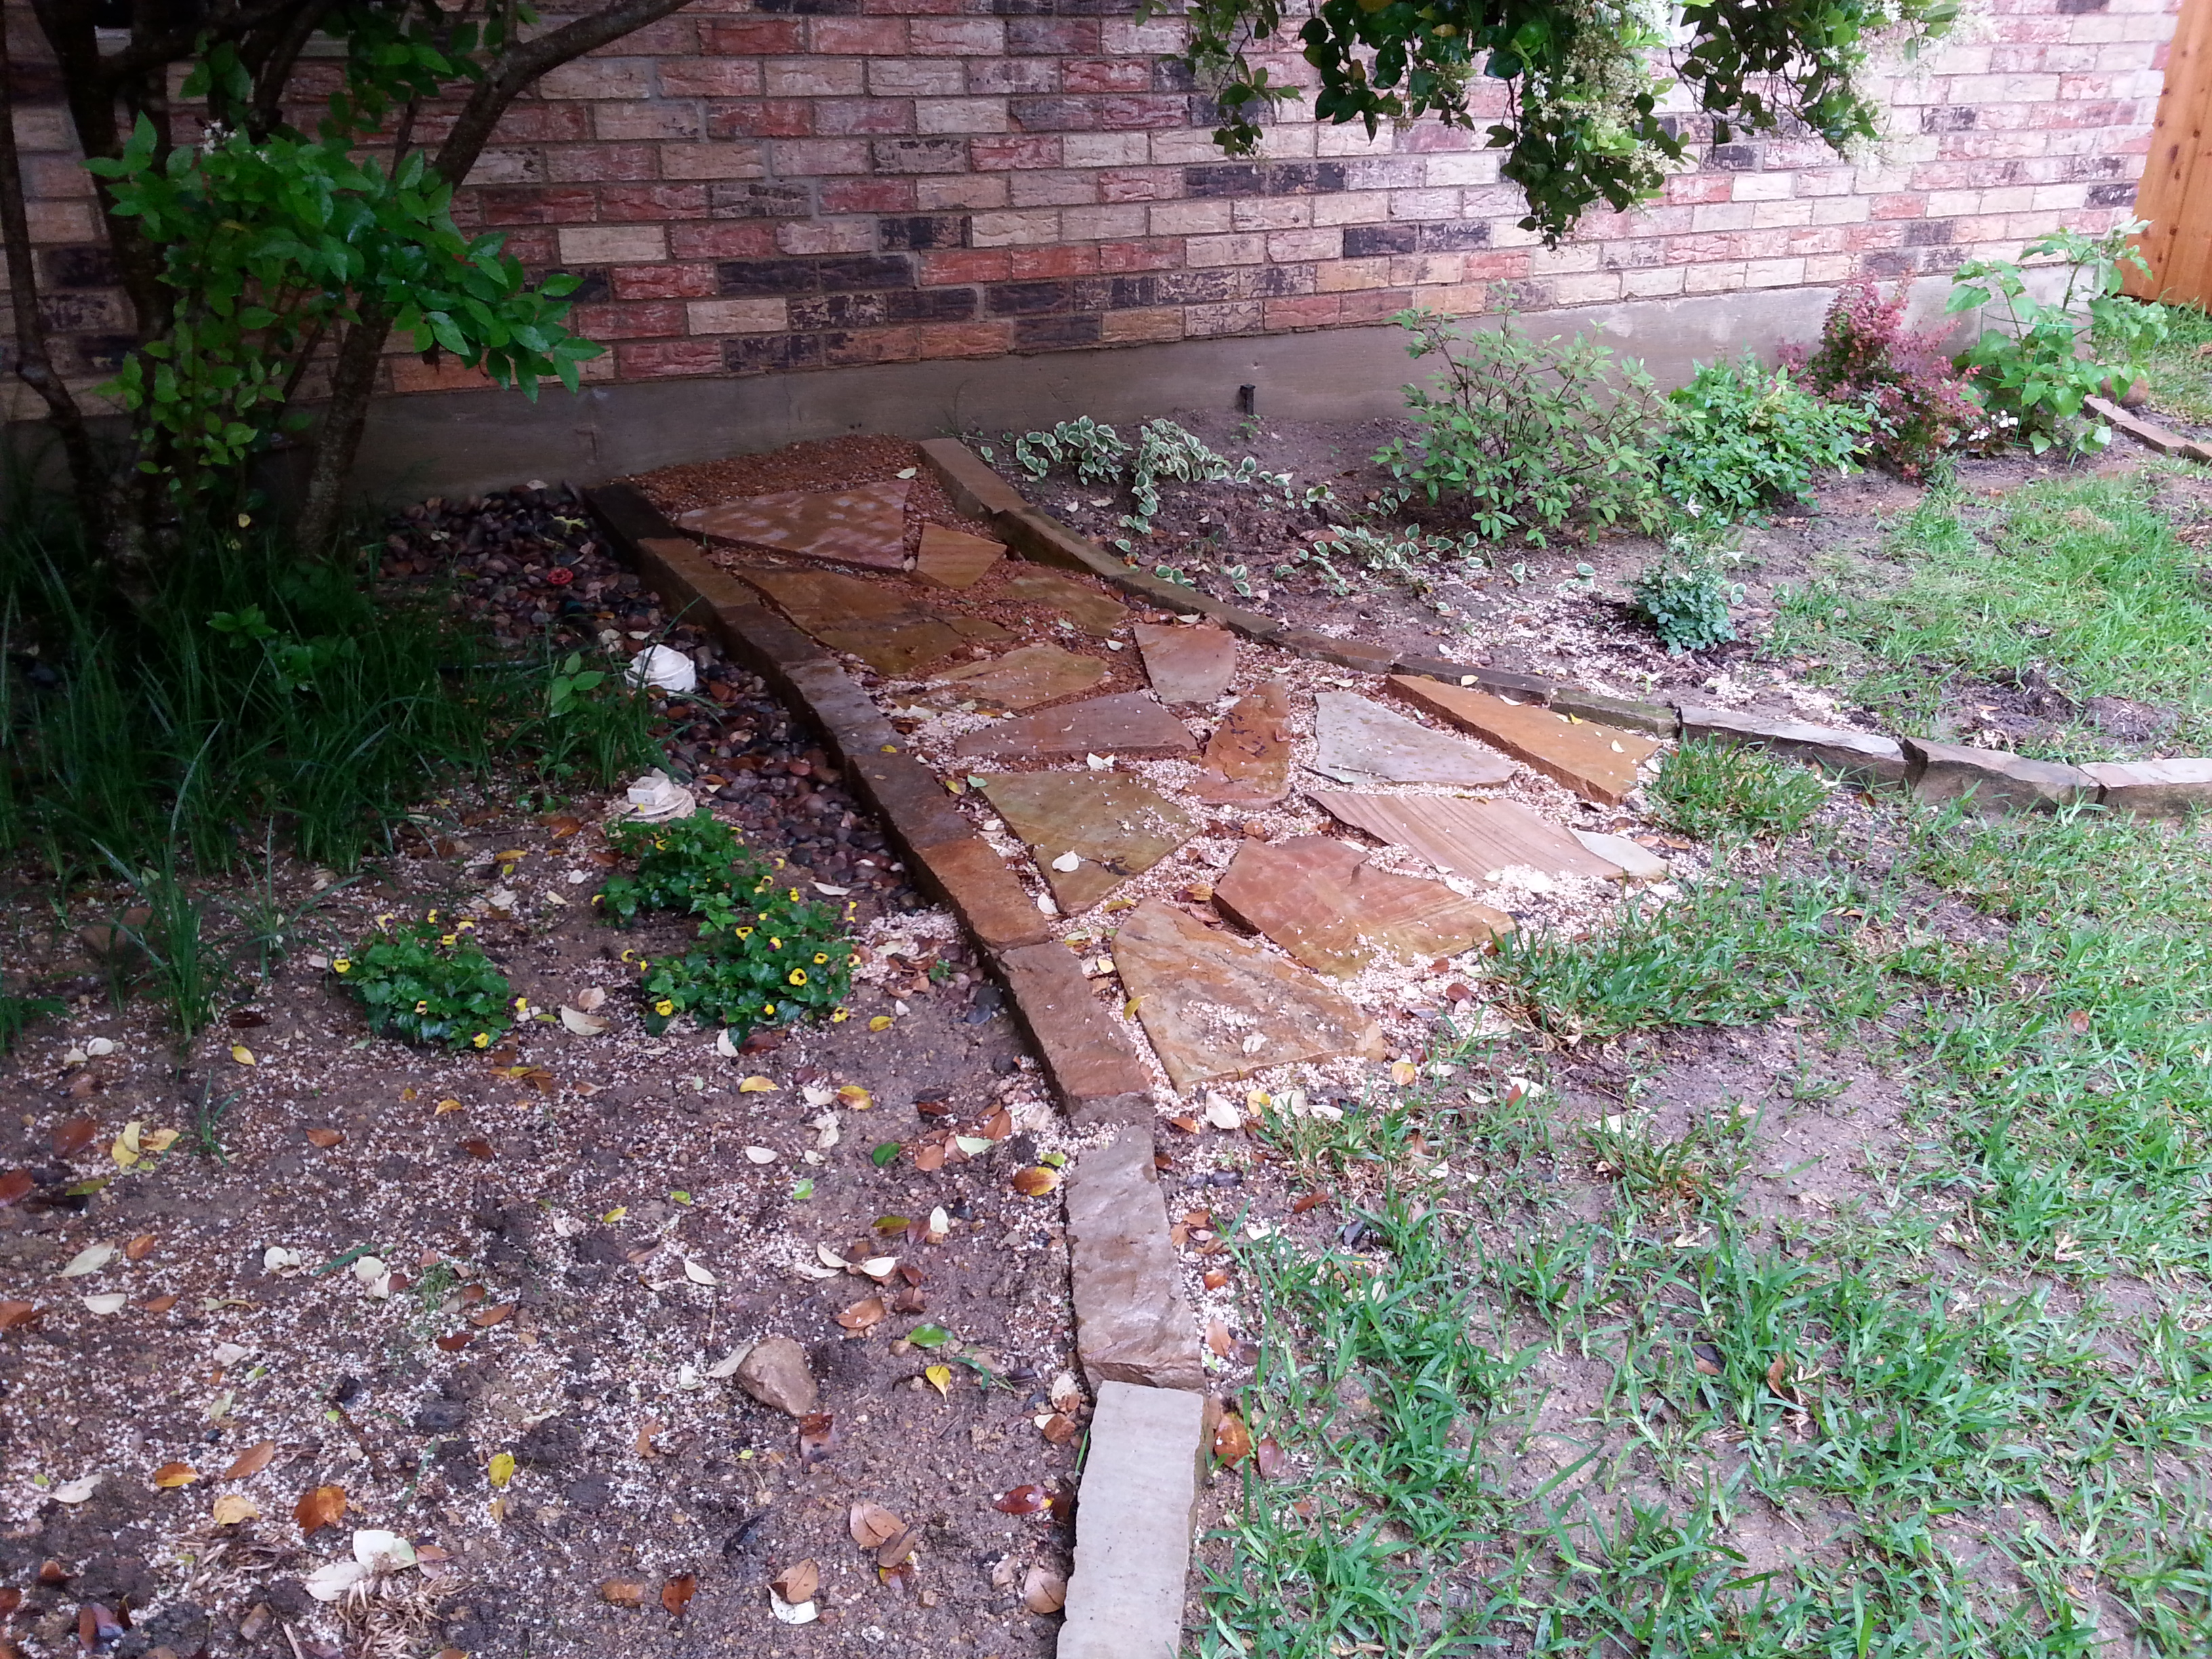
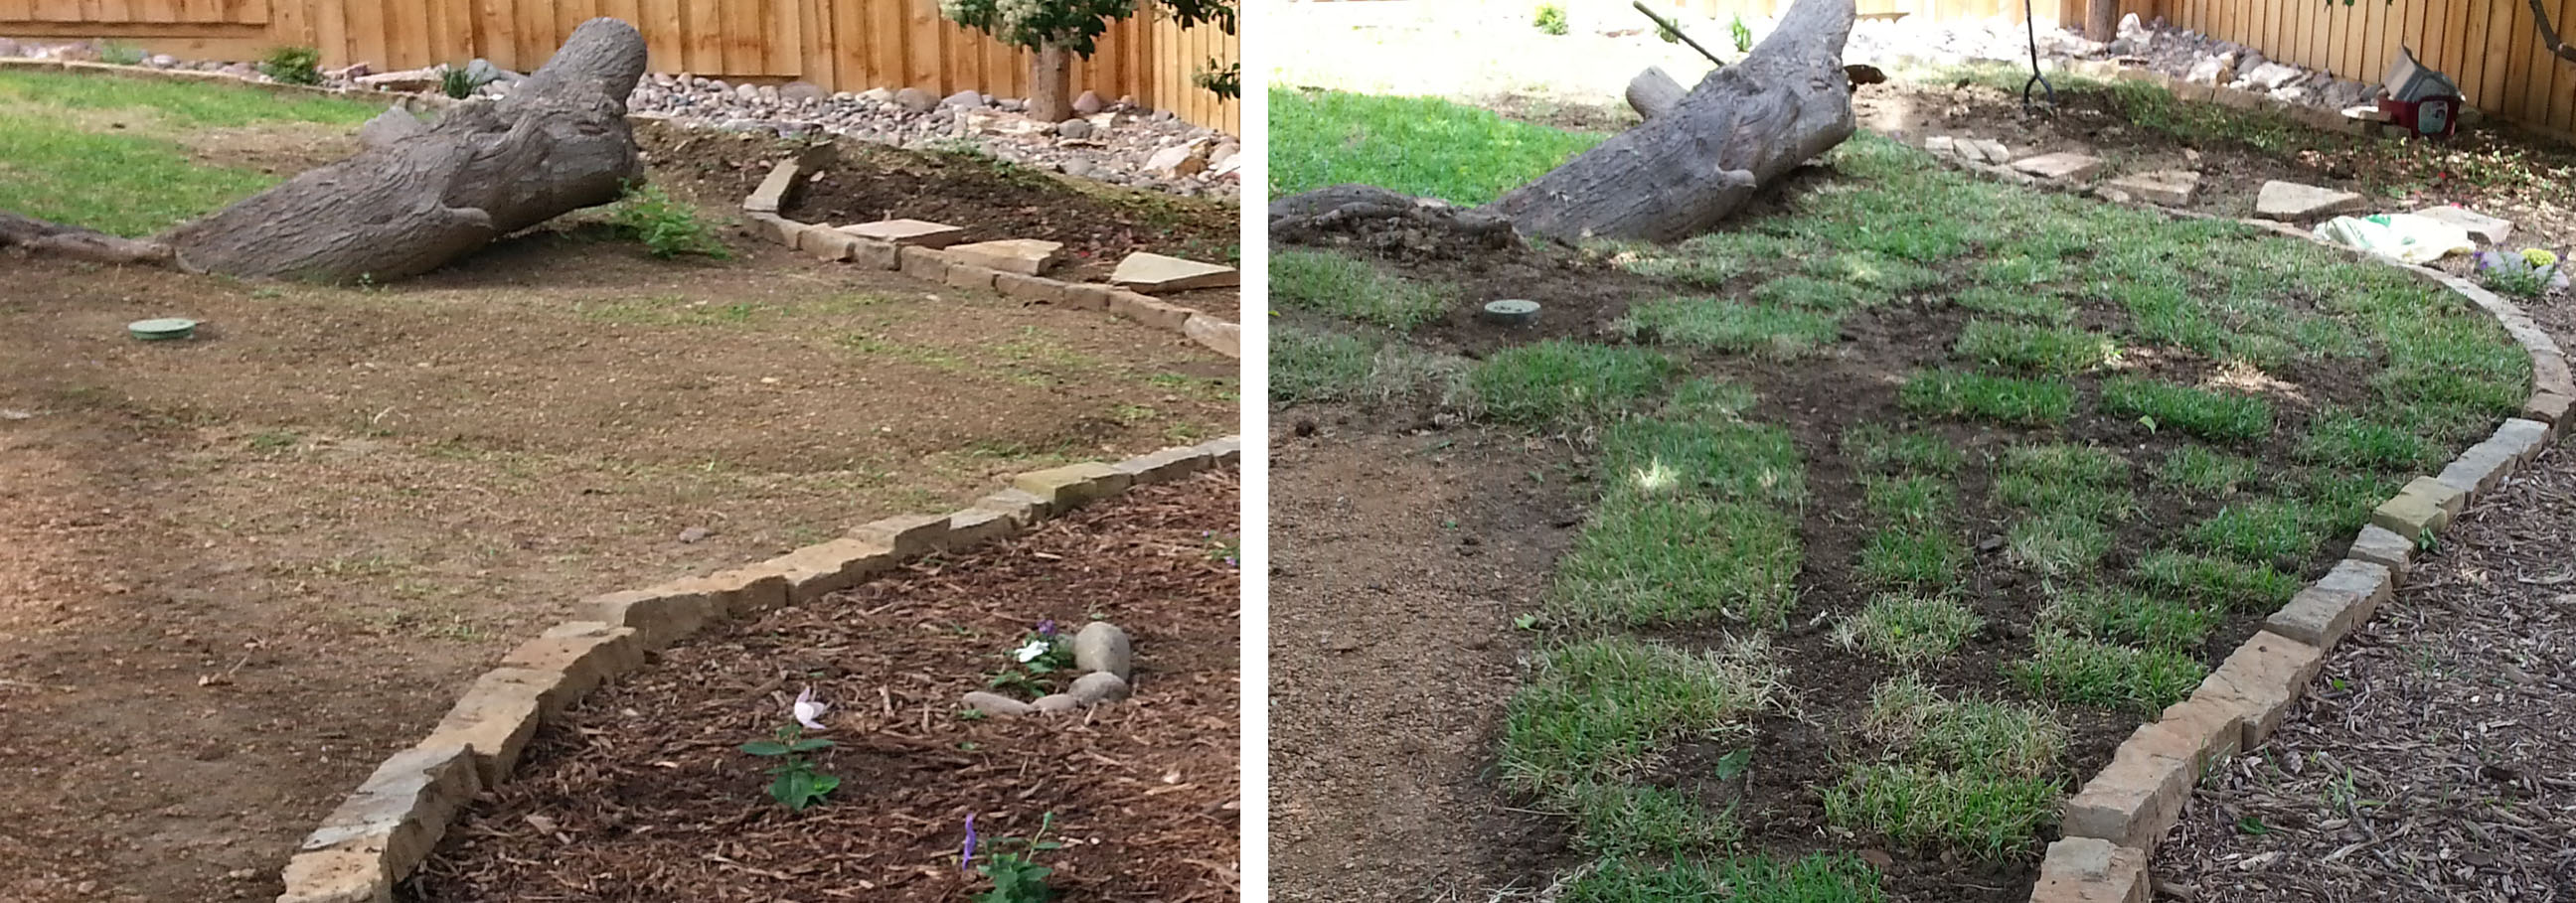
Building the two beds took the weekend, about 5 hours each day. I didn’t leave the chop rock above the ground very high. Creating a structure that holds water against the house is never recommended. The flowerbeds are more like edging, allowing the water to escape as needed. The flowerbed along the dry creek bed is higher than the beds flanking the house, this was intentional.

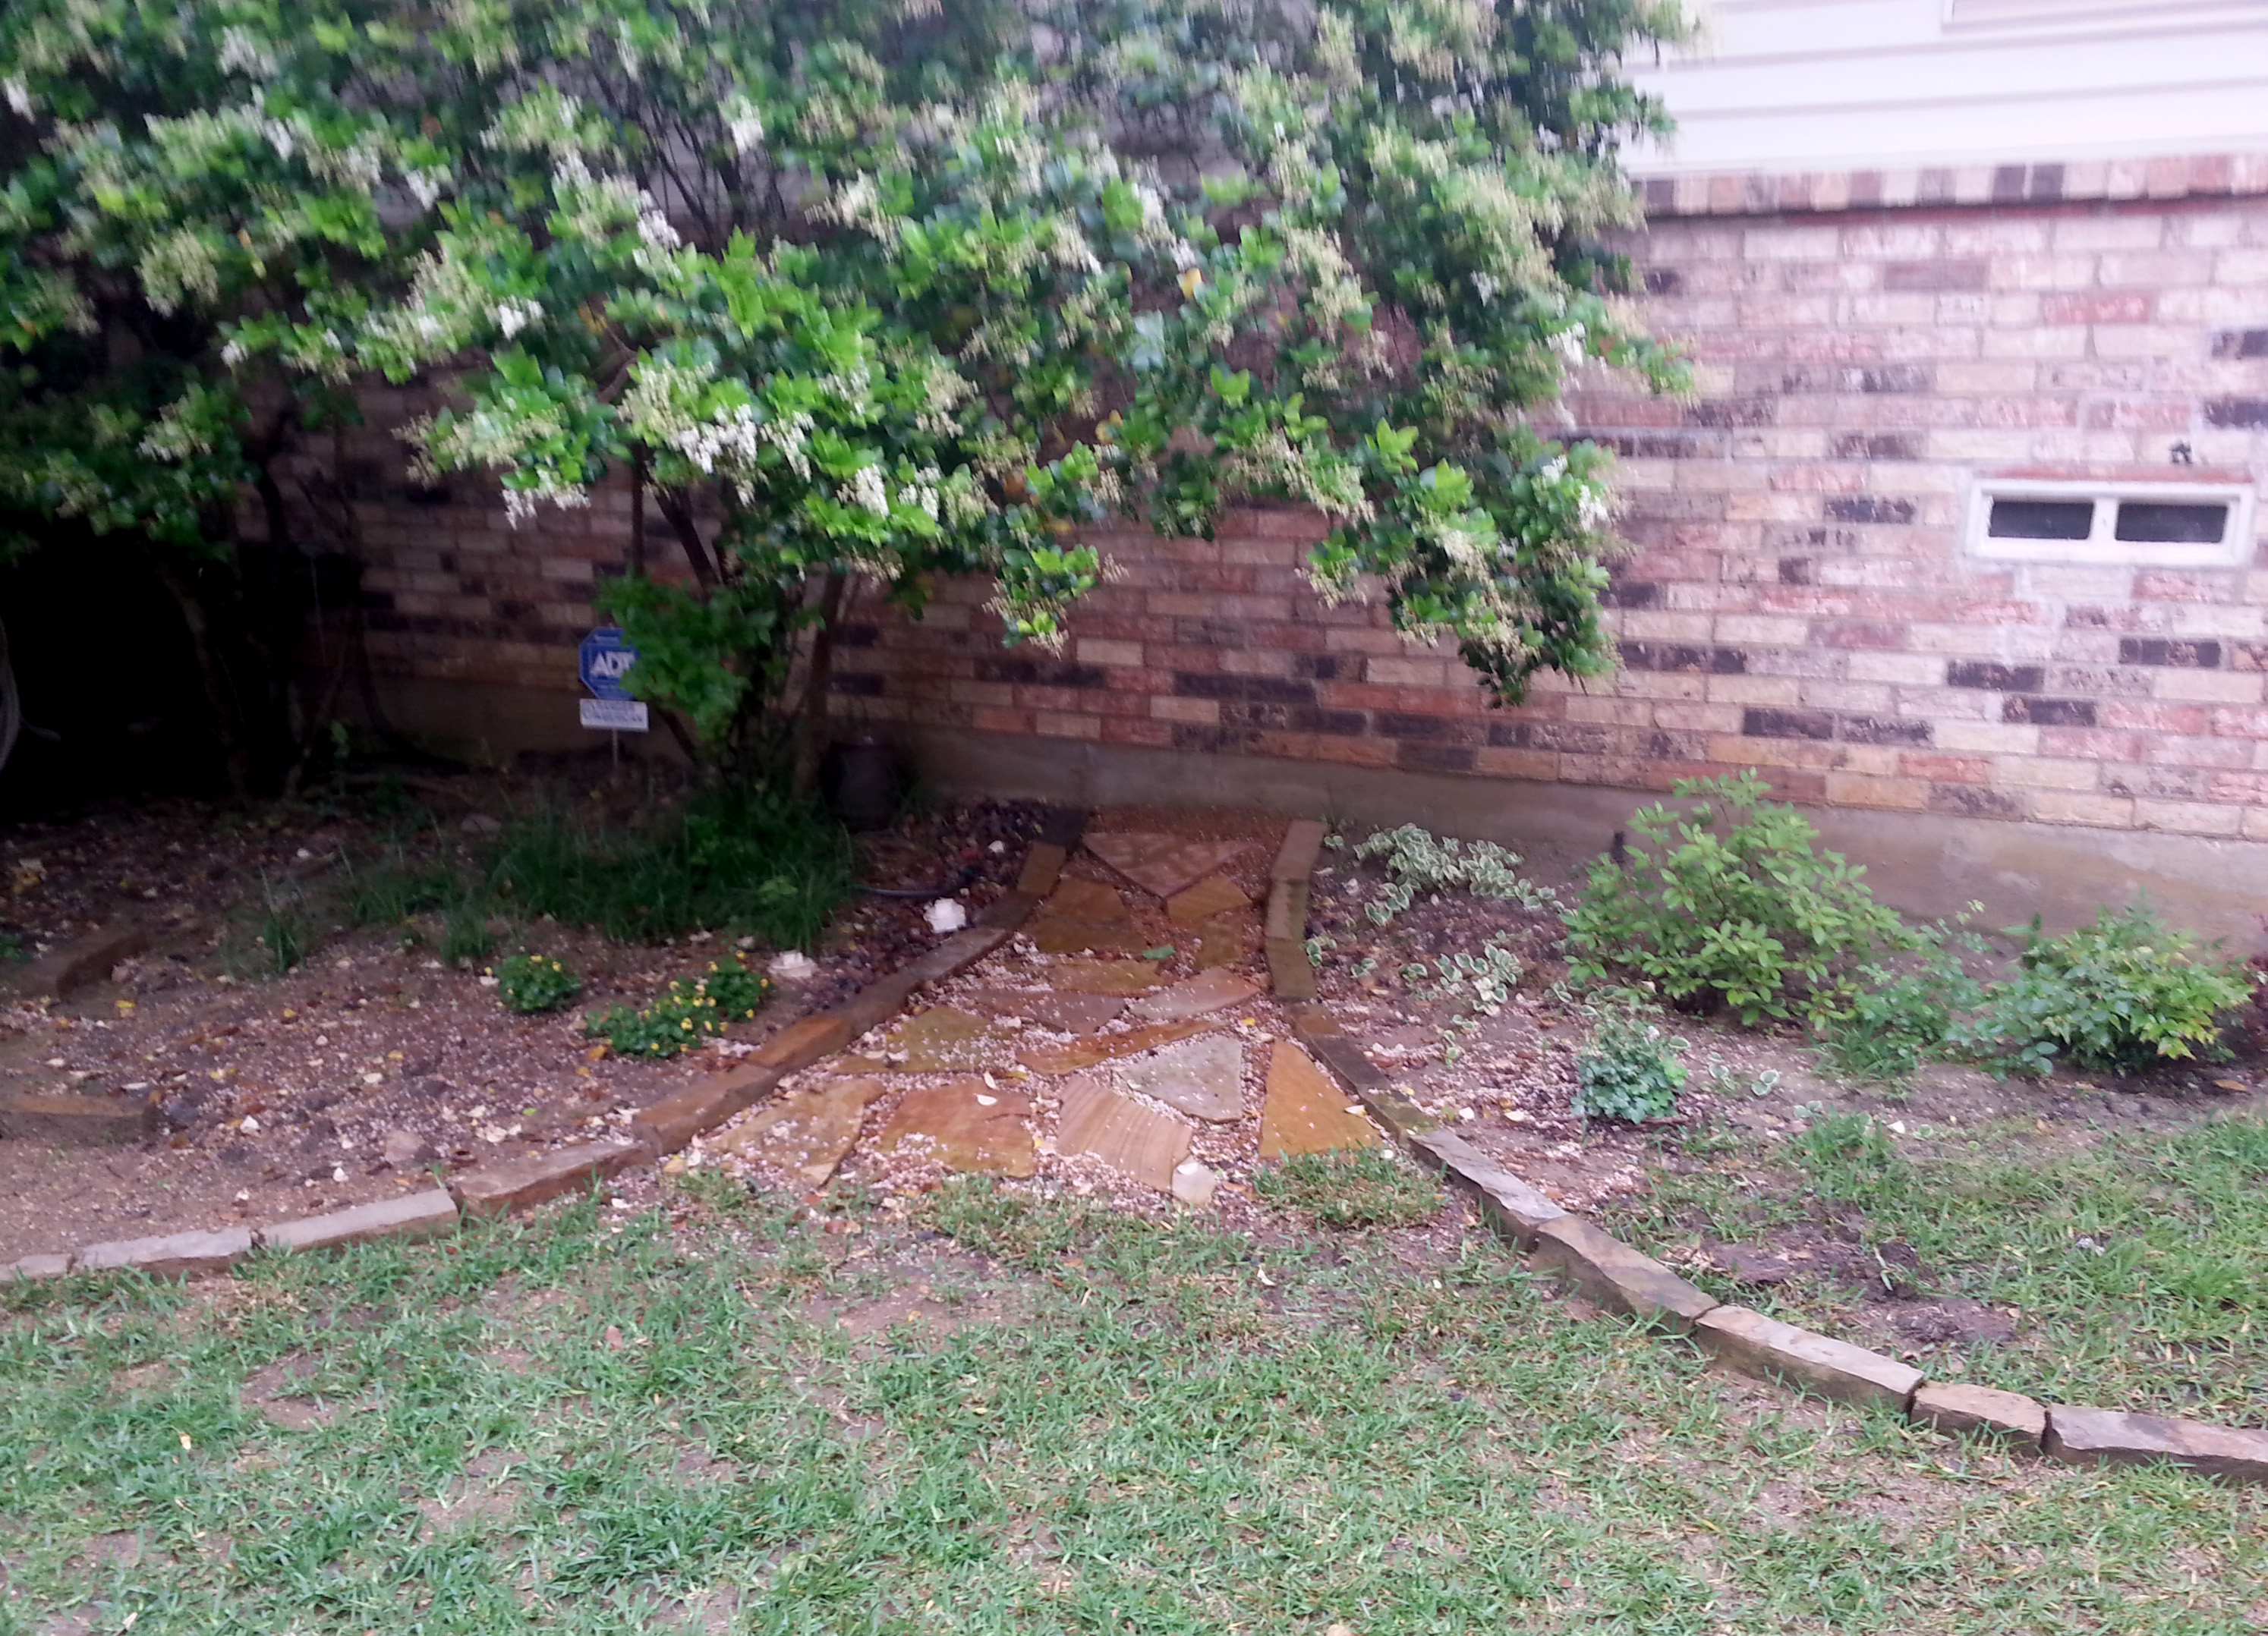
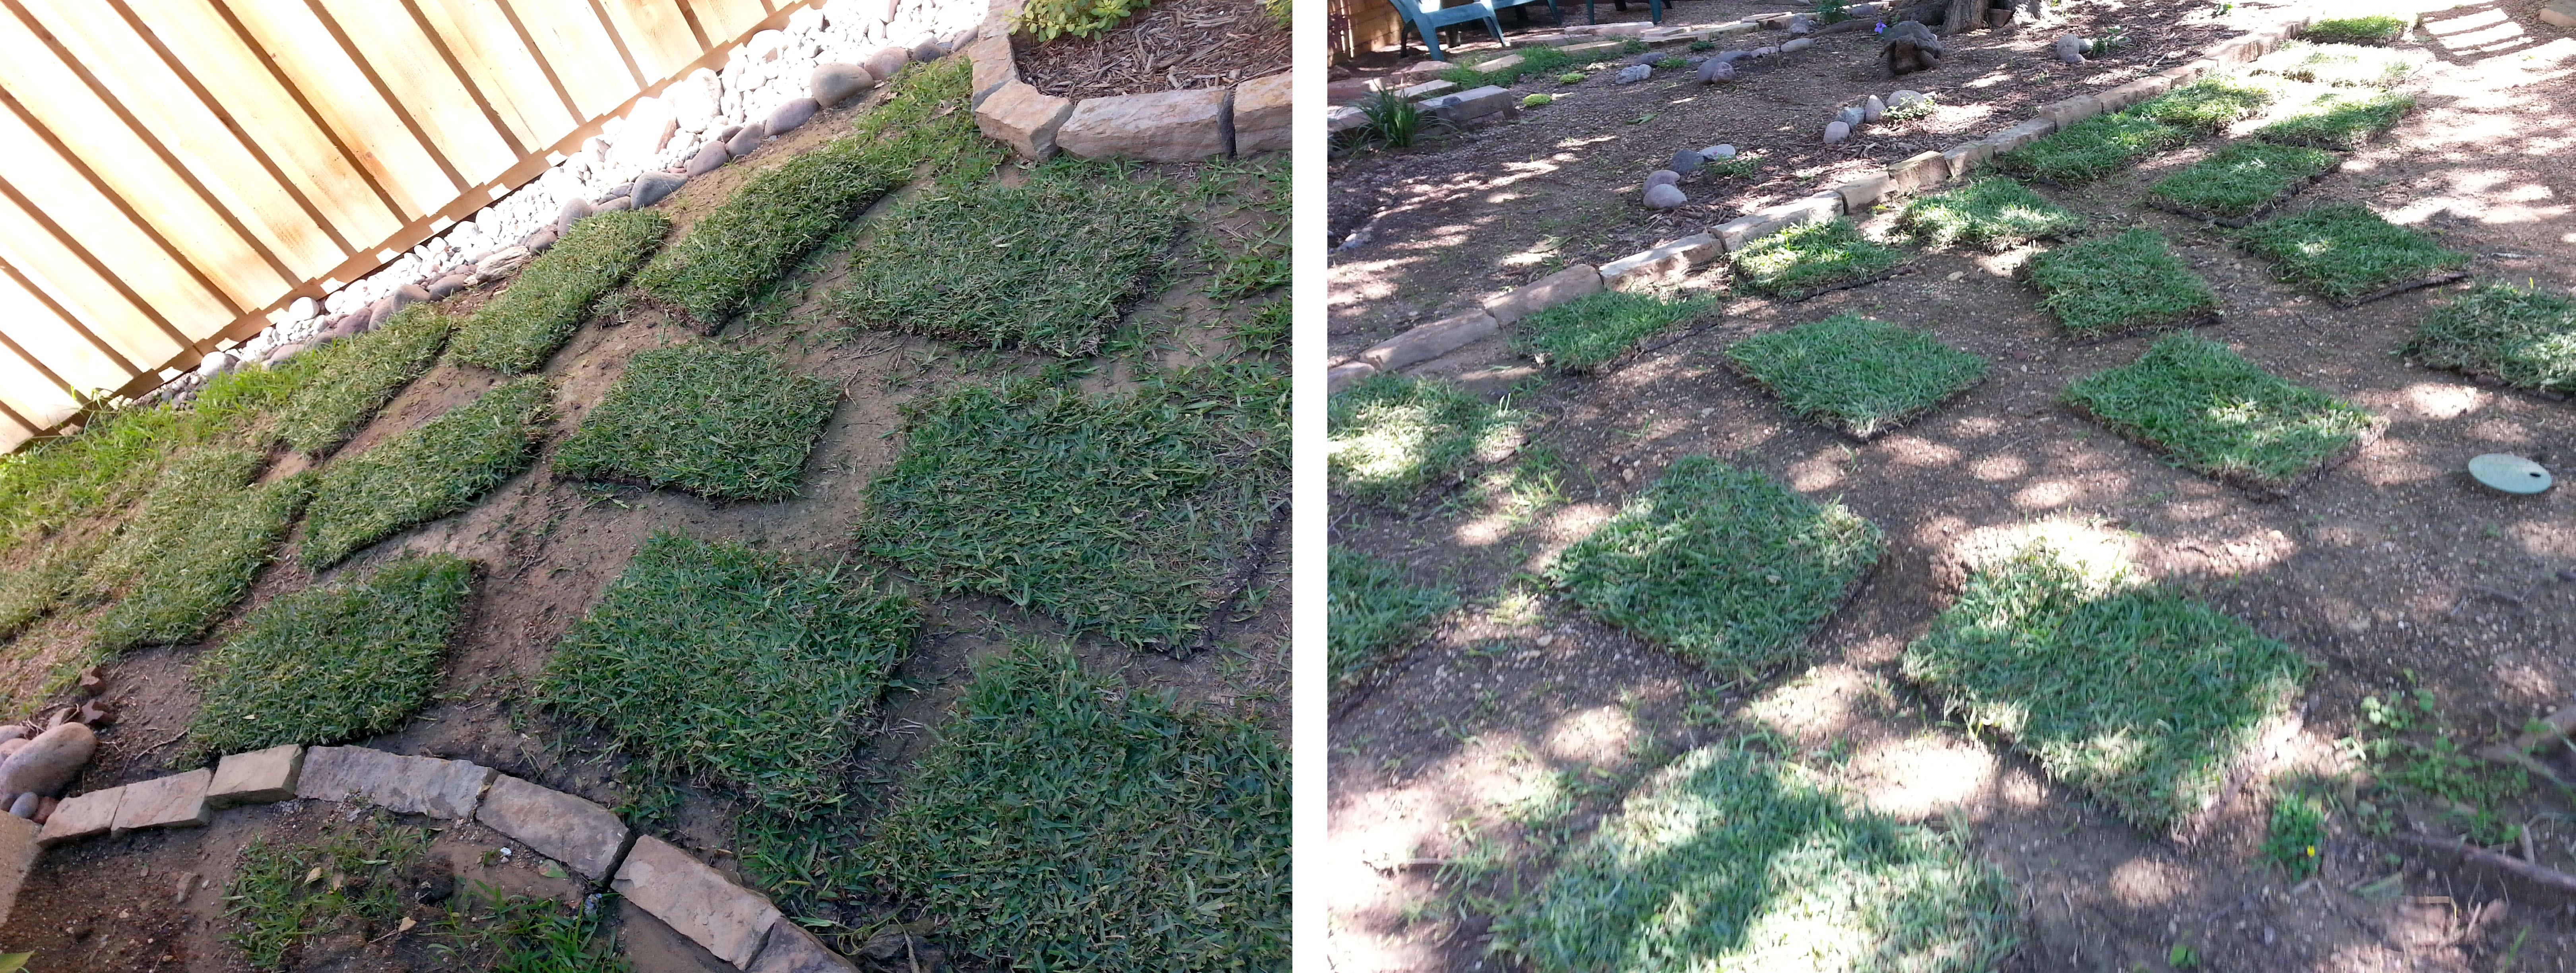
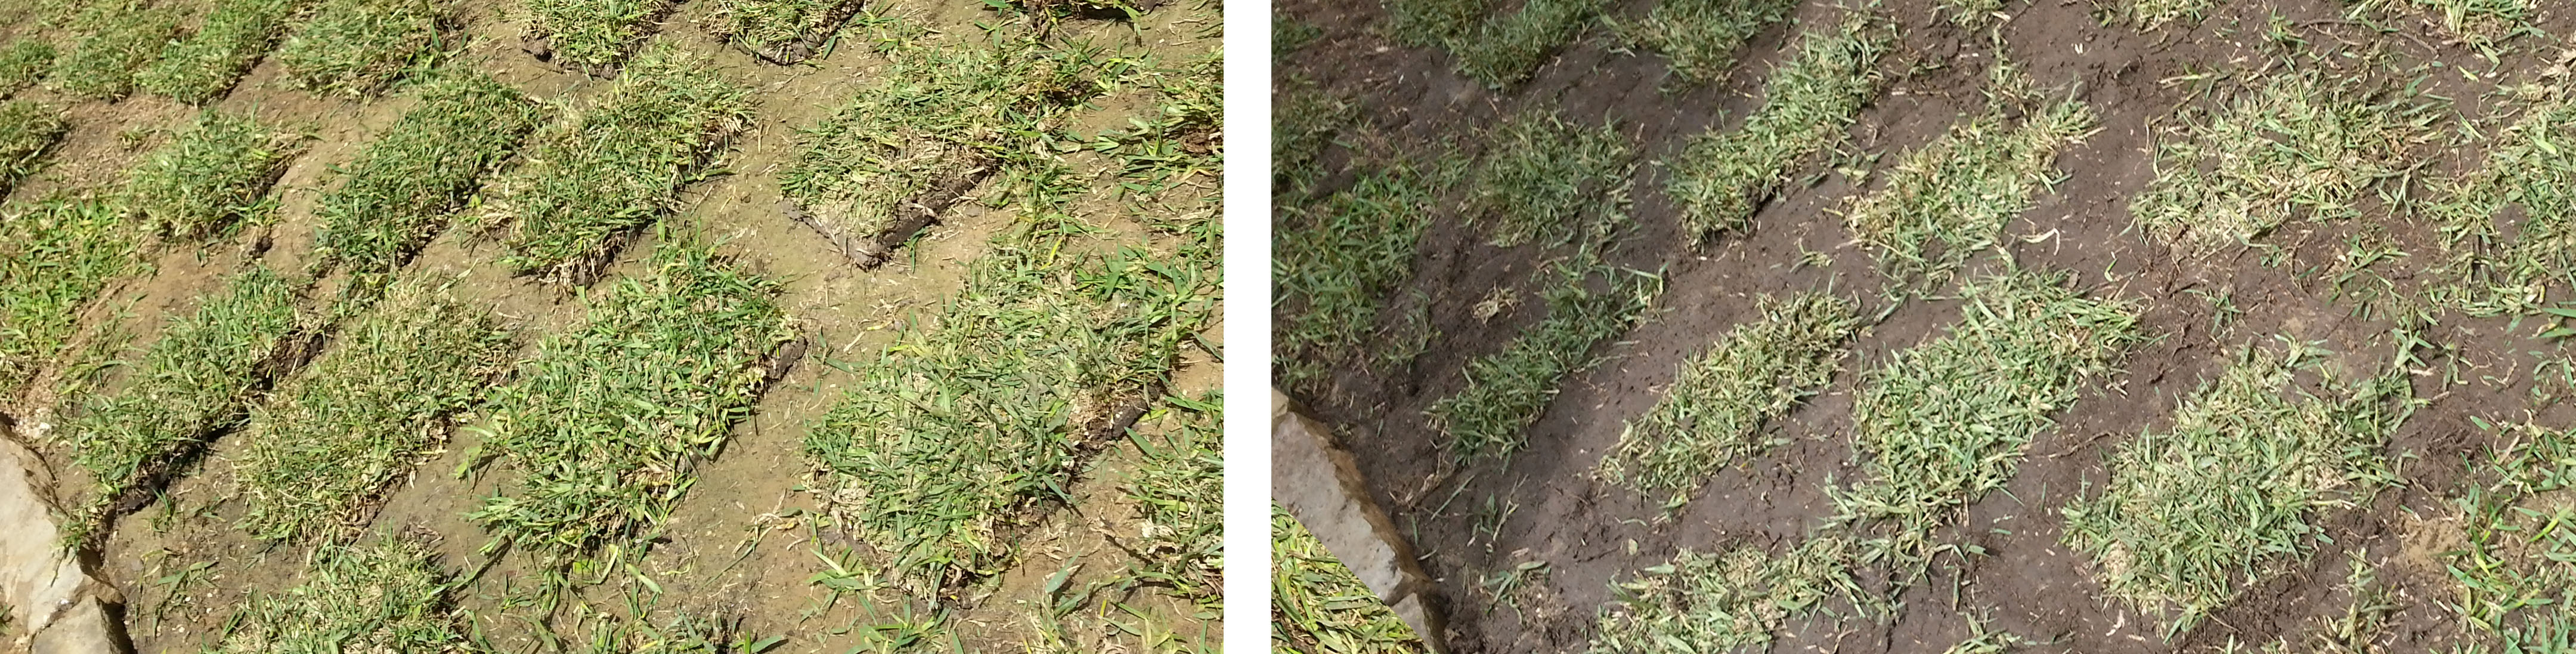
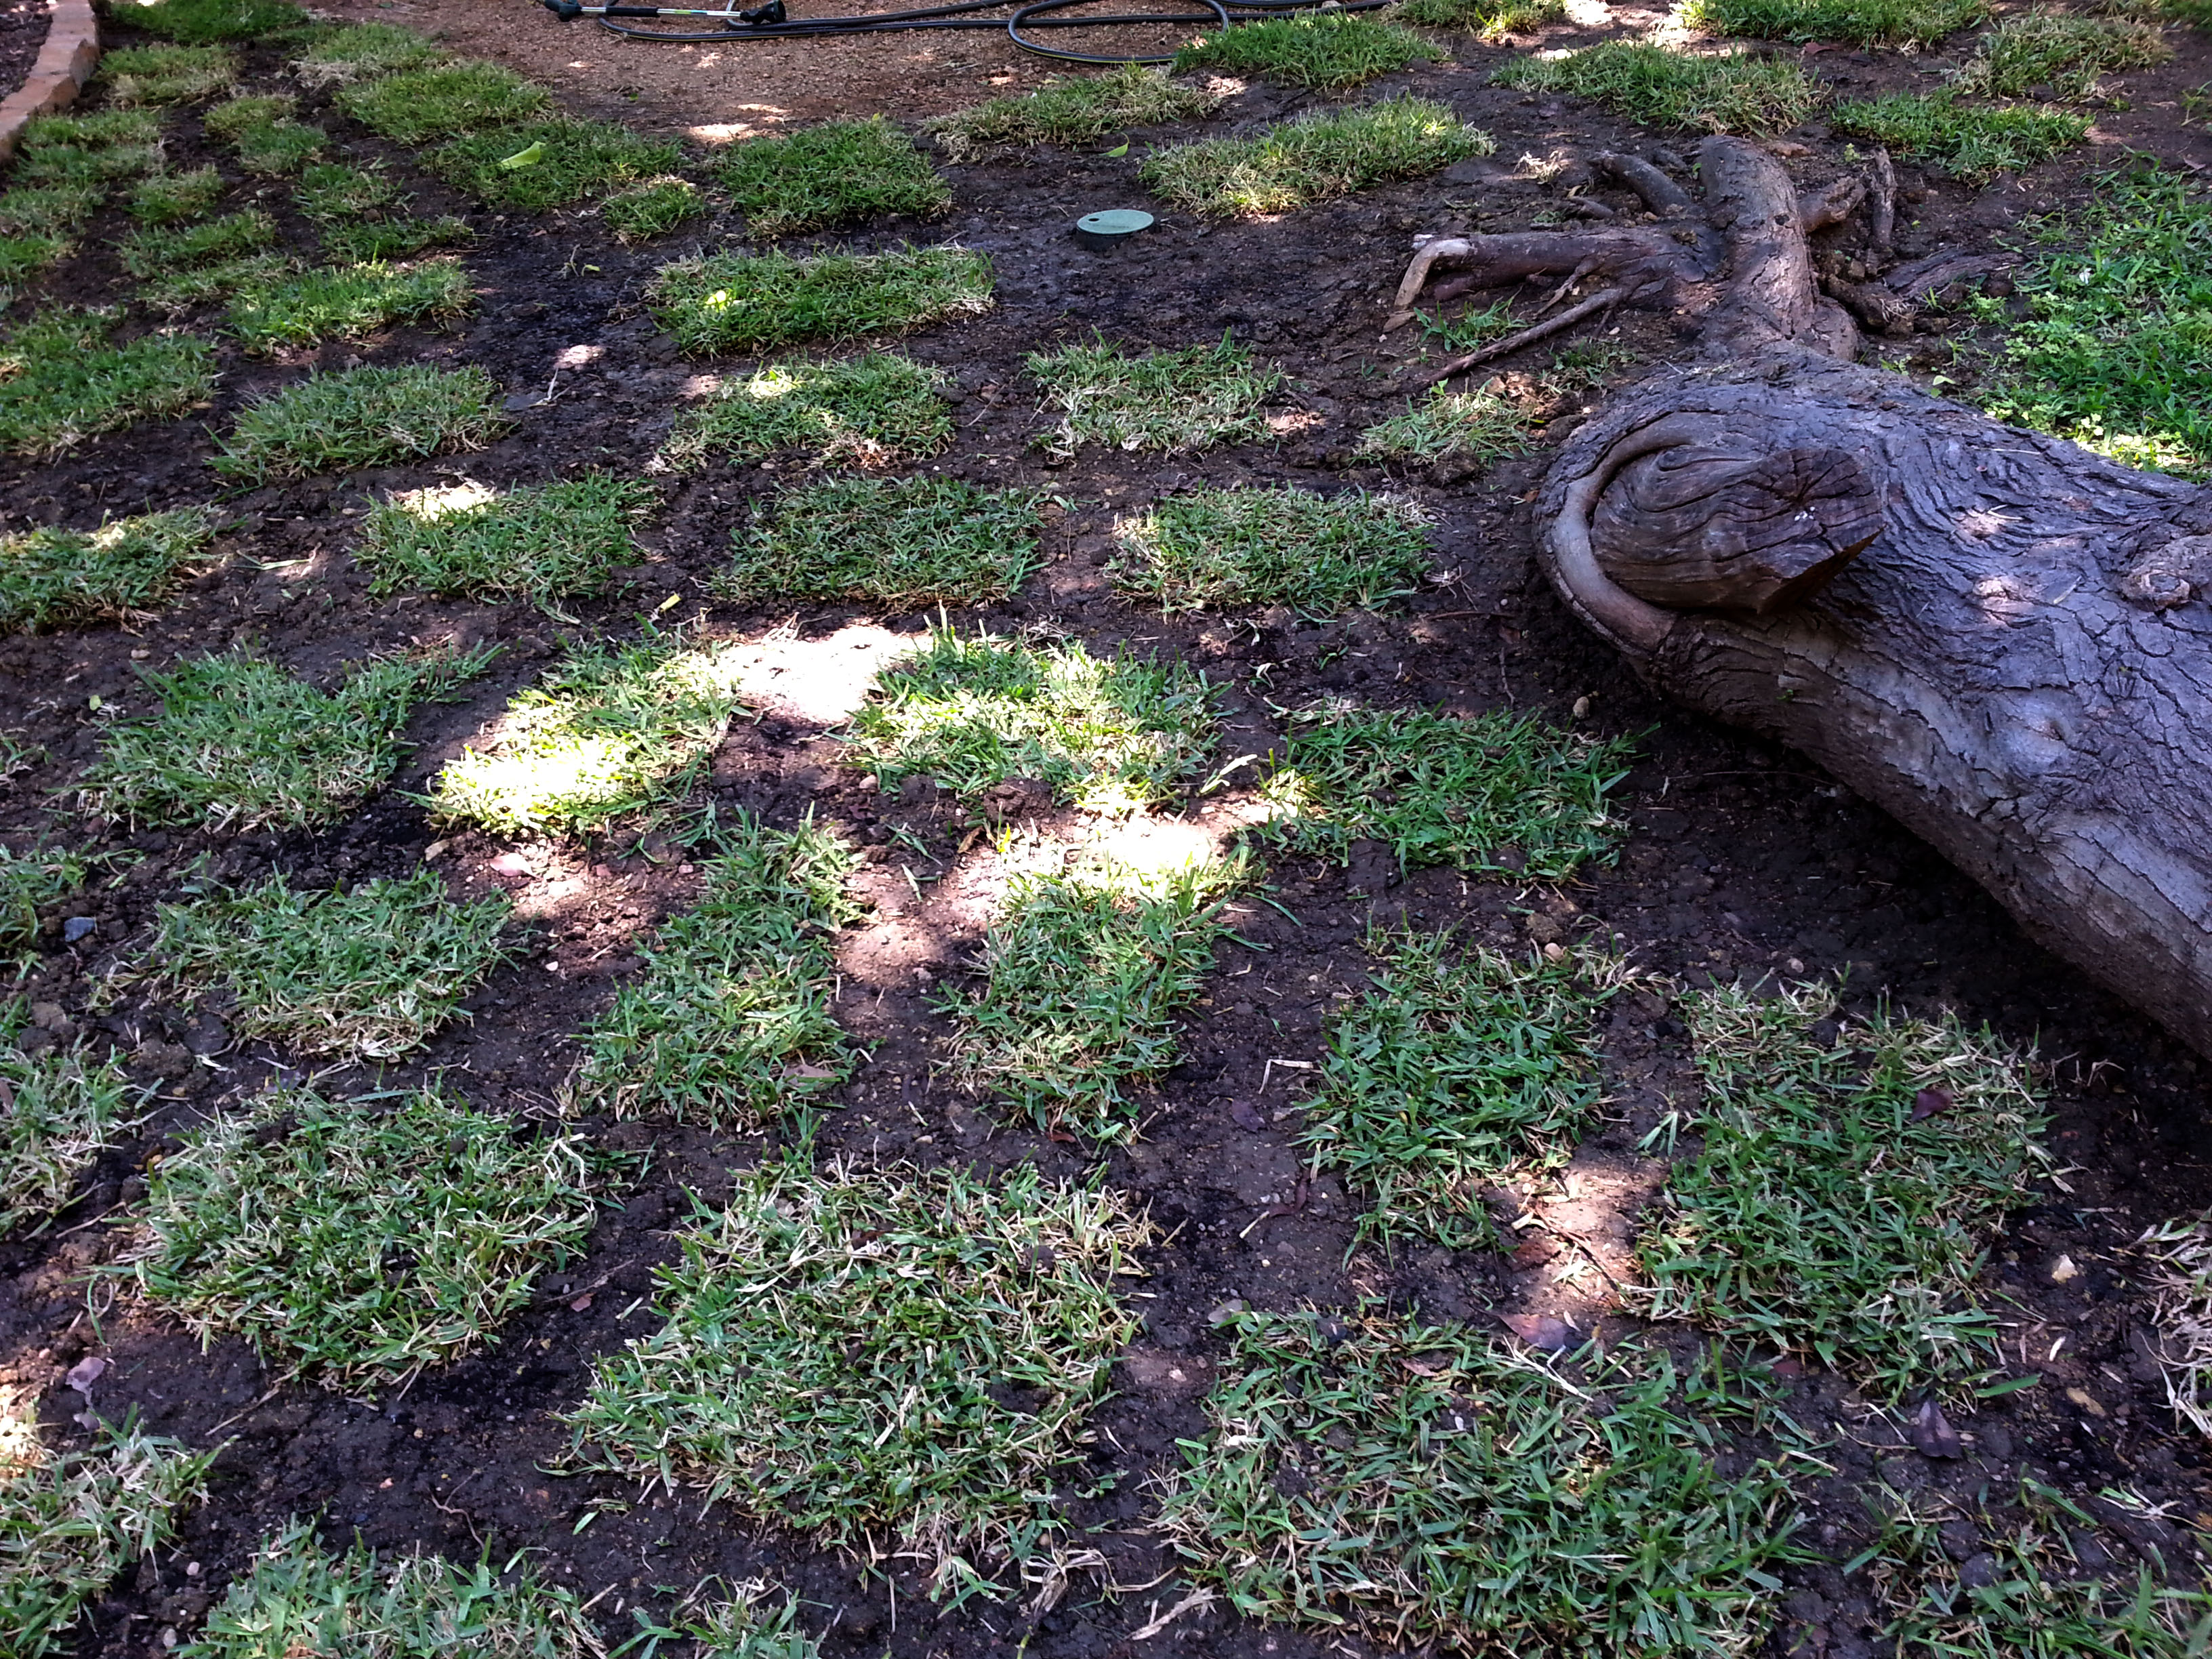
The images below, were taken this morning, a little over a month after the beds were installed.  The Dallas area had another massive storm roll through in the wee hours of the morning.

The yard is a lake, but the new sod has started to spread and the contrast in color against the chop rock makes me happy. I’m still waiting to till, mulch and plant new flowers in the two beds. The rain is a constant this May. I might get a dry day, once a week, but that’s not helpful. At this rate, the beds will be prepped and ready by July/August. The hottest months during a Texas Summer. Joy!

flowerbeds_after rain

flowerbeds_after rain_side

3 flowerbeds_after rain

Day 14: don’t be a drip

walkwaycvr3

My outdoor facet isn’t the most glamorous aspect of a yard, but it does play an essential role. Why not create a fun path for easy access? Why not, indeed!

Before I got underway, I had to determine the shape of the two neighboring flowerbeds. The path made more sense if it brought the two flowerbeds together in an eye-catching, inviting way. Once the flowerbed shape was determined, I was ready to dig in.

The “To-Do” list:
1. Figure out the final shape of the two flowerbeds
2. Dig the path about half a foot deep, incorporating a slope.
3. Add a thin layer of decomposed granite, for the base.
4. Insert chop rock along the edge of the path
5. Place the flagstone randomly along the path, until it “felt right”
6. Add more decomposed granite, between the stones until it is flush with the top edge.
7. Incorporate a small river rock section encasing the facet, to keep the mud to a minimum
8. Smile.

side note: The path was built on a slight slant to ensure excess water wouldn’t pool against the foundation – a huge no-no.

walkway_thedig

walkway3

walkway9

20150510_131924

facetpathway

Day 13: sod it to me

Before the sewer line break, I had a lush St. Augustine lawn, afterwards the yard was reduced to a muddy mess. Muddy, because DFW has experienced one of the wettest Springs in recent years. Yes, all this rain is great for the area lakes but bad news for my exposed, naked, sloped yard. Without grass to hold the soil the backyard is basically washing away.

At the first hint of sunshine, I made plans for my next project, sod.

To start, I needed St Augustine grass. I tried several of the local “chain” home improvement stores, no luck. I called my favorite nursery, Covington’s in Rowlett. Great news, they currently had 200 pieces in stock. Thrilled, I jumped in my Jeep and headed to the nursery 40-minutes away.  When I arrived, I was informed they had just sold the remaining grass, less than 15 minutes earlier. Disappointed, I smiled politely, thanked the staff and walked away. A nice young man quietly followed me out of the shed and gave me the name of the nursery’s turf supplier, a family-owned business A & W Turf, located less than 10 minutes away. 🙂  With a grateful smile and a handshake, I was on the road once again.  The grass was super healthy, lush, and harvested the day before from a local farm. They loaded my trusty old Grand Cherokee with as much as it could hold without blocking the back window, 64 pieces in all.

http://www.covingtonnursery.com.     www.awturfgrass.com

sod_jeep2

Because the backyard was still super saturated and muddy. I decided to haul the sod from the Jeep to the backyard via a direct route through my house.
No joke, that’s exactly what I did.

housesod3

Once the sod was unloaded, I placed the sections out across the yard in the areas I planned to cover. I didn’t buy enough sod to blanket the yard, so my plan was to use the checkerboard approach. Cut each piece into 4 pieces, place each piece apart staggering each row, like a checkerboard. Once the St. Augustine takes root, the grass should fill in, within 3 to 6 months depending on weather conditions.

sod_layout2

Repairing a yard can be a slow process. The ground should be moist before you begin. Remove any rocks and debris. Dig a section of ground, loosen/till the surrounding soil, amend the loosened dirt with “soil builder”, plant the grass plug and cover the edges with soil. Once you’ve completed an area, it’s important to water it in. Walk on or tamp the sod into the ground so it will make good contact with the soil underneath.  This procedure is for repairing areas. To sod a complete yard. The process varies slightly.

before_after

This project took a total of 6 days to complete. The first day I spent 4 hours on the pathway that leads from the front gate to the back and then the area along the bottom of the dry creek bed. Throughout the week, after work, I spent the last 2 hours of daylight sodding the center of the yard. Finally when Saturday rolled around I was able to finish the center and filled in random bald spots in the yard with the leftover scraps.

beforeafter2

Next comes the fun part, watering every day. The information I found online indicates you should water in the mornings, daily for 10 days. Followed by three times a week for several weeks then you should be able to begin a normal watering routine. My yard is so waterlogged, it’s a delicate balance. I water the top of the grass very lightly, so the surface is slightly damp. The yard stays wet from day-to-day, so a good soaking is not currently required. The grass is still green and I’m watching for dead spots. The Dallas area has seen it’s share of rain for the past couple of days and the forecast indicates continued rain for the next 7 days. This is a mixed blessing. The ground is too muddy for the grass to take root, but the rain has nutrients to help the growing process.  Only time will tell if my sod will take, grow, spread and flourish.

growbabygrow