guest bathroom 2: let’s get started

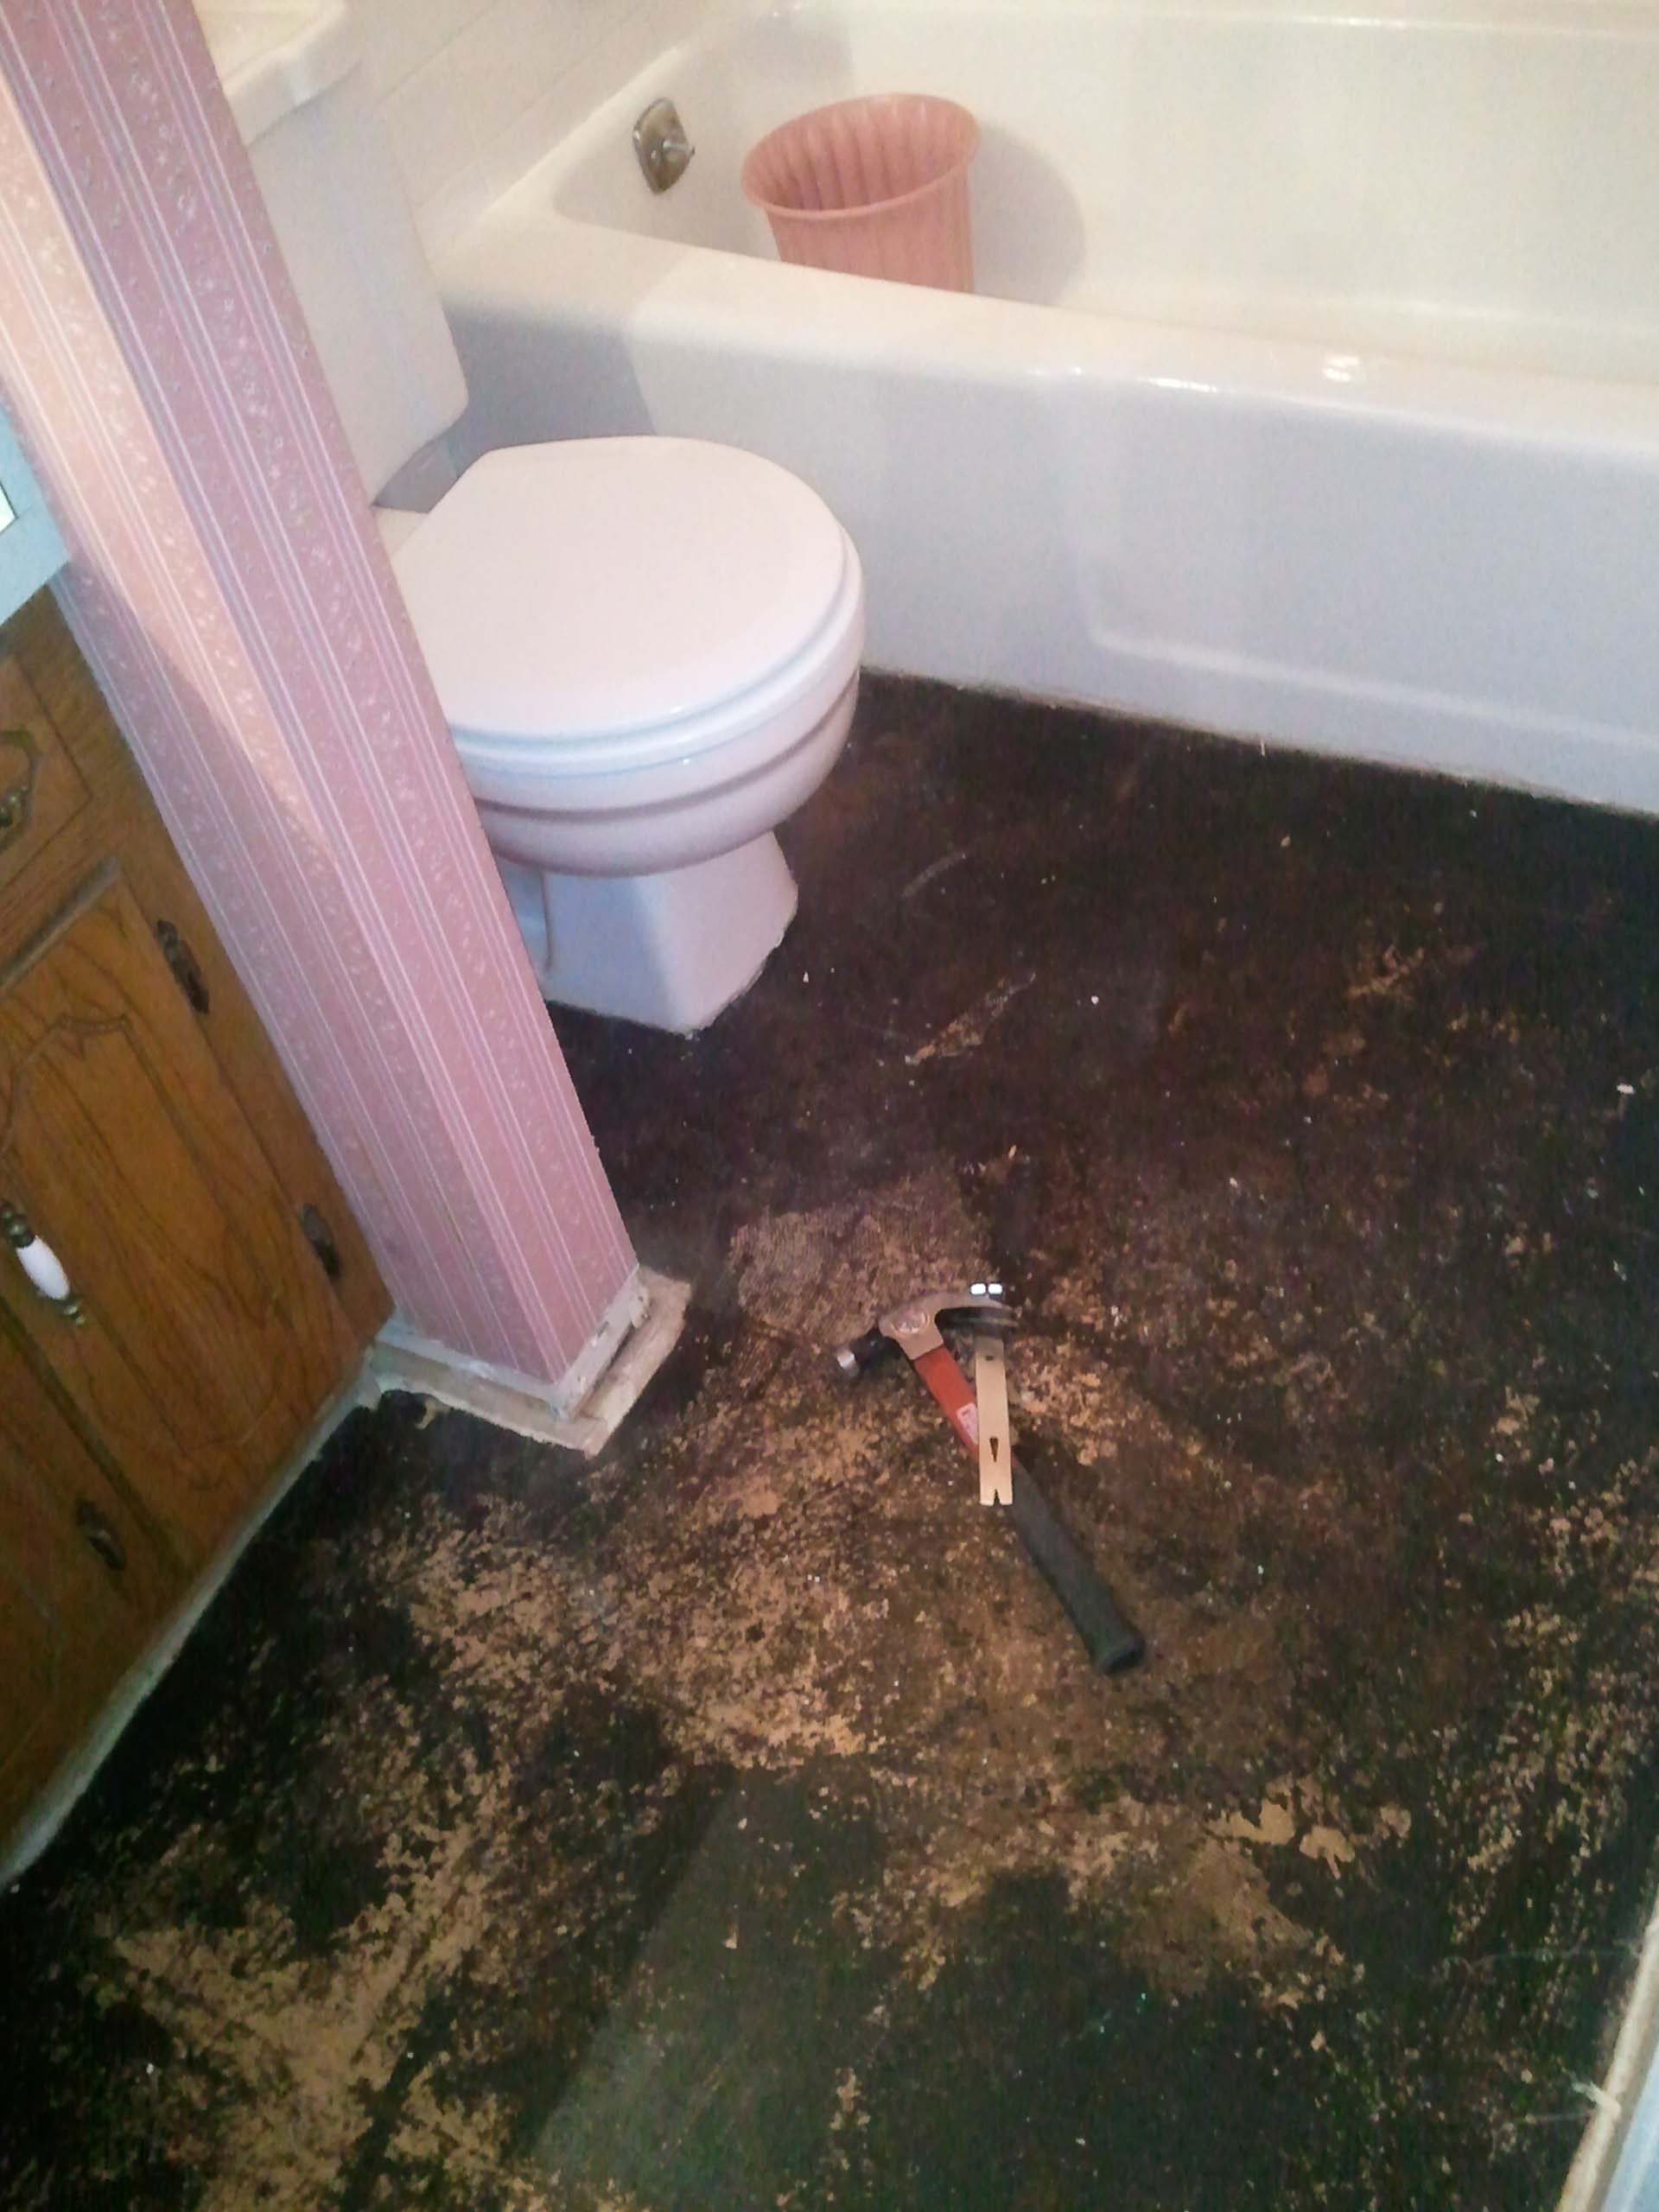
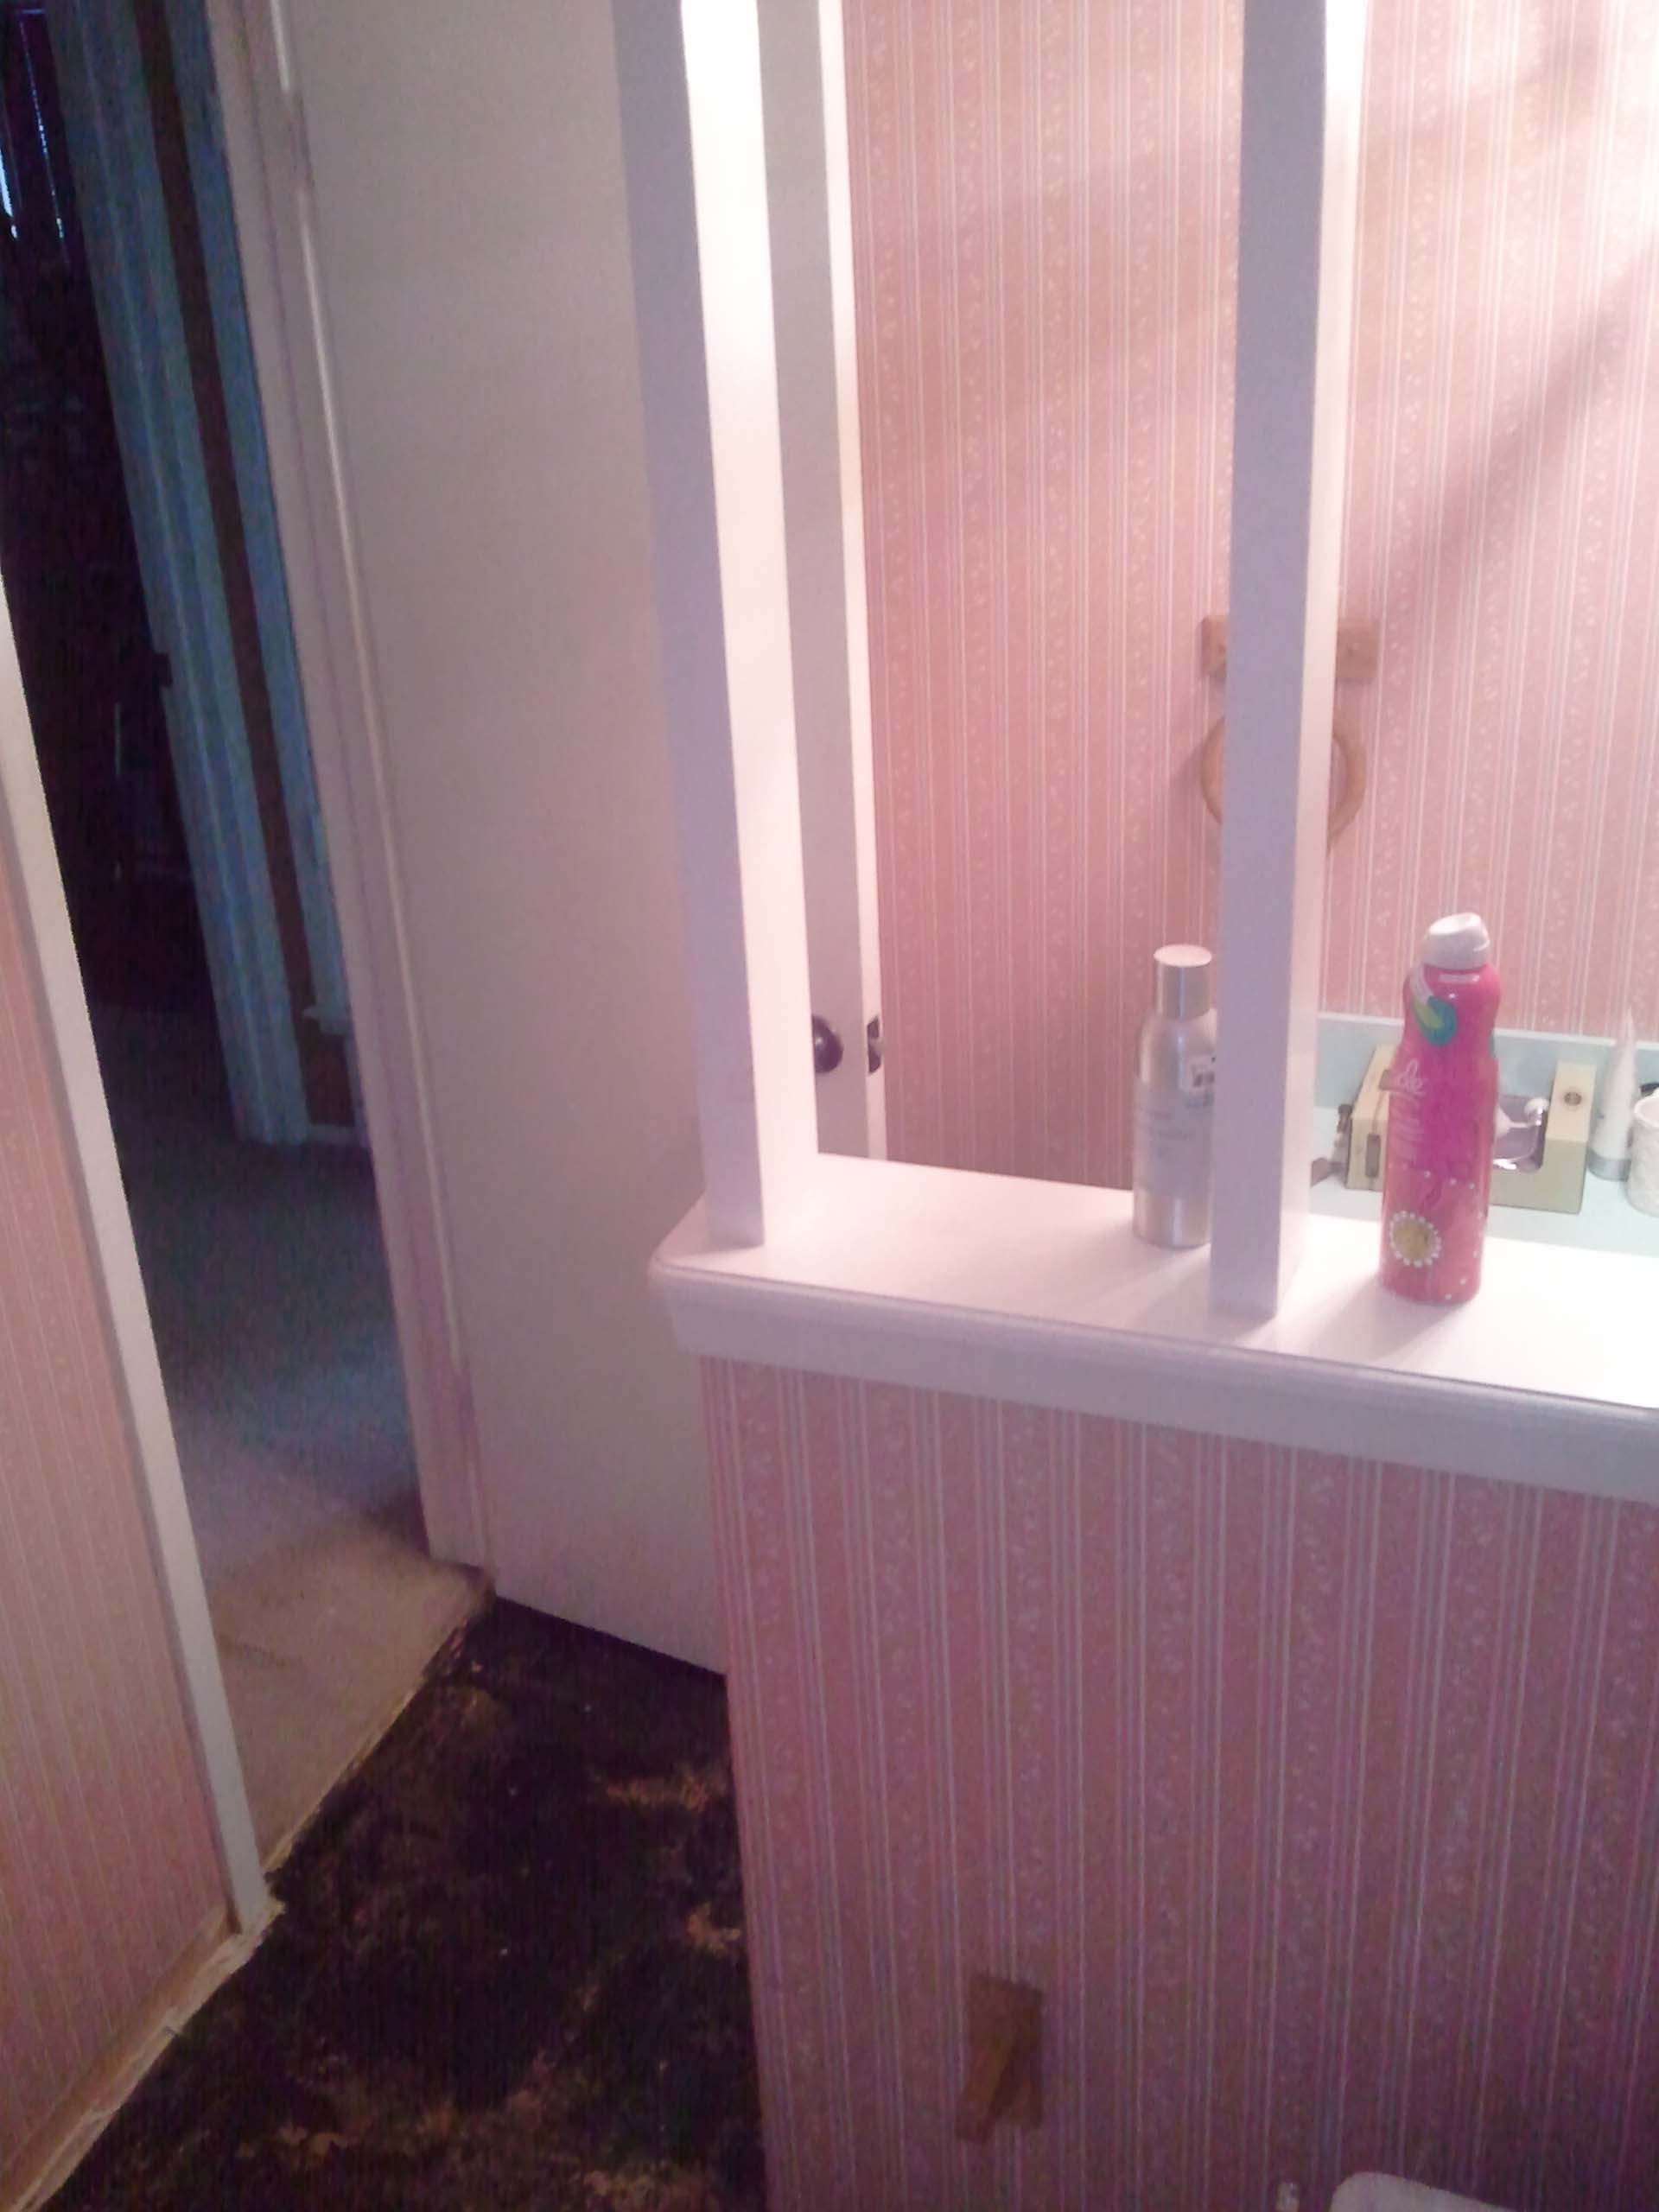
In 2012, linoleum peeling up from around the tub was just the motivation needed to start a “small” bathroom refresh. I was foolishly under the impression that removing the floor would be quick and painless. Not true. Not even close. The previous home owners had apparently glued linoleum directly on top of another deteriorating floor. Removing both layers proved to be slow and tedious. First, I removed the edging, it was tricky and I left the wall above with minor dings and holes which I patched. Pulling up the floor required, a mallet, a hammer, a small pry bar, a chisel and a lot of arm strength for ripping up the larger sections.

Please note: When working with unknown materials and substances use caution. During the removal of the floor I wore long sleeves, gloves, goggles and a particle mask.

The actual floor was installed by a professional flooring company. My house is pier and beam and I wanted something that could move with the normal shifts. I opted for Luxury Vinyl Country Naturals Handscraped Wood by Burke in Light Oak. Two years later, I’m still extremely happy with the choice.

http://www.burkeflooring.com/products-flooring-luxury-vinyl-20-mil.php

SAMSUNG

Day 7: The Fence

Three days, one broken auger, an irritated neighbor and a whole lot of cash later; my gorgeous new fence is complete. I’ve decided not to bore you with the blow by blow, since I can’t categorize this as a personal DIY project. I will however, share before and after photos.

rustedshed_gone

_

before_after_

newfence

Day 6: wide open spaces

My temporarily, vast backyard untethered by the constraints of cedar is enjoyable if only for a brief moment. The new view was quickly overshadowed. The company’s auger creating the holes for the posts decided to jam and is no longer in service. The small crew of 2 has been relegated to “old school” manual labor. Yuck. I’m sure I will be paying for the auger when everything is said and done.  I don’t believe the fence will go up in 2 days as originally scheduled. The sun will set in less than 2 hours and they are only 1/3 of the way through digging. No posts have been installed. Boo.

no fence

Screen Shot 2014-11-10 at 12.33.14 PM

Day 5: the tale of 3 fence styles

Fence 1: Pure Privacy. Roughly three years ago my East neighbor installed a lovely constructed privacy fence that stands 10-ft tall at the furthest edge.  Fence 2: Lovely Lattice. The exquisite 7-ft lattice number was installed by your’s truly along with my pop. The fence was constructed about 9 years ago and is still in fair condition.  Breaks my heart to part with the fence, but I need uniformity in the yard, so it must go. Fence 3: Ugly Chain-link. I’ve hated the sight of the chain-link for 14 years. The fence was installed by my West neighbor before I became a proud homeowner. Did I mention the great view of their rusted-out tool shed?

Not really a DIY project, the new fence installation begins.  Bye-bye chain-link and my lovely lattice. Both sections will be removed and replaced with a privacy board-on-board number matching the height of the East neighbor’s fence.

myfence_yuck

lattice

guest bathroom 1: before

At first I ignored the pepto-pink wallpaper with tiny flowers. I didn’t really use the room, so it was out-of-sight out-of-mind. The turning point was two years ago, when the linoleum started to curl up at the base of the tub. The decision was made, the pink MUST to go! DIY Project:  Revamp the small guest bathroom on an extremely tight budget. Nothing fancy, changing only the things I could manage on my own. This project required patience, online how-to reference guides and a lot of elbow grease.

SAMSUNG  SAMSUNG

Day 4: yelling timber

First item on the agenda: clearing the fence line.

Trees growing into the chain-link fence were removed along with a hackberry against the back. An old mulberry tree lying on it’s side was reduced to just the base. I plan to utilize the trunk for seating later in the renovation process. 🙂

I did not cut down the trees, this project was left to the professionals.

tree_bench


Day 3: the consult

Craving a backyard that was landscaped, I understood the importance of starting from scratch.

To say I was overwhelmed, is an understatement. I had NO idea where to begin.
I’ve never tackled such a large-scale project on my own.

I also realized it was in my best interest to hire a landscape design consultant.
Someone to help craft a plan that would solve my erosion issues, figure out the best native plants for for sunny and shady areas and most importantly create an organic space where I could entertain “al fresco”.

Bonnie was great. The consultation lasted 4 hours.
She allowed me to see my yard through a new lens.
The plan was extremely detailed and she walked me through EVERYTHING.
A couple of the items will require a contractor the others projects I plan to tackle myself.

I’m excited to get the Backyard 2.0 project started.
Are you with me?

http://www.beautifullandscapes.net   (Bonnie’s site)

Day 2: to the drawing board

In order to save time and money you will need an accurately scaled plot plan of your property.

You may already have a diagram from when you purchased your home. (lucky duck)
You could also request a property survey for a fee. As a self-professed DIYer, I had to tackle this on my own.

Tools that will help along the way:
1. Grid (drafting) paper, with each square measuring 1/8″.
One 1/8″ square = 1 foot on your plan.
2. A 50-ft or 100-ft measuring tape.
3. Sharp pencil – with a VERY good eraser
4. Clip board – to keep the paper from blowing away. It can get windy in Dallas
5. Long screw driver, for securing the measuring tape down.

You can plot the space any way you choose. Starting with the yard’s outer most measurements will make it easier.  So if the yard is 48-ft wide, then you need to draw a line the width of 48 grid squares.

Do a rough sketch of the property, listing measurements along the way. Final step is to go back and plot your space on the grid paper based on the measurements.

Label everything: fences, overhead power lines, windows, trees, bushes, electrical outlets, facets, low spots, walkways, decks, utility meters, sewer clean outs, dryer vents, downspout, existing plants, out buildings, etc…  You get the idea.

The process is slow and you might have to redraw areas a couple of times until the measurements match. Stay strong my DIYer friend. It’s worth doing right.

Day 1: the free landscape seminar

A good friend invited me to a free, 1-day seminar offered by Dallas County on “Common Sense Landscaping”. I had zero plans for Saturday so I foolishly tagged along.

Upon leaving the seminar my mind was buzzing with a million ideas.
What if?  What if I landscaped with native, drought-tolerant plants? What if I tried to solve the erosion along the sides of the yard? What if, what if, what if.

So here I am.
New to blogging.
Documenting my backyard revival.